Use this page to record attendance sessions and review attendance history.Documentation Index
Fetch the complete documentation index at: https://docs.ofatoura.com/llms.txt
Use this file to discover all available pages before exploring further.
Shift Tracking
- Check In / Check Out: Staff records attendance sessions from this page.
- Photo Capture: Optional camera photo on check-in and check-out.
- Notes: Optional notes for both actions.
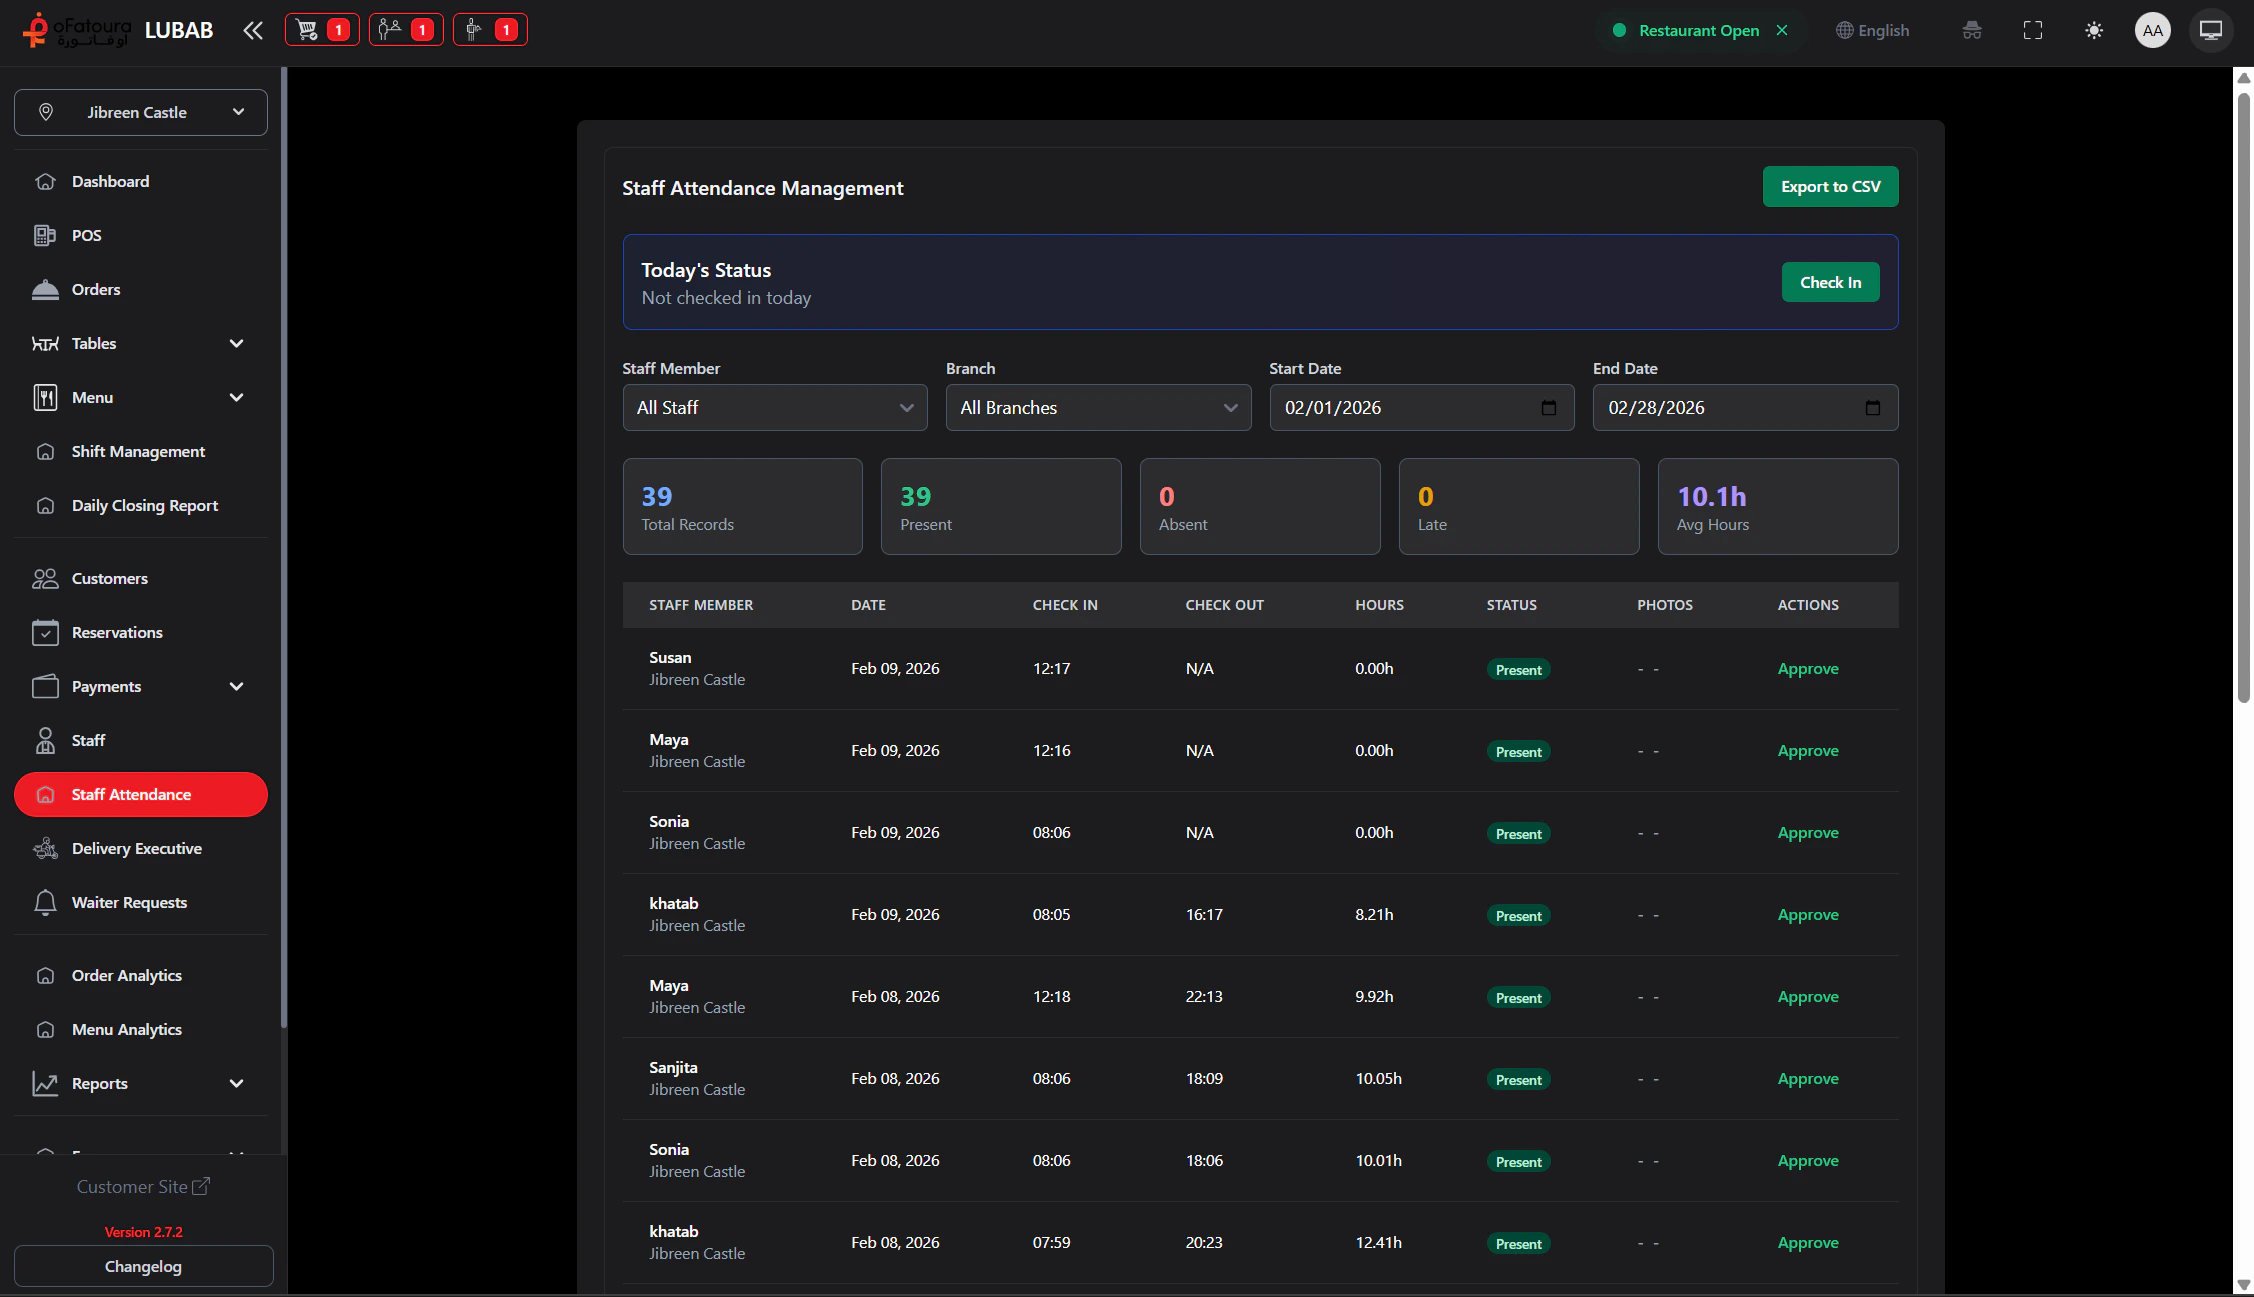
- History: Date-range table with status and hours.
- Admin Tools: Staff/branch filters, approval, and CSV export.
Using Attendance
Check In
Click Check In.In the modal you can:
- start camera and capture photo (optional)
- add notes (optional)
- submit check-in
Check Out
Click Check Out when ending work.The modal supports optional photo and notes, then saves checkout time and session hours.
Filter History
Use Start Date and End Date filters.Admin users can also filter by:
- Staff Member
- Branch
A user cannot check in twice without checking out the active session first.
Staff List
Manage employee profiles
Shift Management
Cash shift open/close workflow