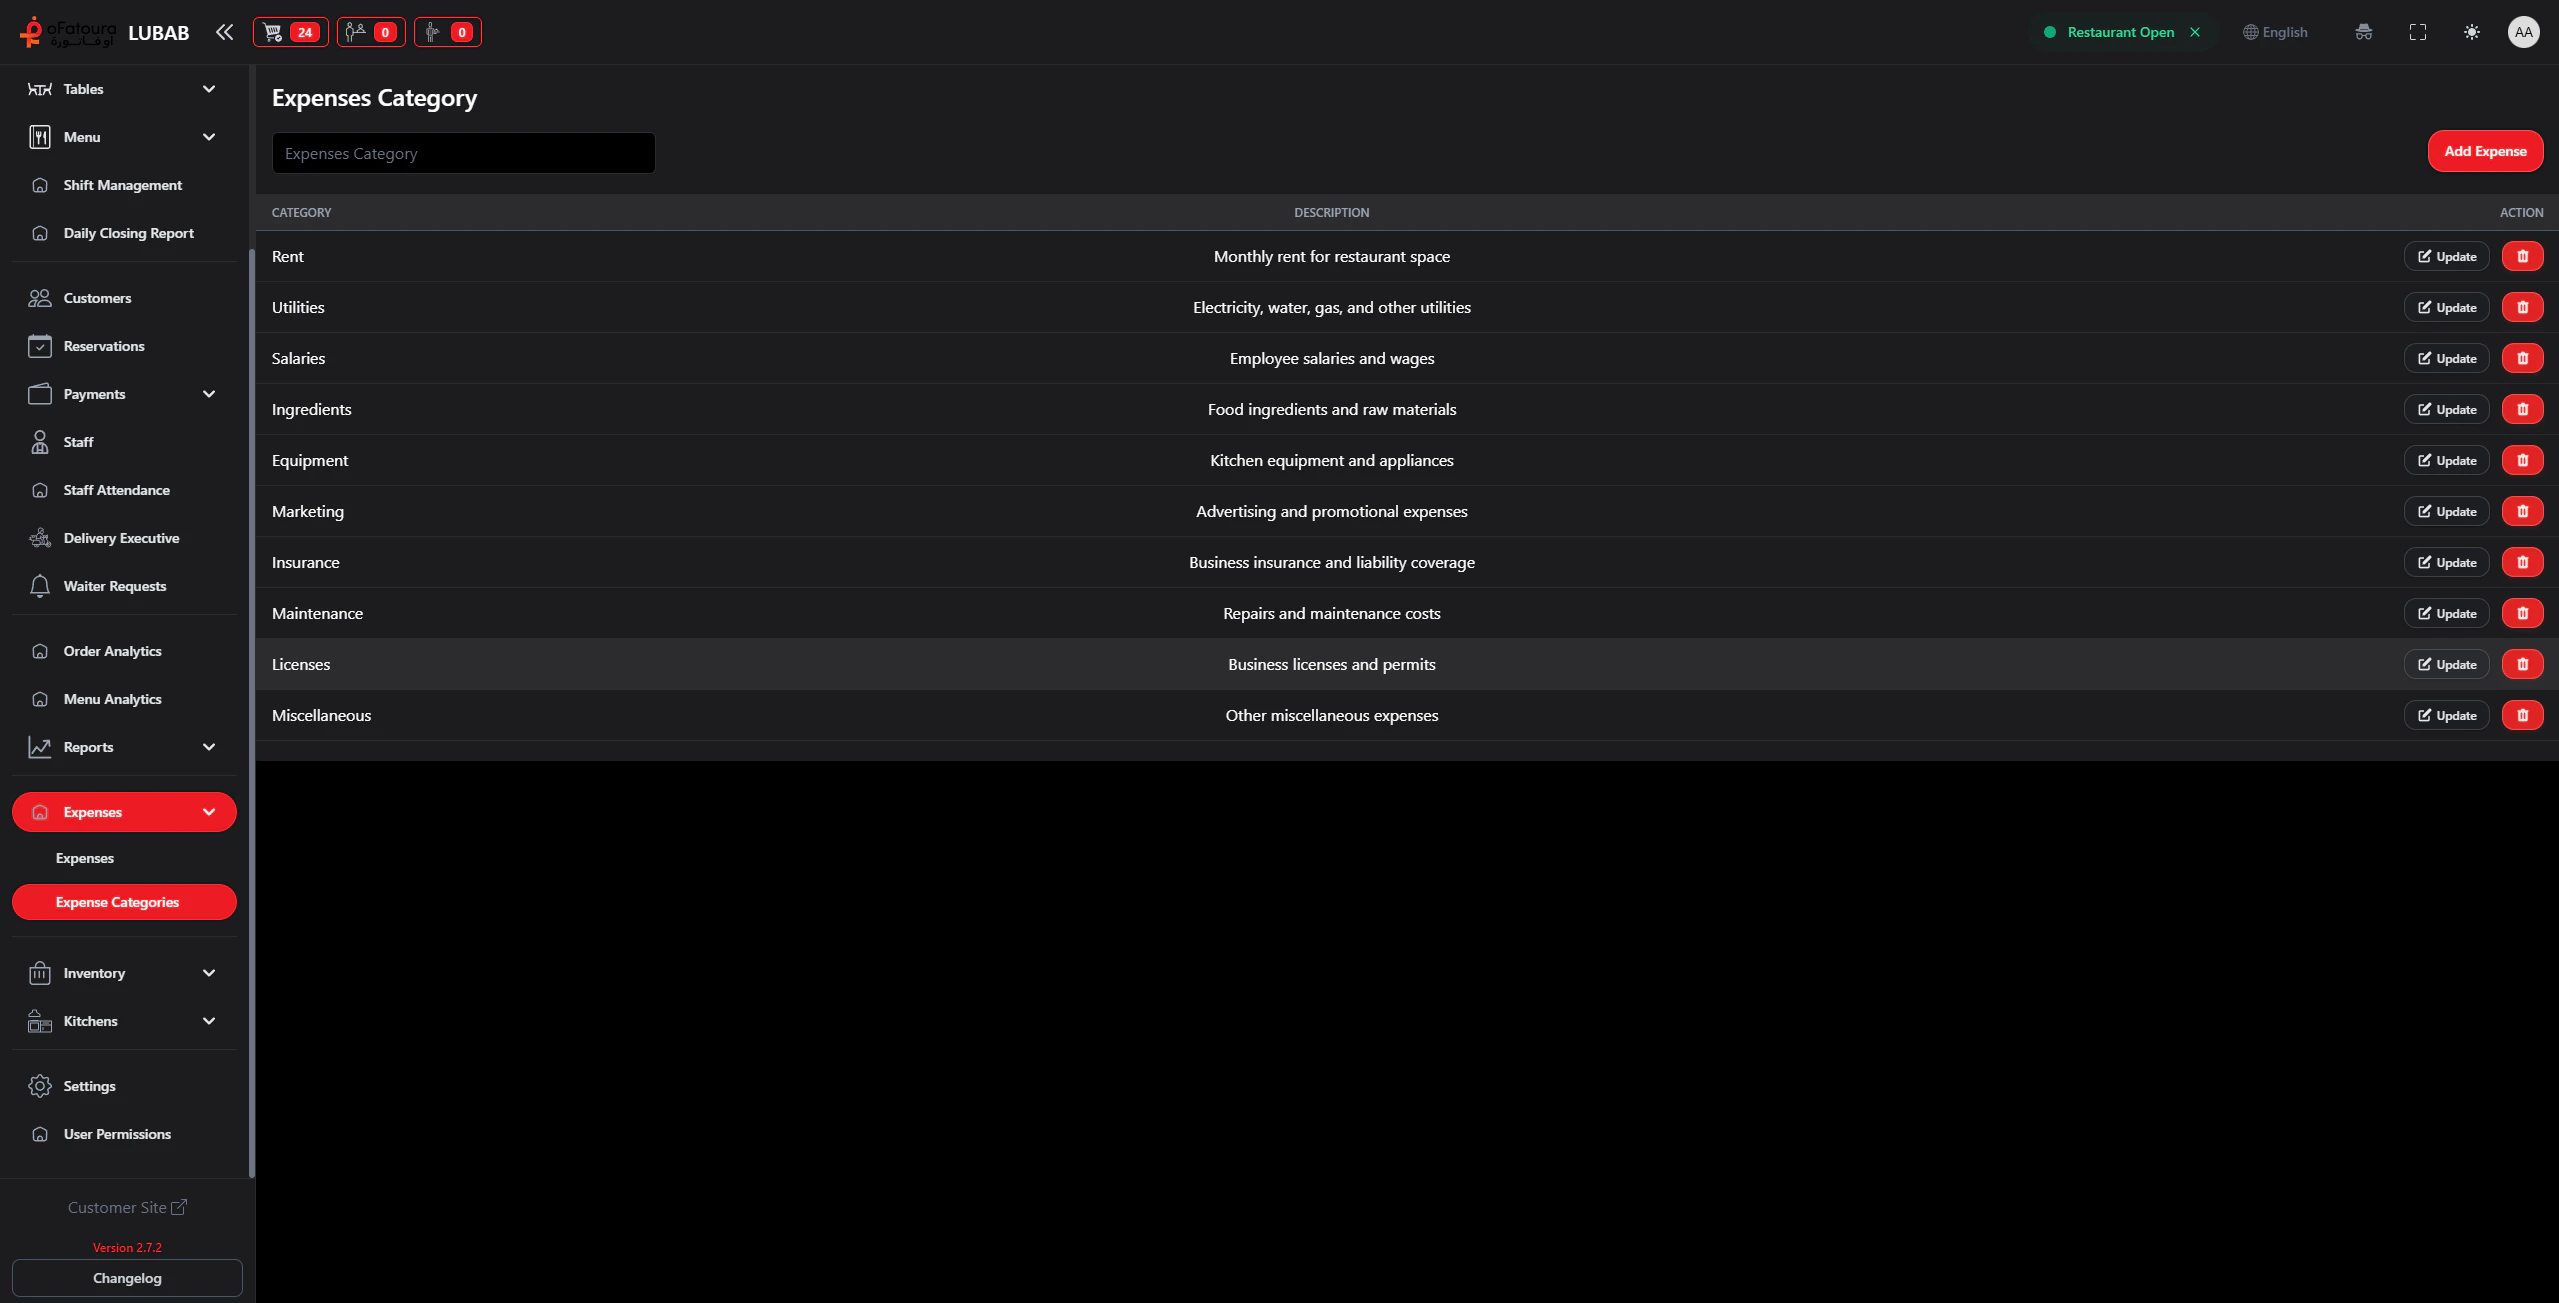
Classify your expenses to better understand your costs.Documentation Index
Fetch the complete documentation index at: https://docs.ofatoura.com/llms.txt
Use this file to discover all available pages before exploring further.
Category Examples
- COGS (Cost of Goods Sold): Ingredients, specific supplies.
- Utilities: Electricity, Water, Gas.
- Labor: Ad-hoc labor payments (if not in payroll).
- Maintenance: Repairs, cleaning supplies.
- Marketing: Flyers, ads.
Setup
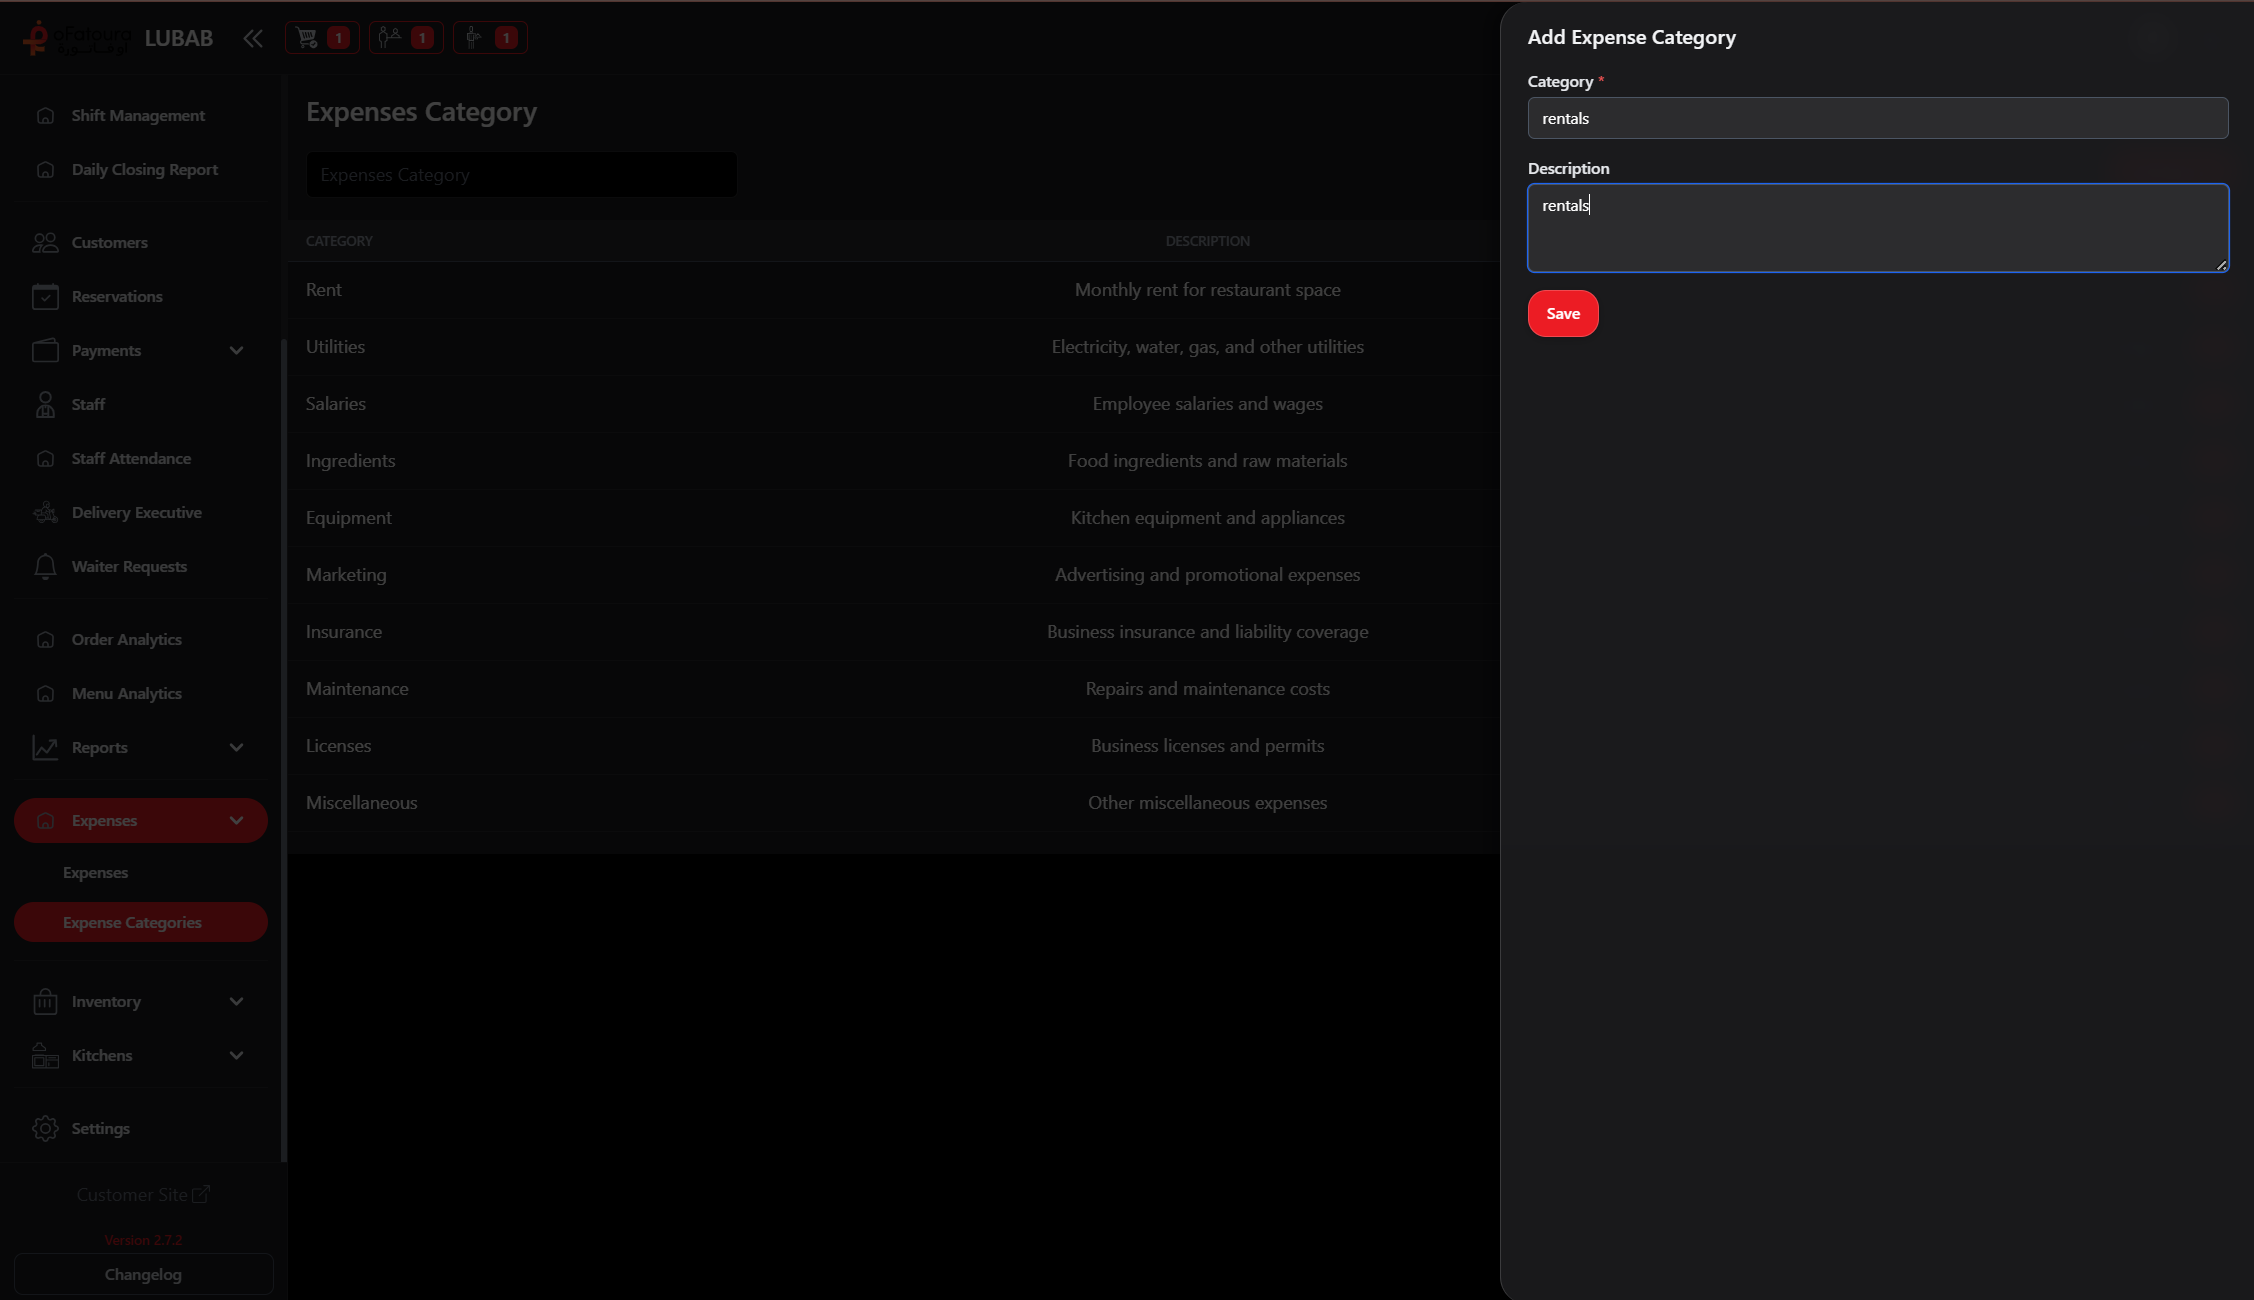
Pro Tip: Keep categories high-level (e.g., “Utilities” instead of “Electric Bill May”). Use the Note field in individual expenses for details.
Expenses
Record spending
Expense Report
View breakdown