KOT Settings control how kitchen ticket status behaves when new KOTs are created.Documentation Index
Fetch the complete documentation index at: https://docs.ofatoura.com/llms.txt
Use this file to discover all available pages before exploring further.
KOT Behavior
- Enable Item-Level Status: Track preparation progress per item in a KOT.
- Default KOT Status: Choose the initial status for new tickets.
- Save Settings: Apply status behavior to future KOT flow.
Configuration Steps
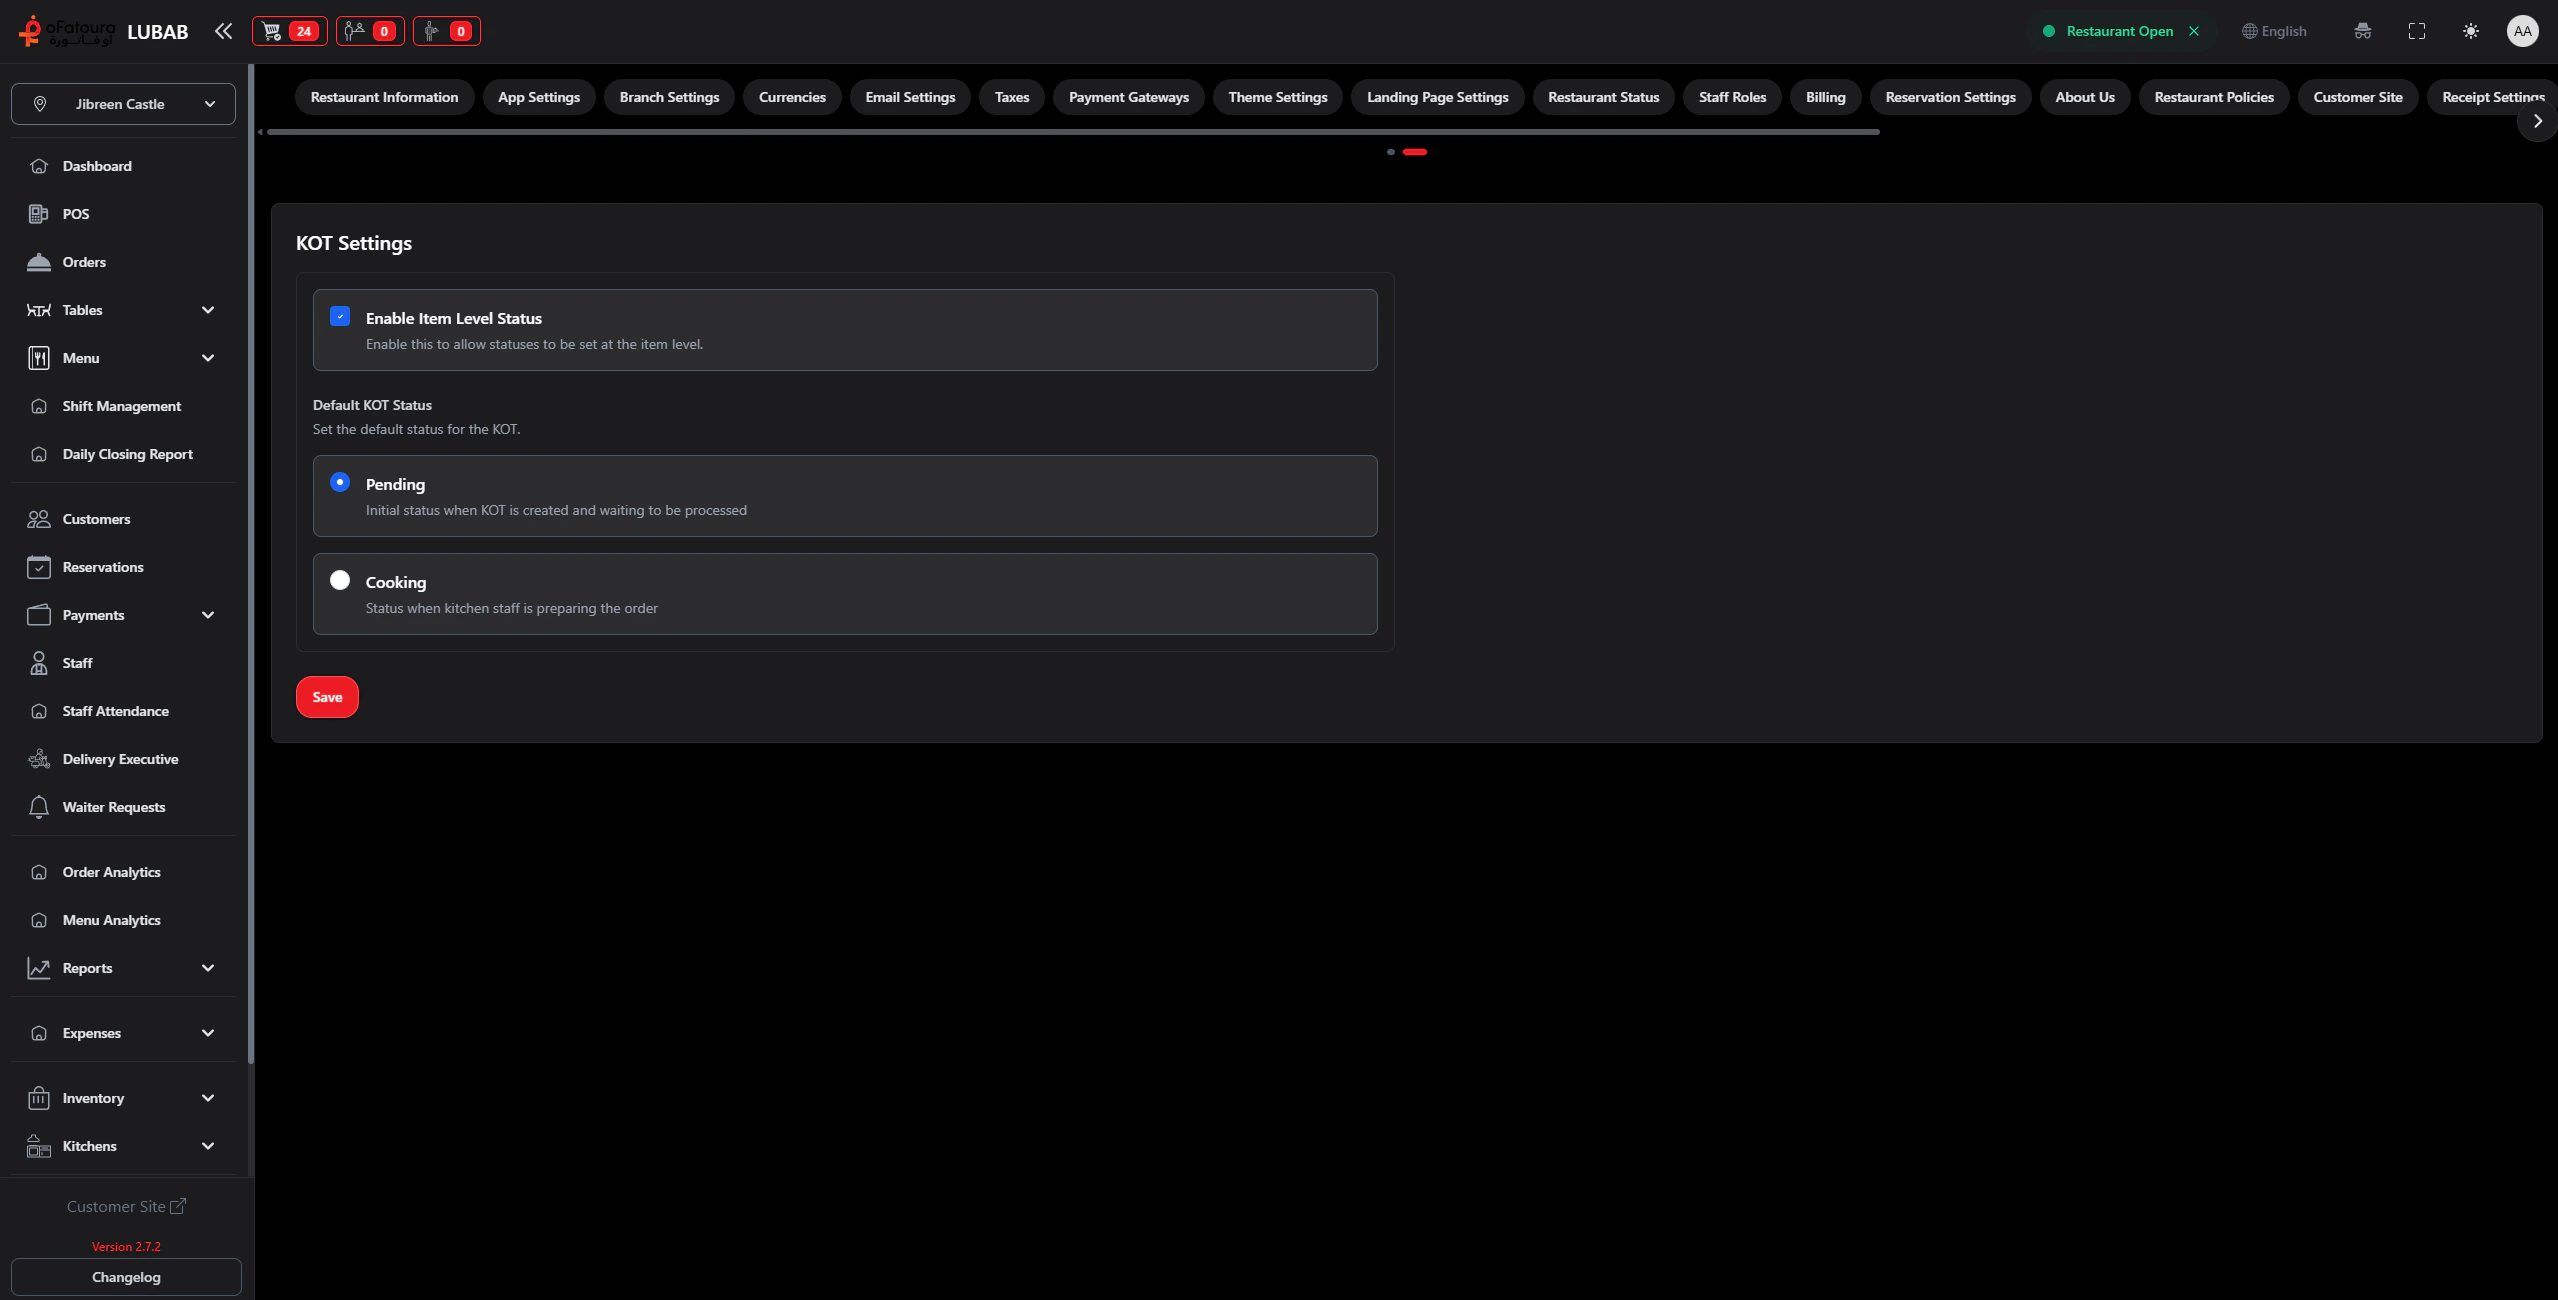
Set Item-Level Status
Toggle Enable Item Level Status:
- ON: kitchen can update each item row (
pending->cooking->ready) - OFF: only ticket-level status actions are used
Choose Default Status
Set Default KOT Status to:
- Pending
- Cooking
- Pending: new KOTs start in
pending_confirmation - Cooking: kitchen flow starts directly in
in_kitchen
Printer assignment and routing are configured in Printer Settings, not in this page.
Printer Settings
Connect hardware printers
Kitchen Display System
Go paperless with KDS