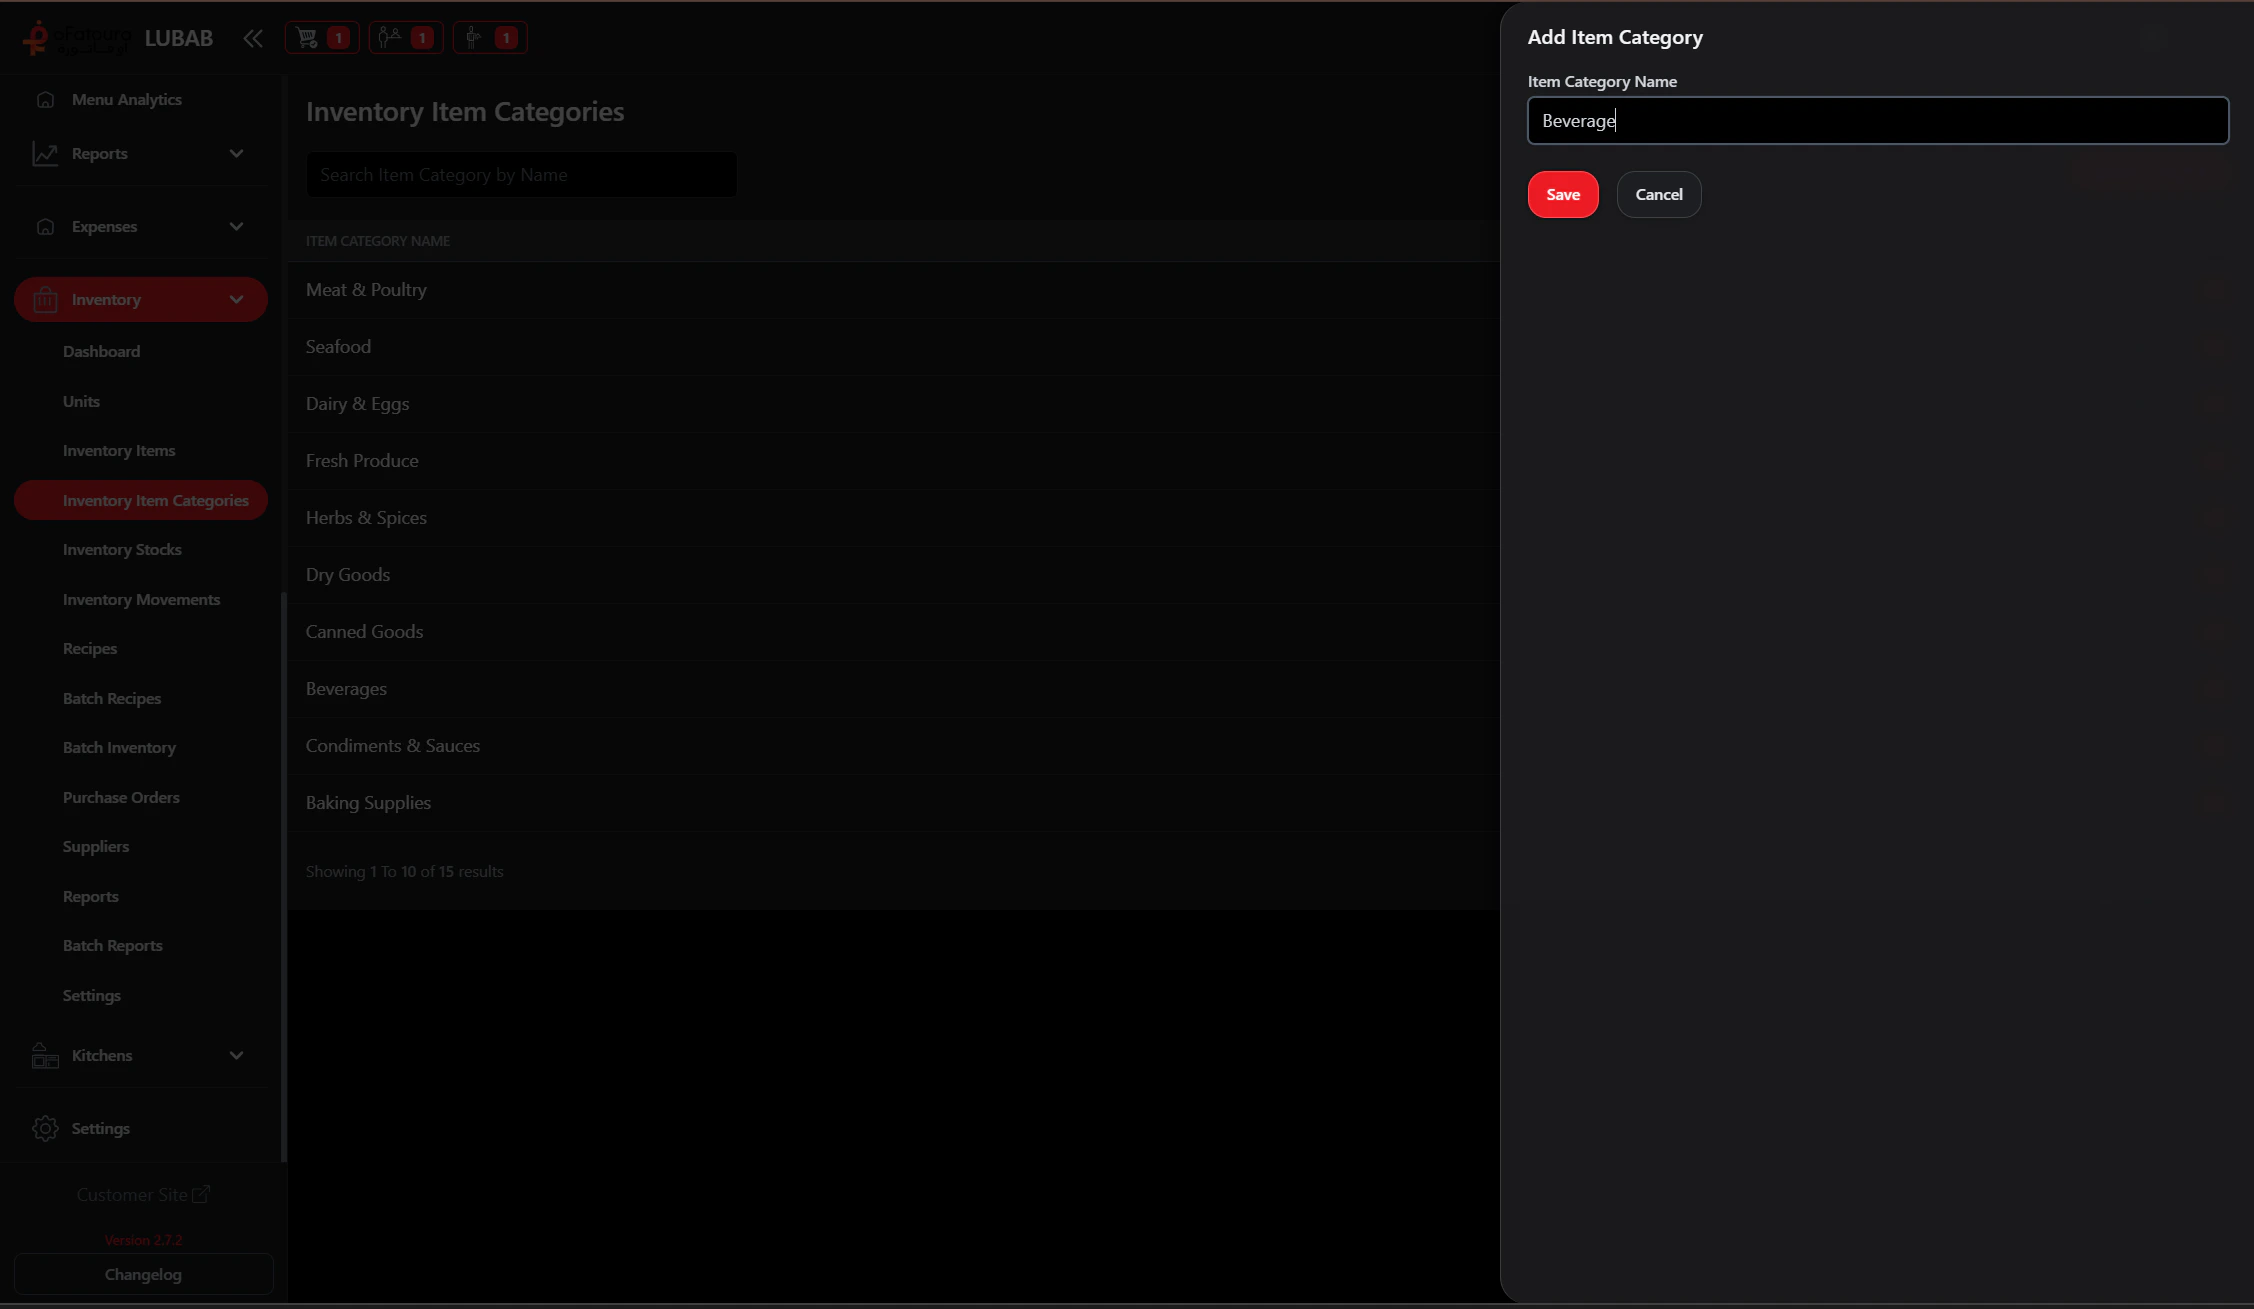
Group your inventory items for easier searching, reporting, and stocktaking.Documentation Index
Fetch the complete documentation index at: https://docs.ofatoura.com/llms.txt
Use this file to discover all available pages before exploring further.
Grouping Strategy
- Create clear ingredient groups (for example Dairy, Meat, Vegetables).
- Keep stock and reports easier to scan.
- Use the category while creating inventory items.
Setup Steps
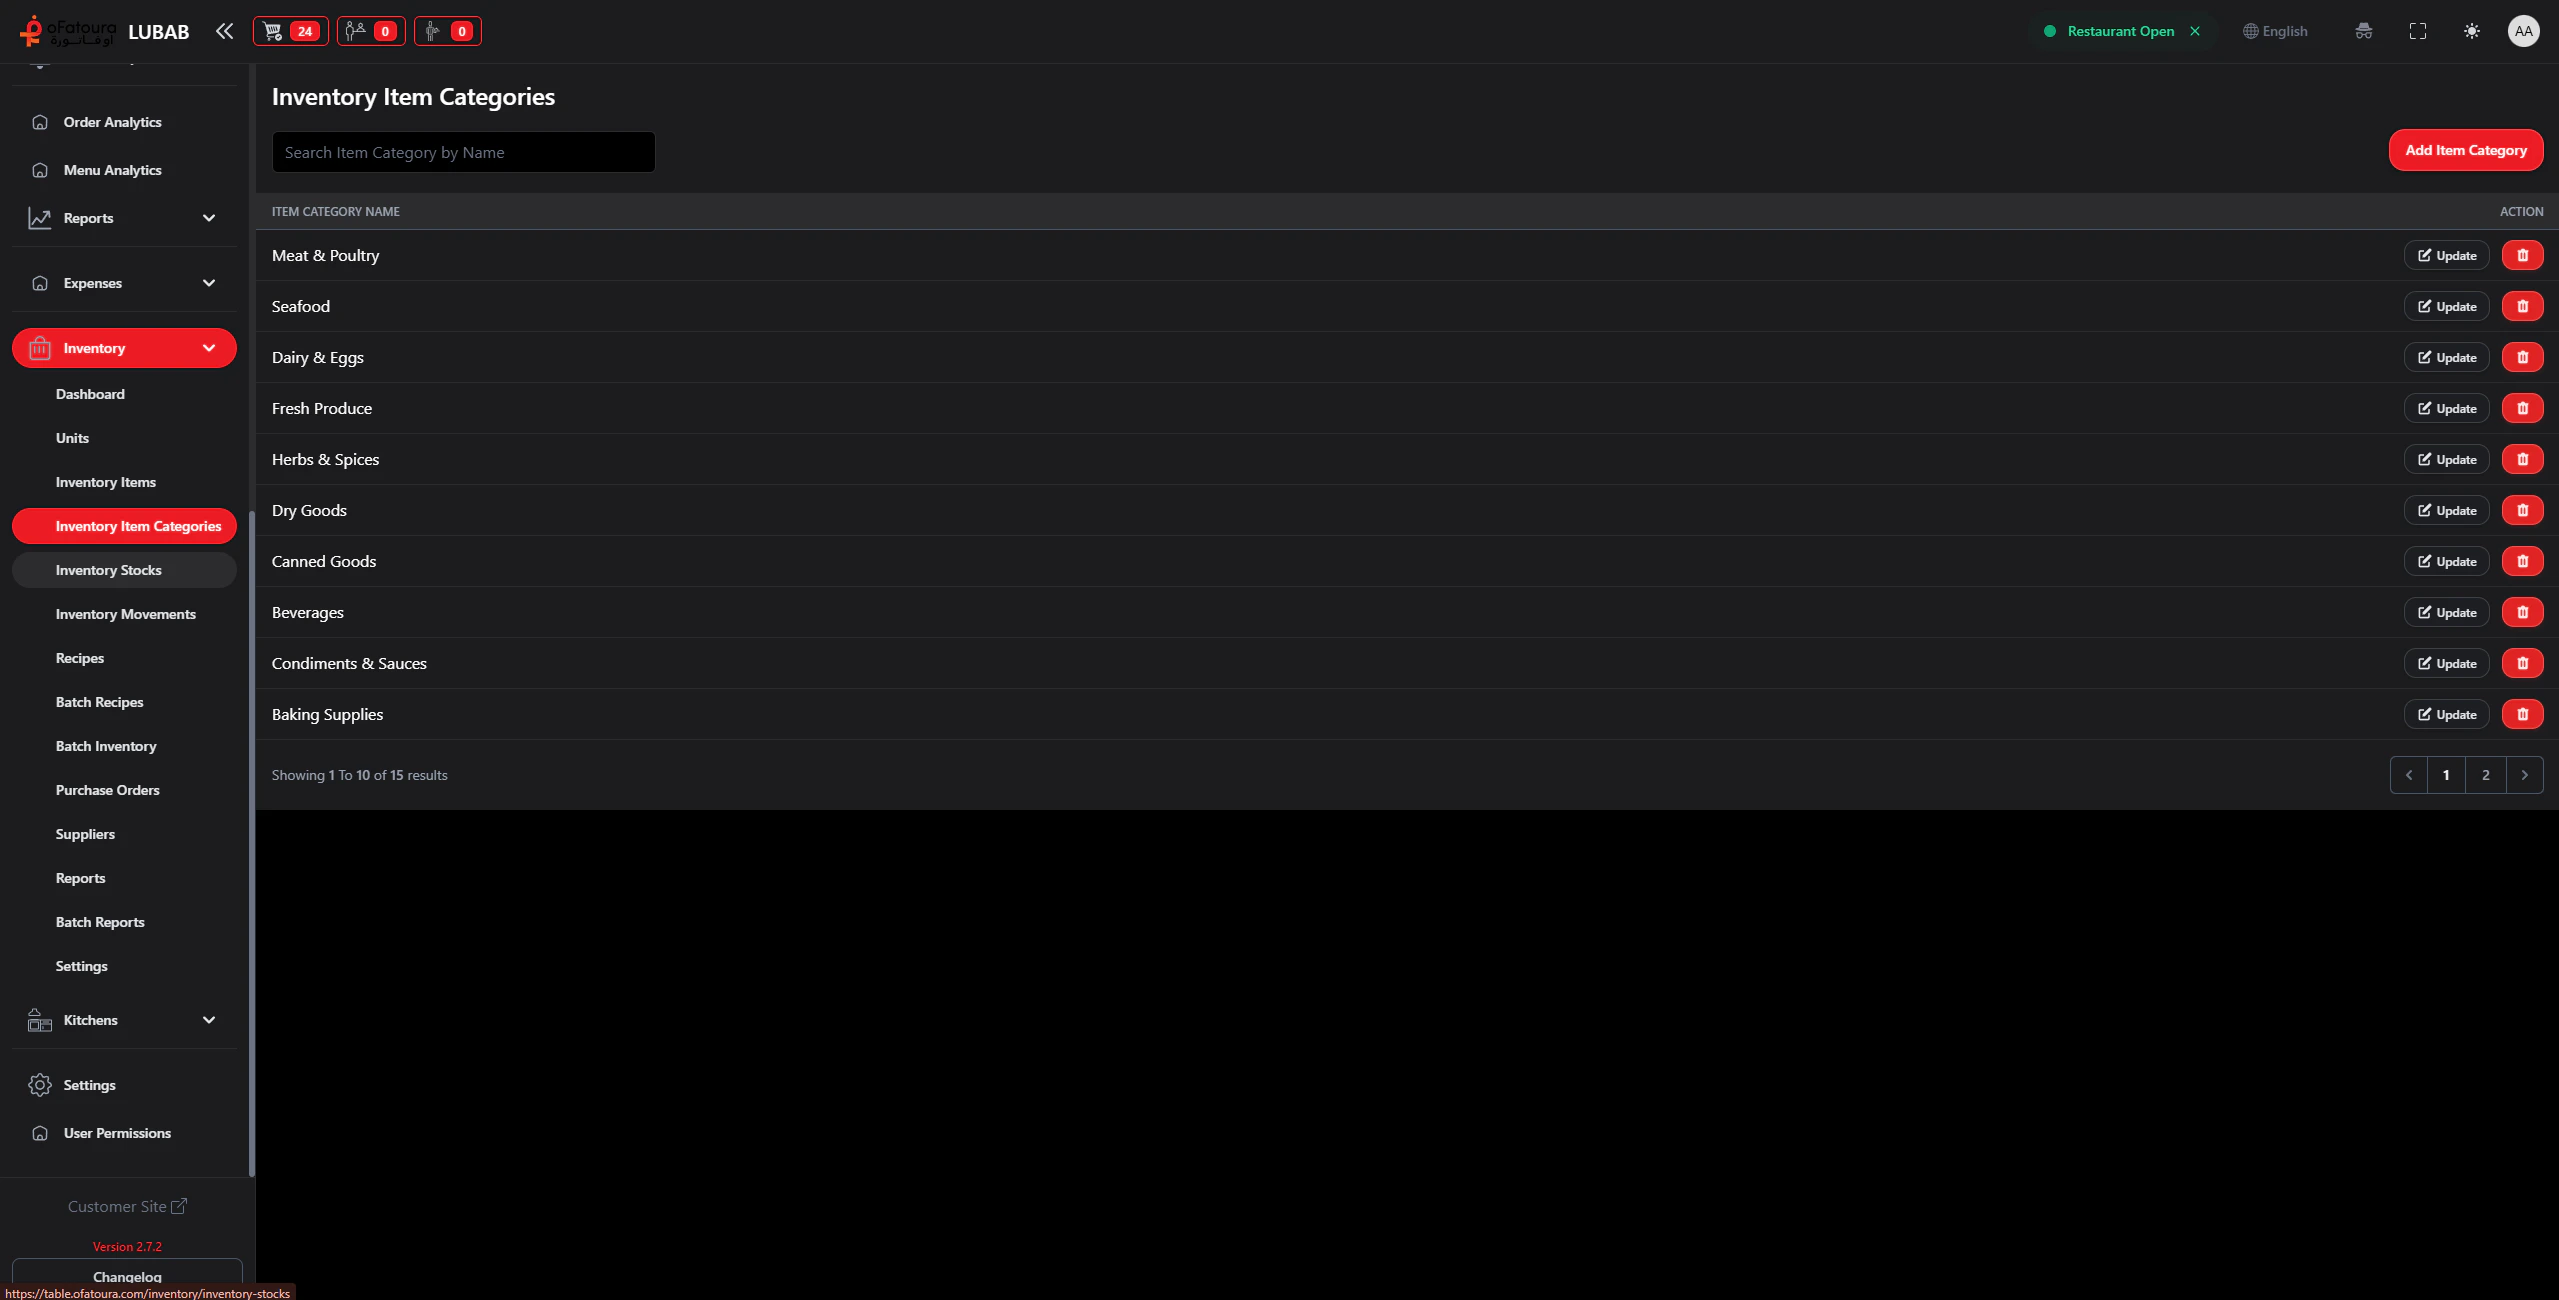
Edit or Delete
Use row actions to edit category names or delete categories.If items are linked to a category, move/reassign those items before deletion.
Assign During Item Creation
In Inventory Items, select a category for each ingredient.
Use a small set of practical categories so reports remain readable.
Inventory Items
Create items in categories
Reports
Analyze by category