Tables are the service points used by POS, reservations, and QR ordering.Documentation Index
Fetch the complete documentation index at: https://docs.ofatoura.com/llms.txt
Use this file to discover all available pages before exploring further.
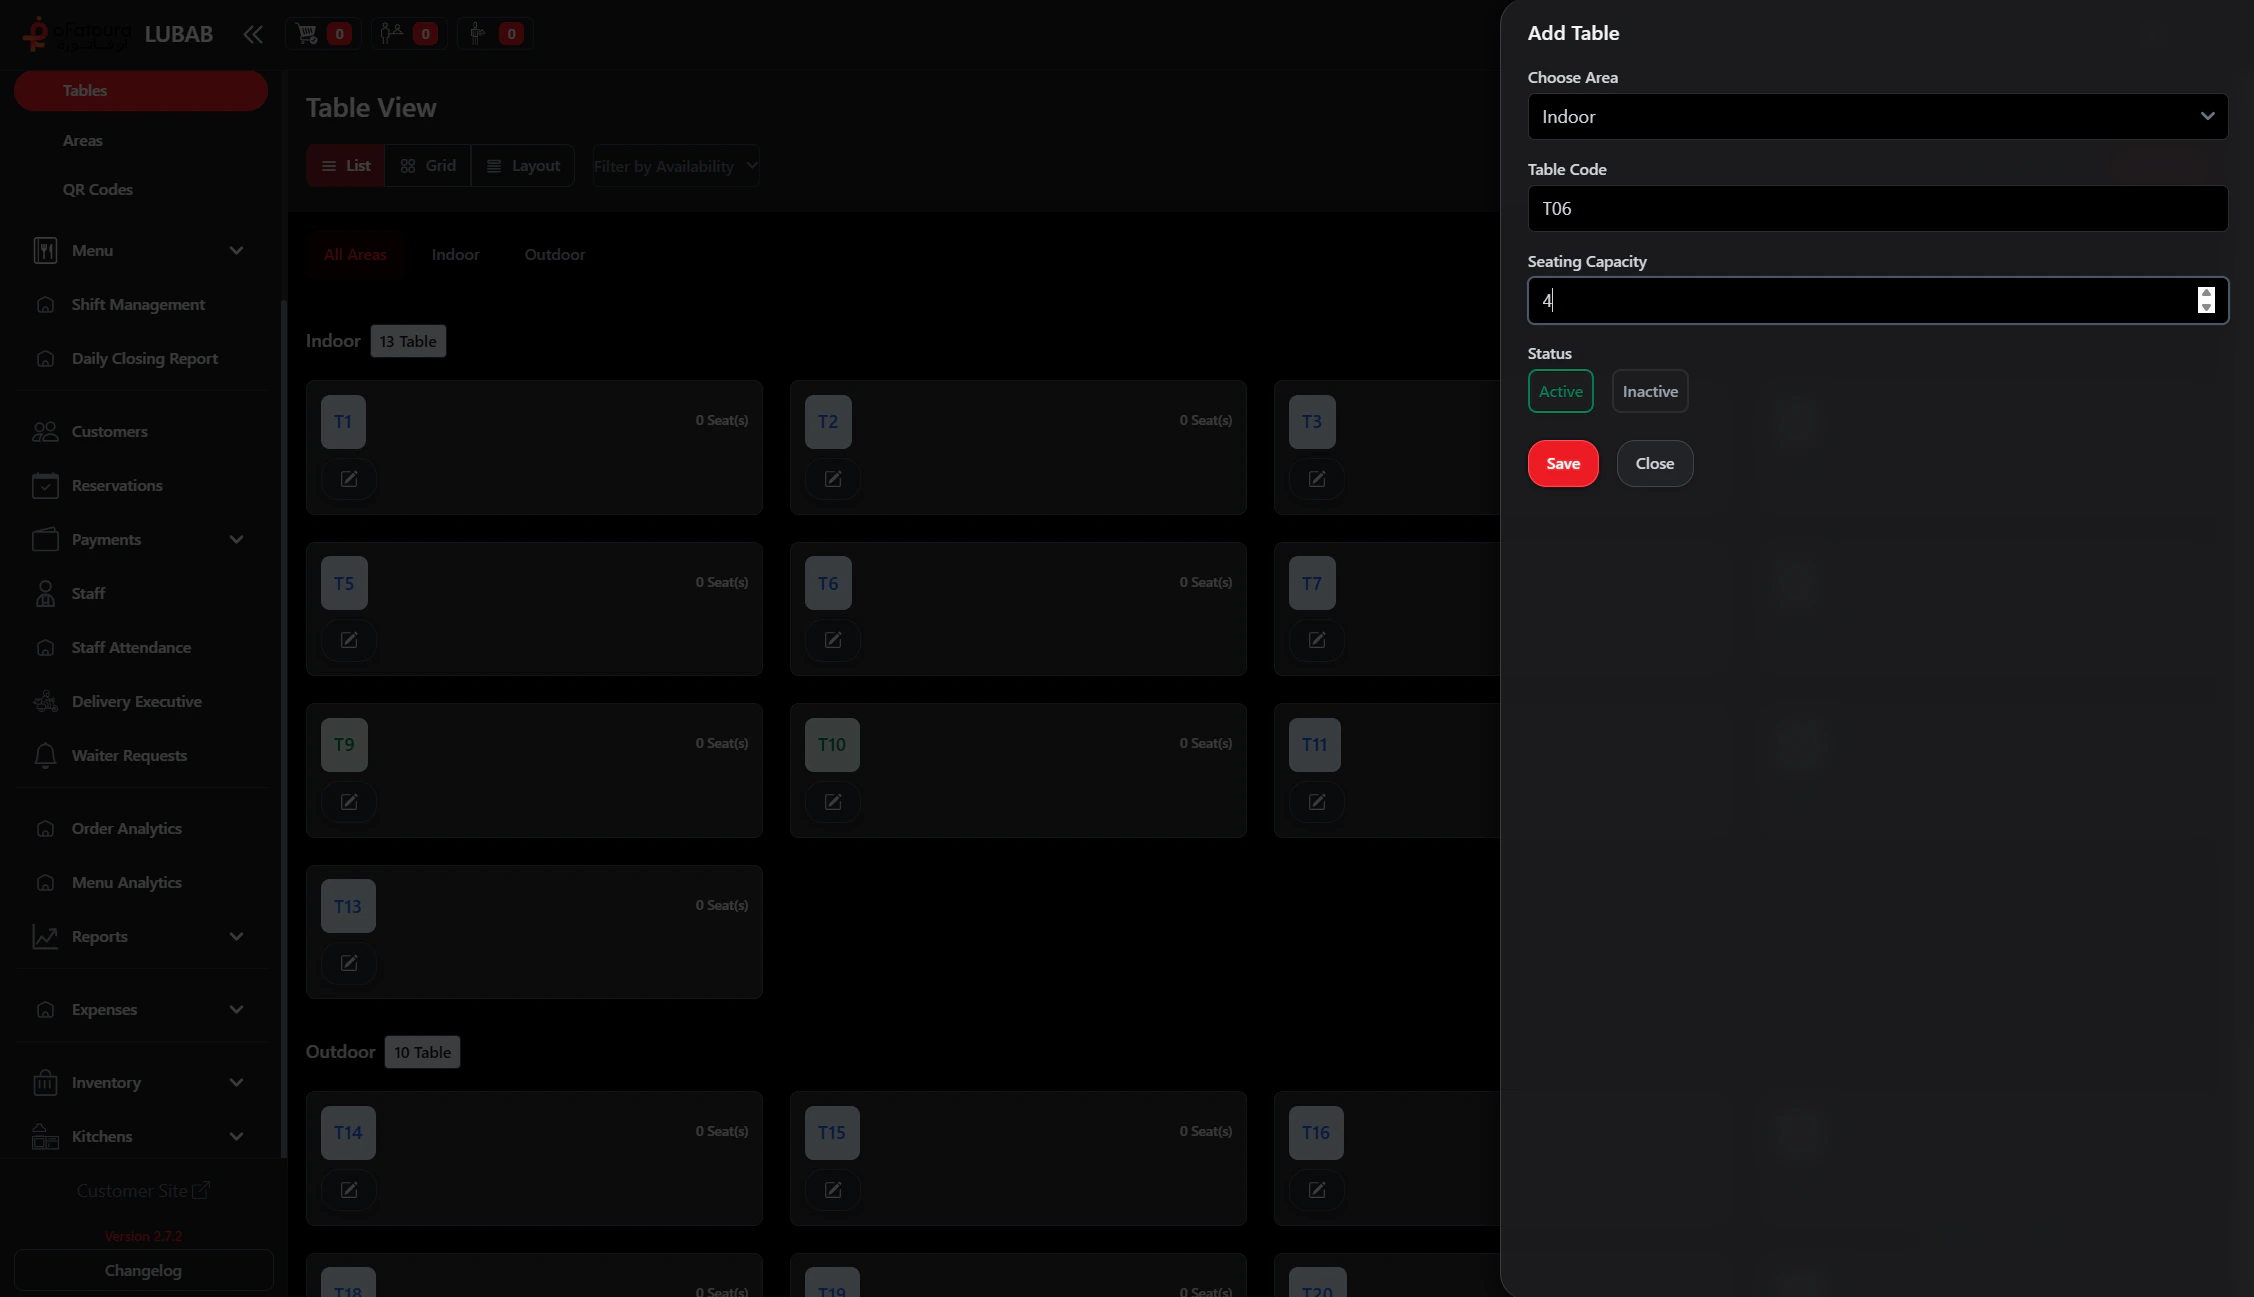
Table Attributes
- Area: Which floor area the table belongs to.
- Table Code: Visible code like T1, T2, VIP-1.
- Seating Capacity: Number of seats.
- Status: Active or Inactive.
- Availability state: Available, Running, Reserved (operational state).
Creating Tables
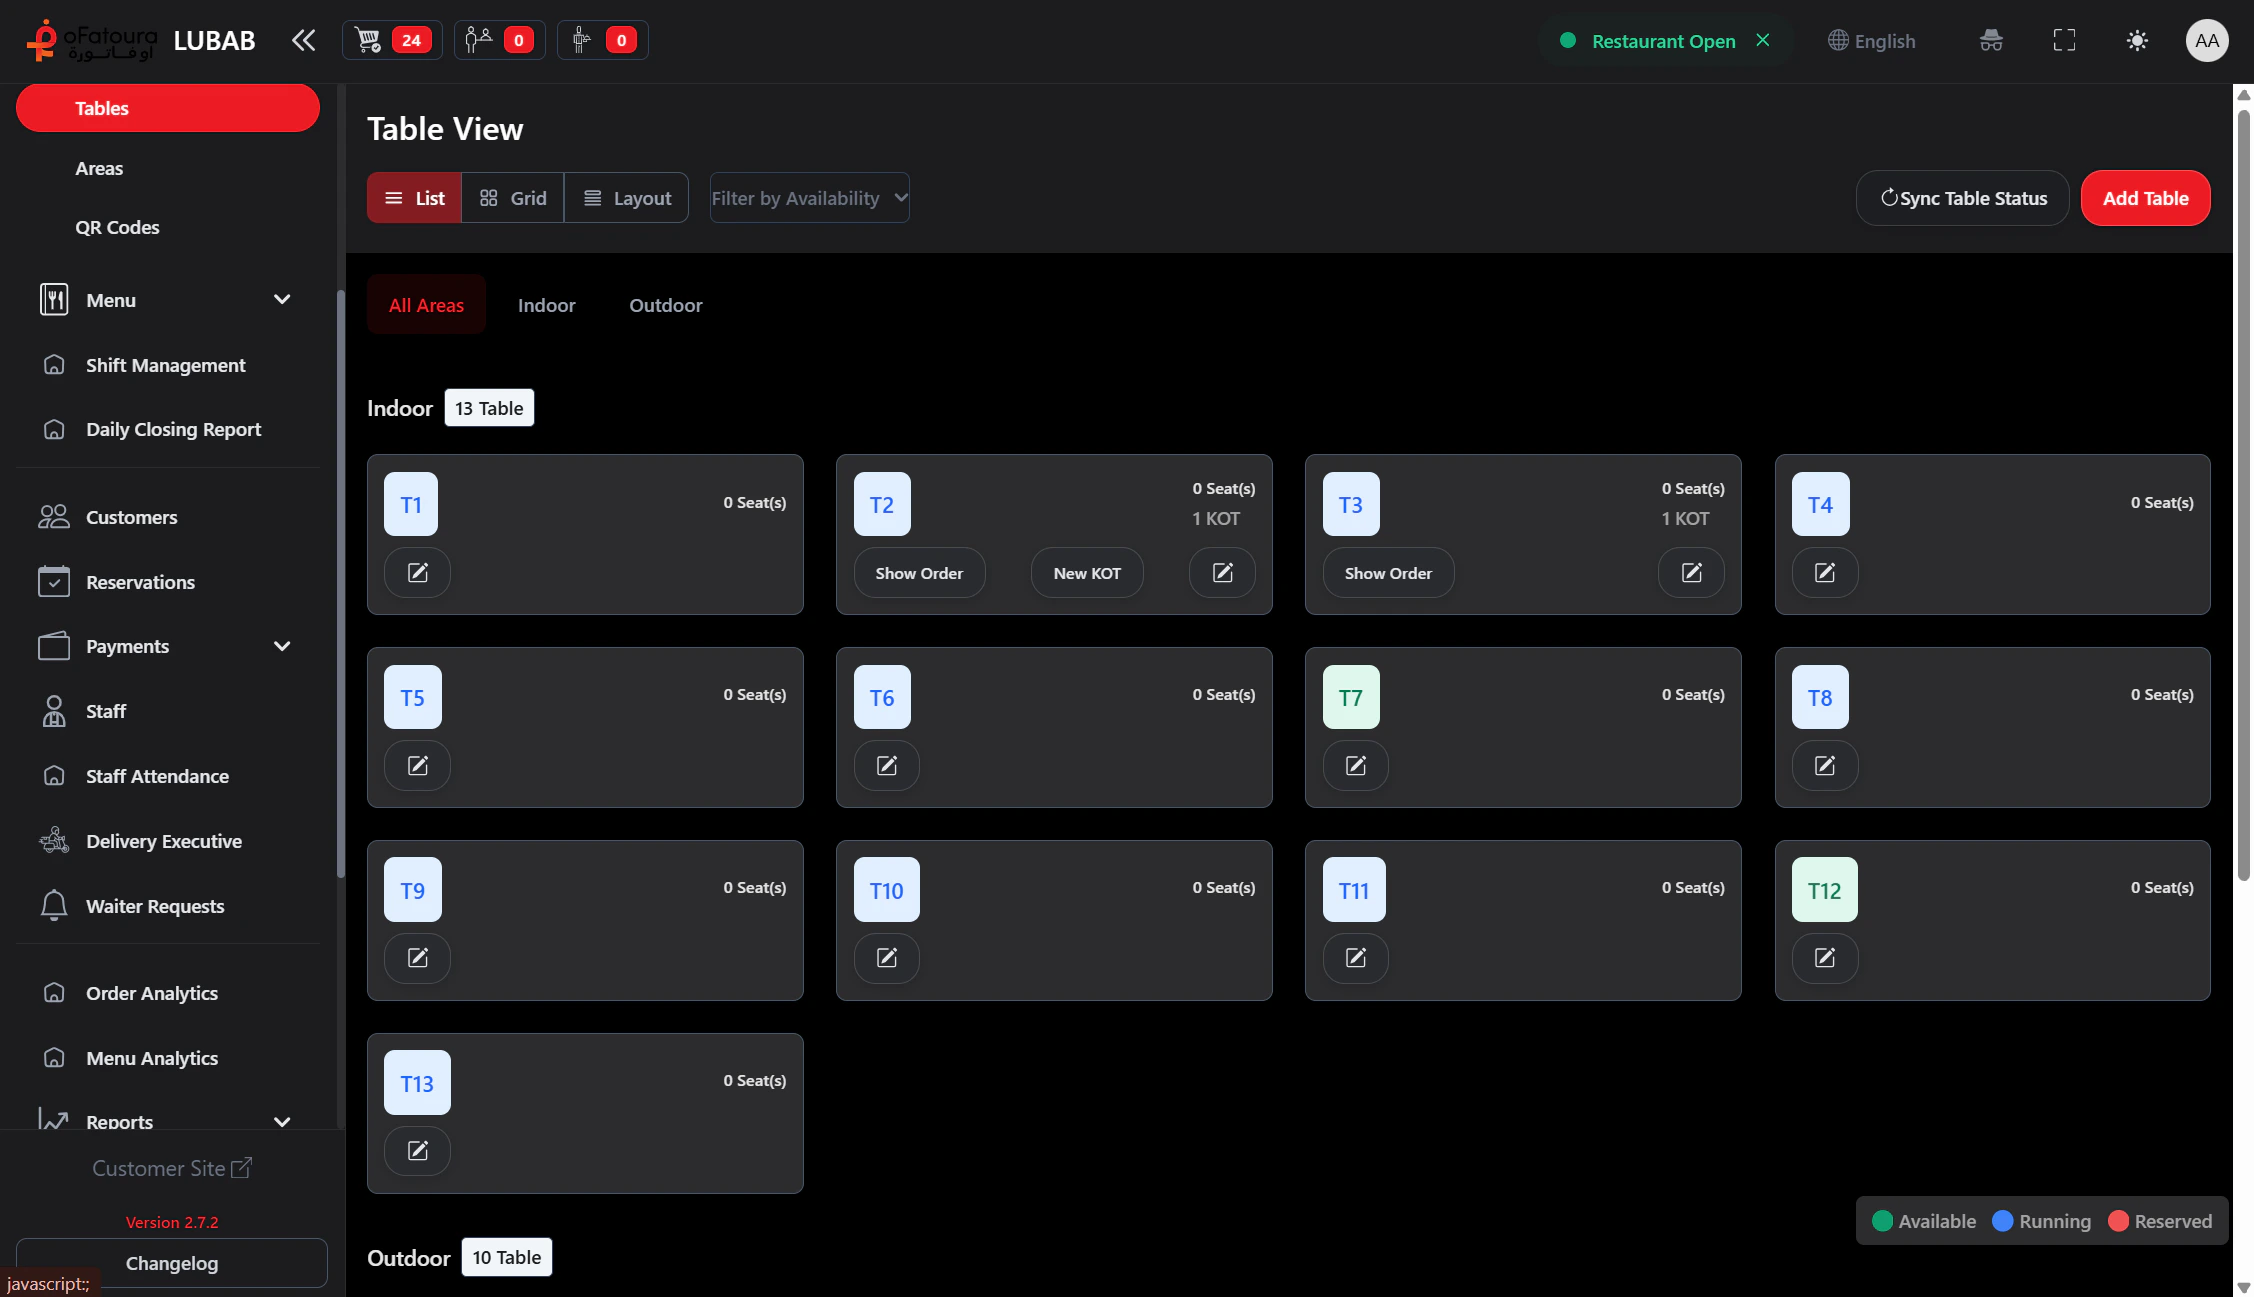
Use Table View Controls
On the table page you can:
- switch List / Grid / Layout view
- filter by Area tab
- filter by Availability (Available, Running, Reserved)
- run Sync Table Status (permission dependent)
A QR code is generated for each table after creation. Manage downloads/regeneration from QR Codes.
QR Codes
Print codes for customer ordering
Reservations
Manage table bookings