QR Codes allow customers to scan and open the menu directly from their phones.Documentation Index
Fetch the complete documentation index at: https://docs.ofatoura.com/llms.txt
Use this file to discover all available pages before exploring further.
What You Can Do
- Branch QR: One QR for branch-level ordering.
- Table QR: Individual QR for each table.
- Download: Save QR code images.
- Open Link: Verify destination quickly.
Managing QR Codes
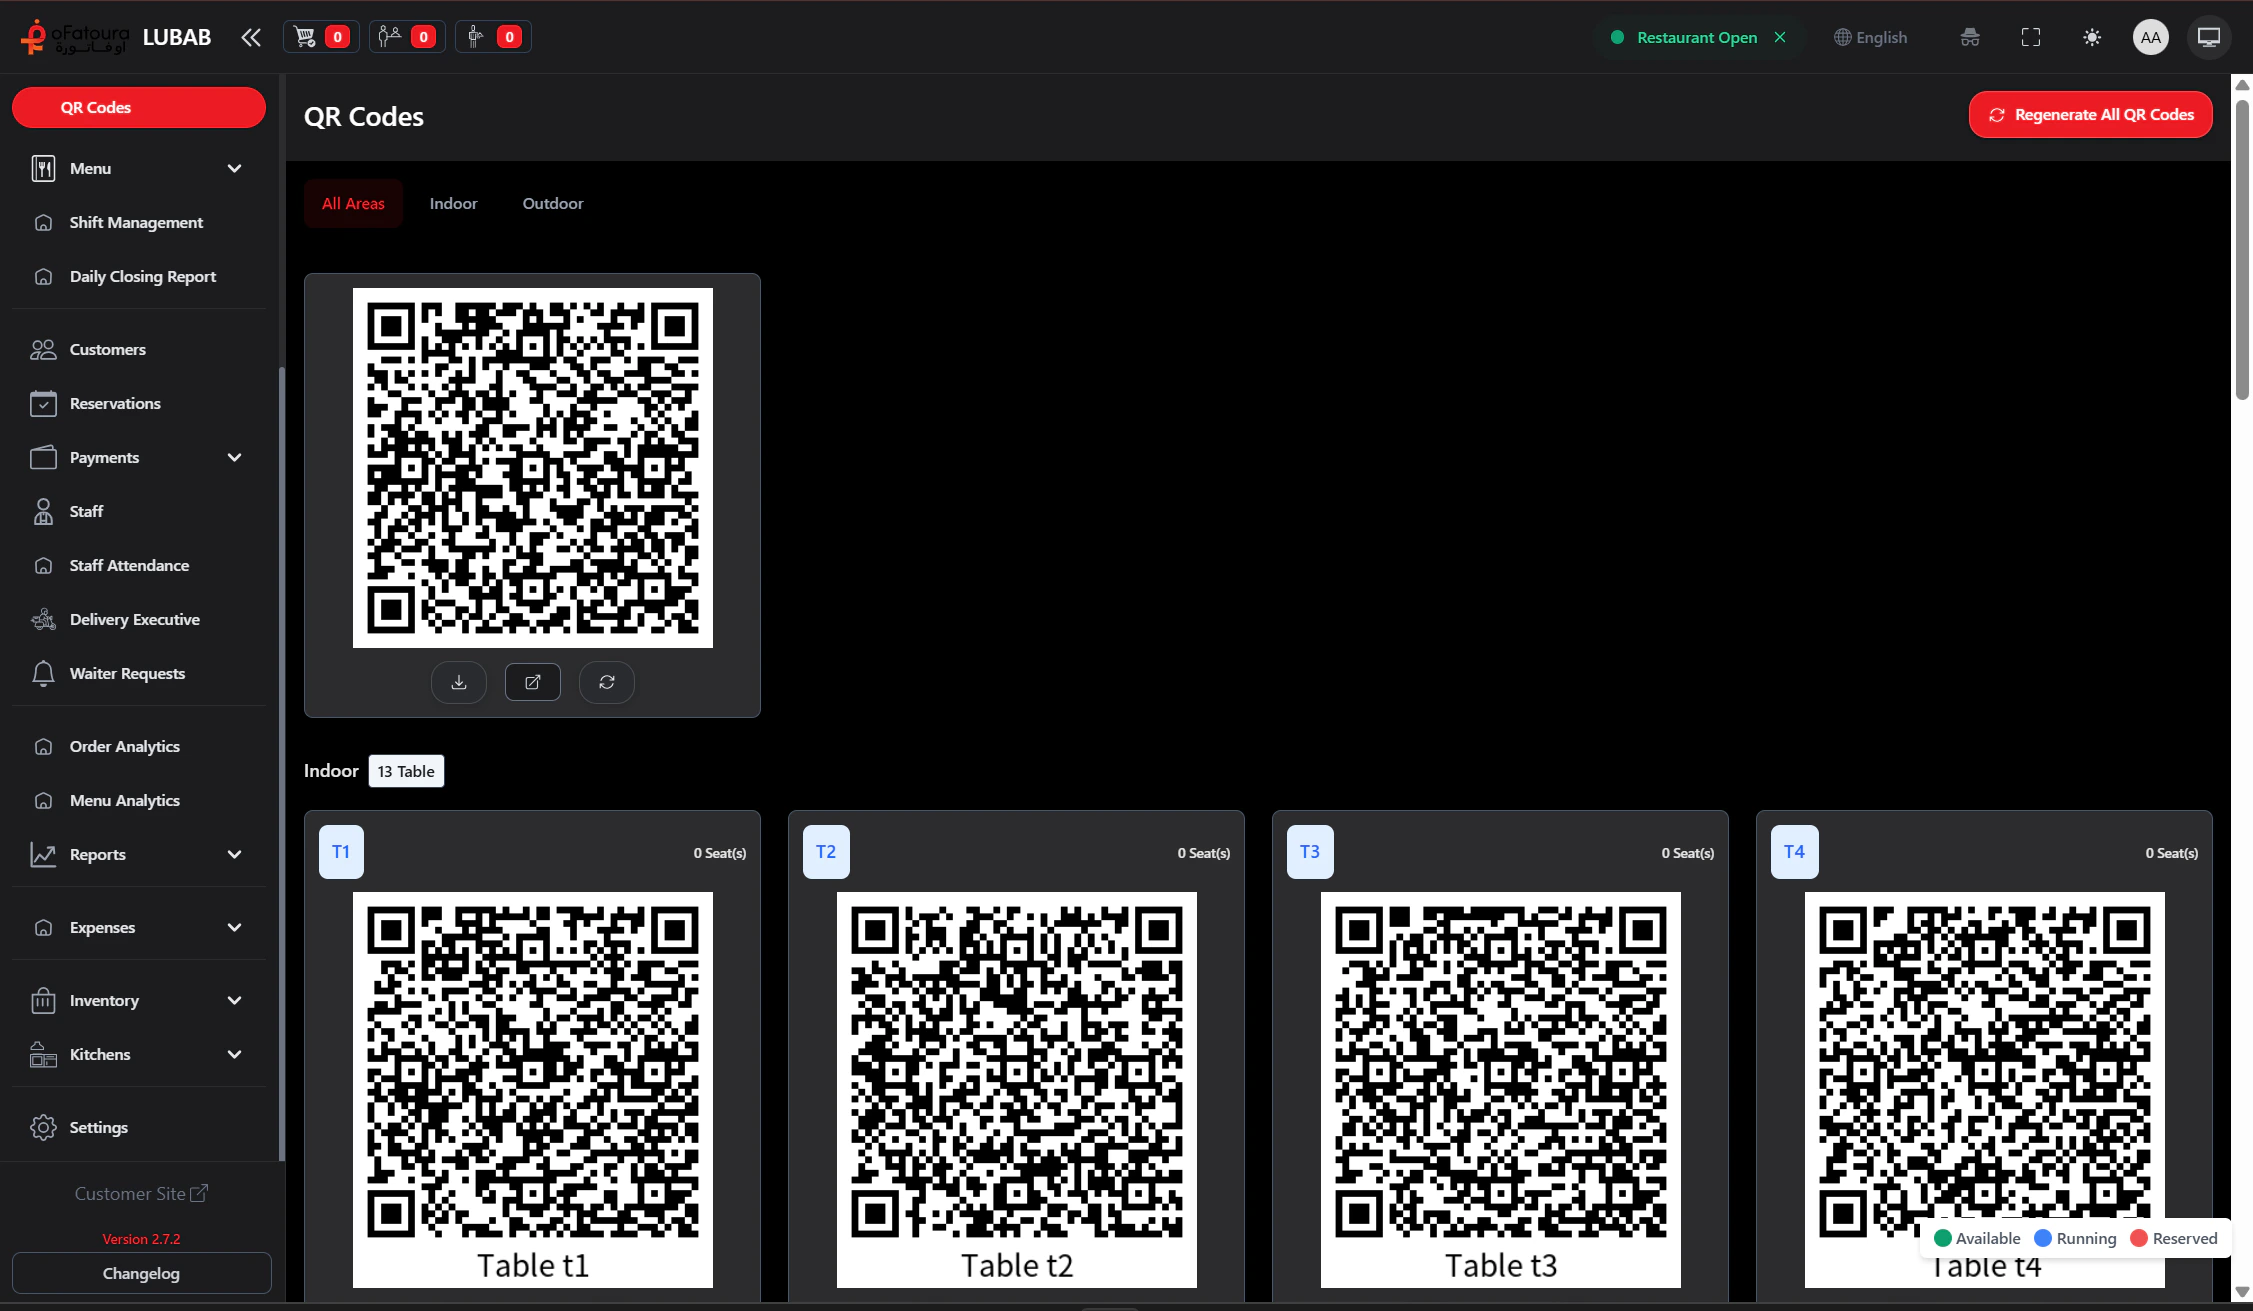
Use Actions
For branch and table QR cards, you can:
- Download QR image
- Open target link
- Regenerate QR code
Test each printed QR code from a real phone before service.
Order Taking
How staff handle incoming orders
Menu Items
What customers see after scanning