Finish setting up your restaurant and, if needed, add branches. This is required before you can take orders.Documentation Index
Fetch the complete documentation index at: https://docs.ofatoura.com/llms.txt
Use this file to discover all available pages before exploring further.
Prerequisites
- Verified account from Registration
- Basic restaurant details (name, address, phone)
Complete onboarding
Run through onboarding
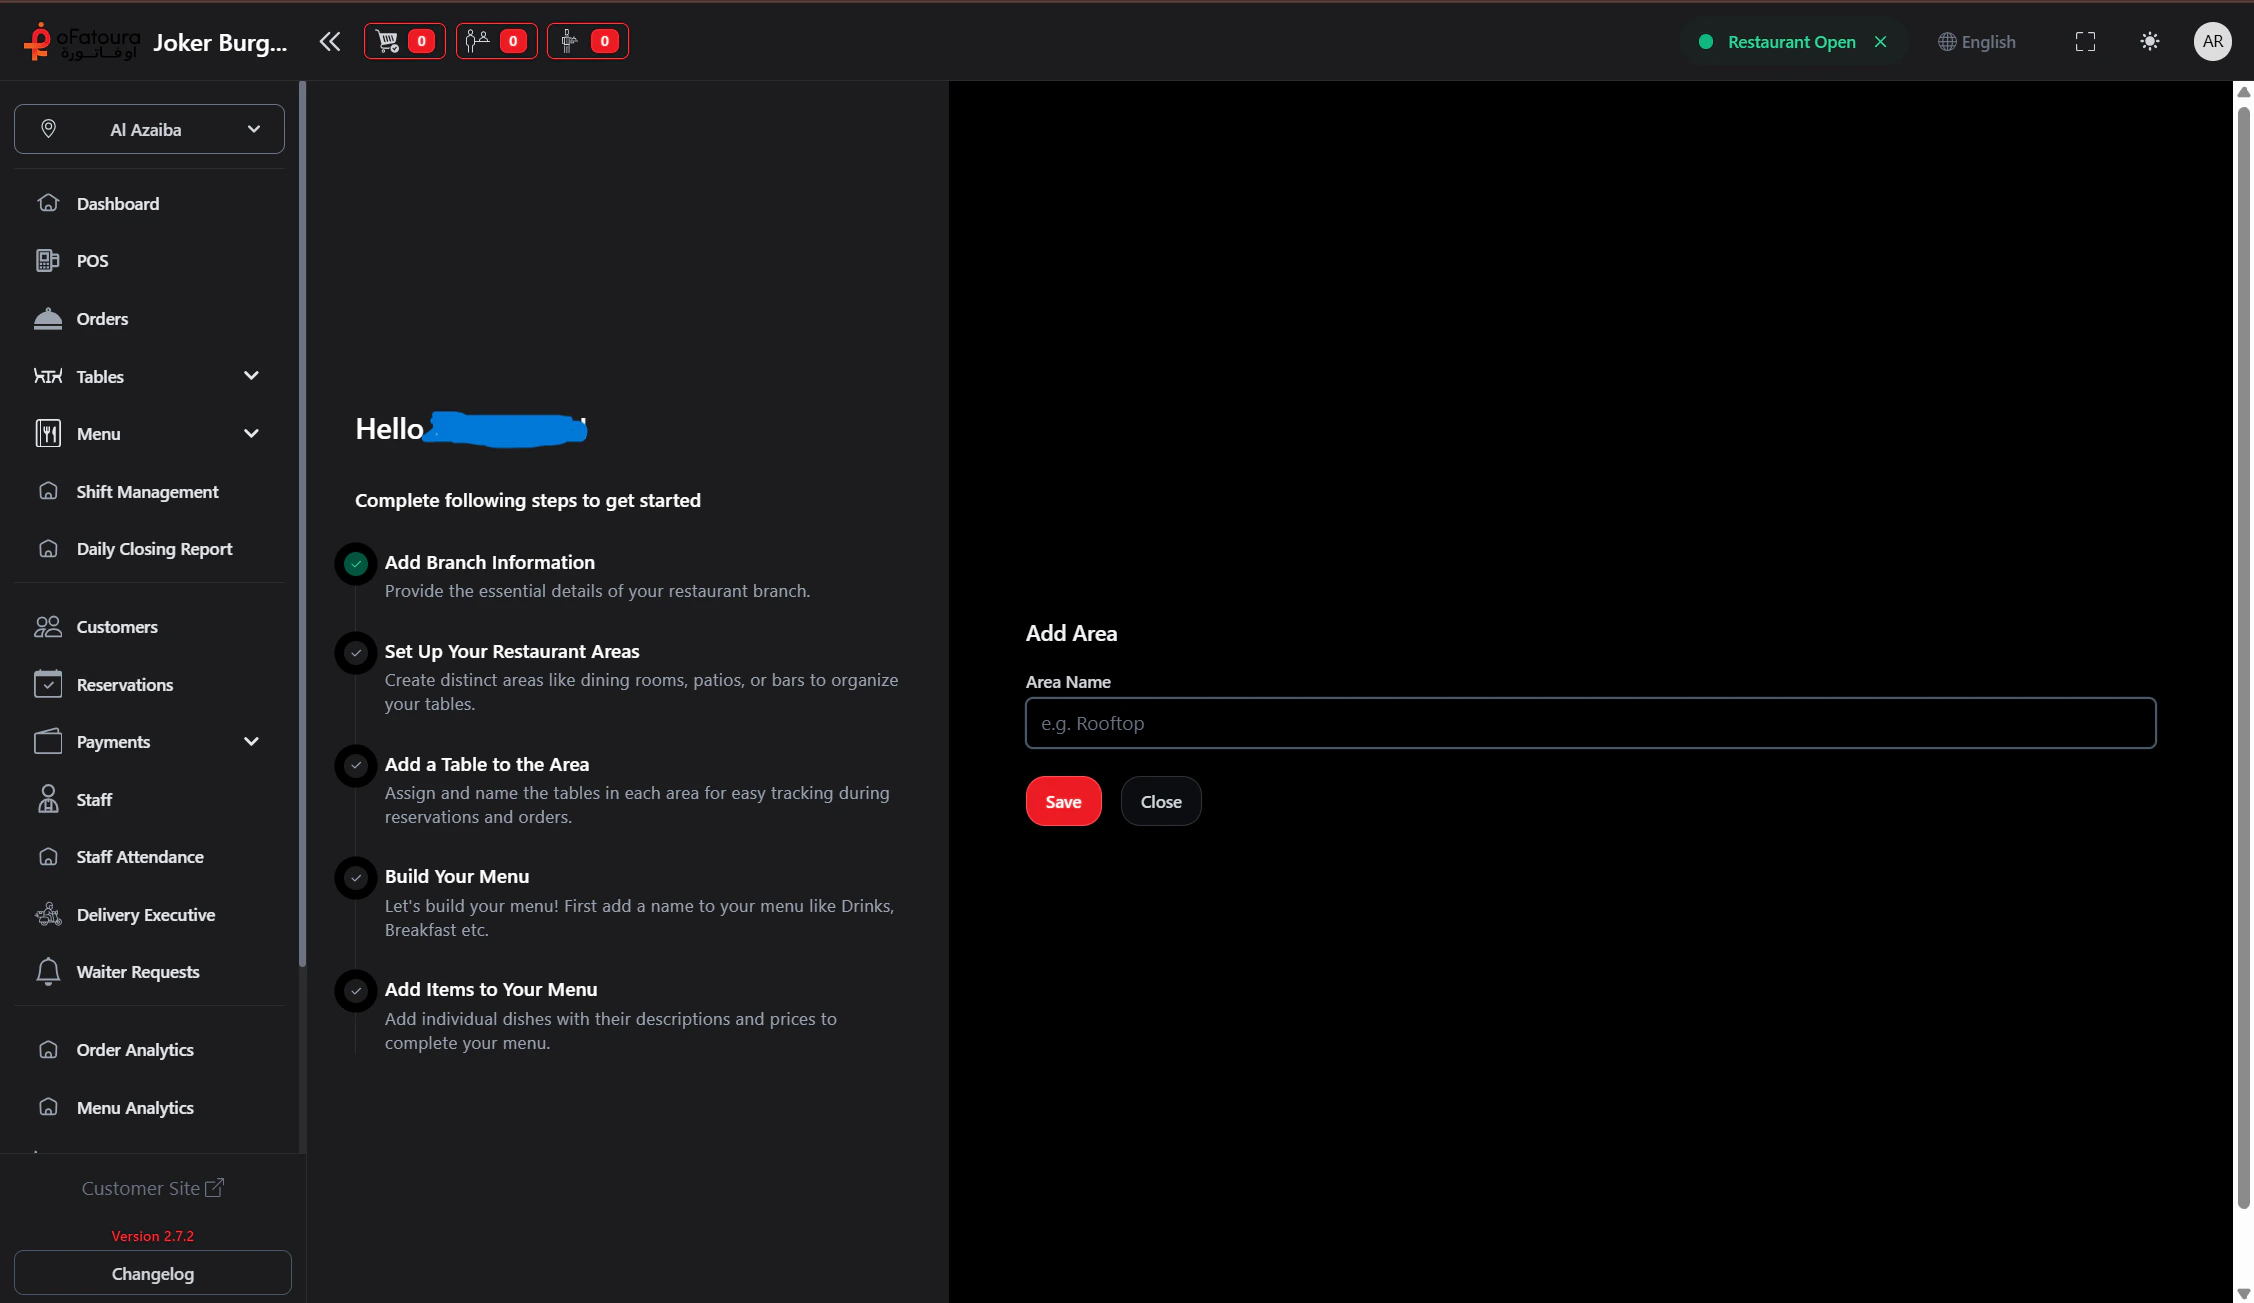
- After first login, complete any onboarding steps
- Enter the requested information (restaurant name, address, phone, currency)
- Click Next or Continue until done
Add or edit restaurant details
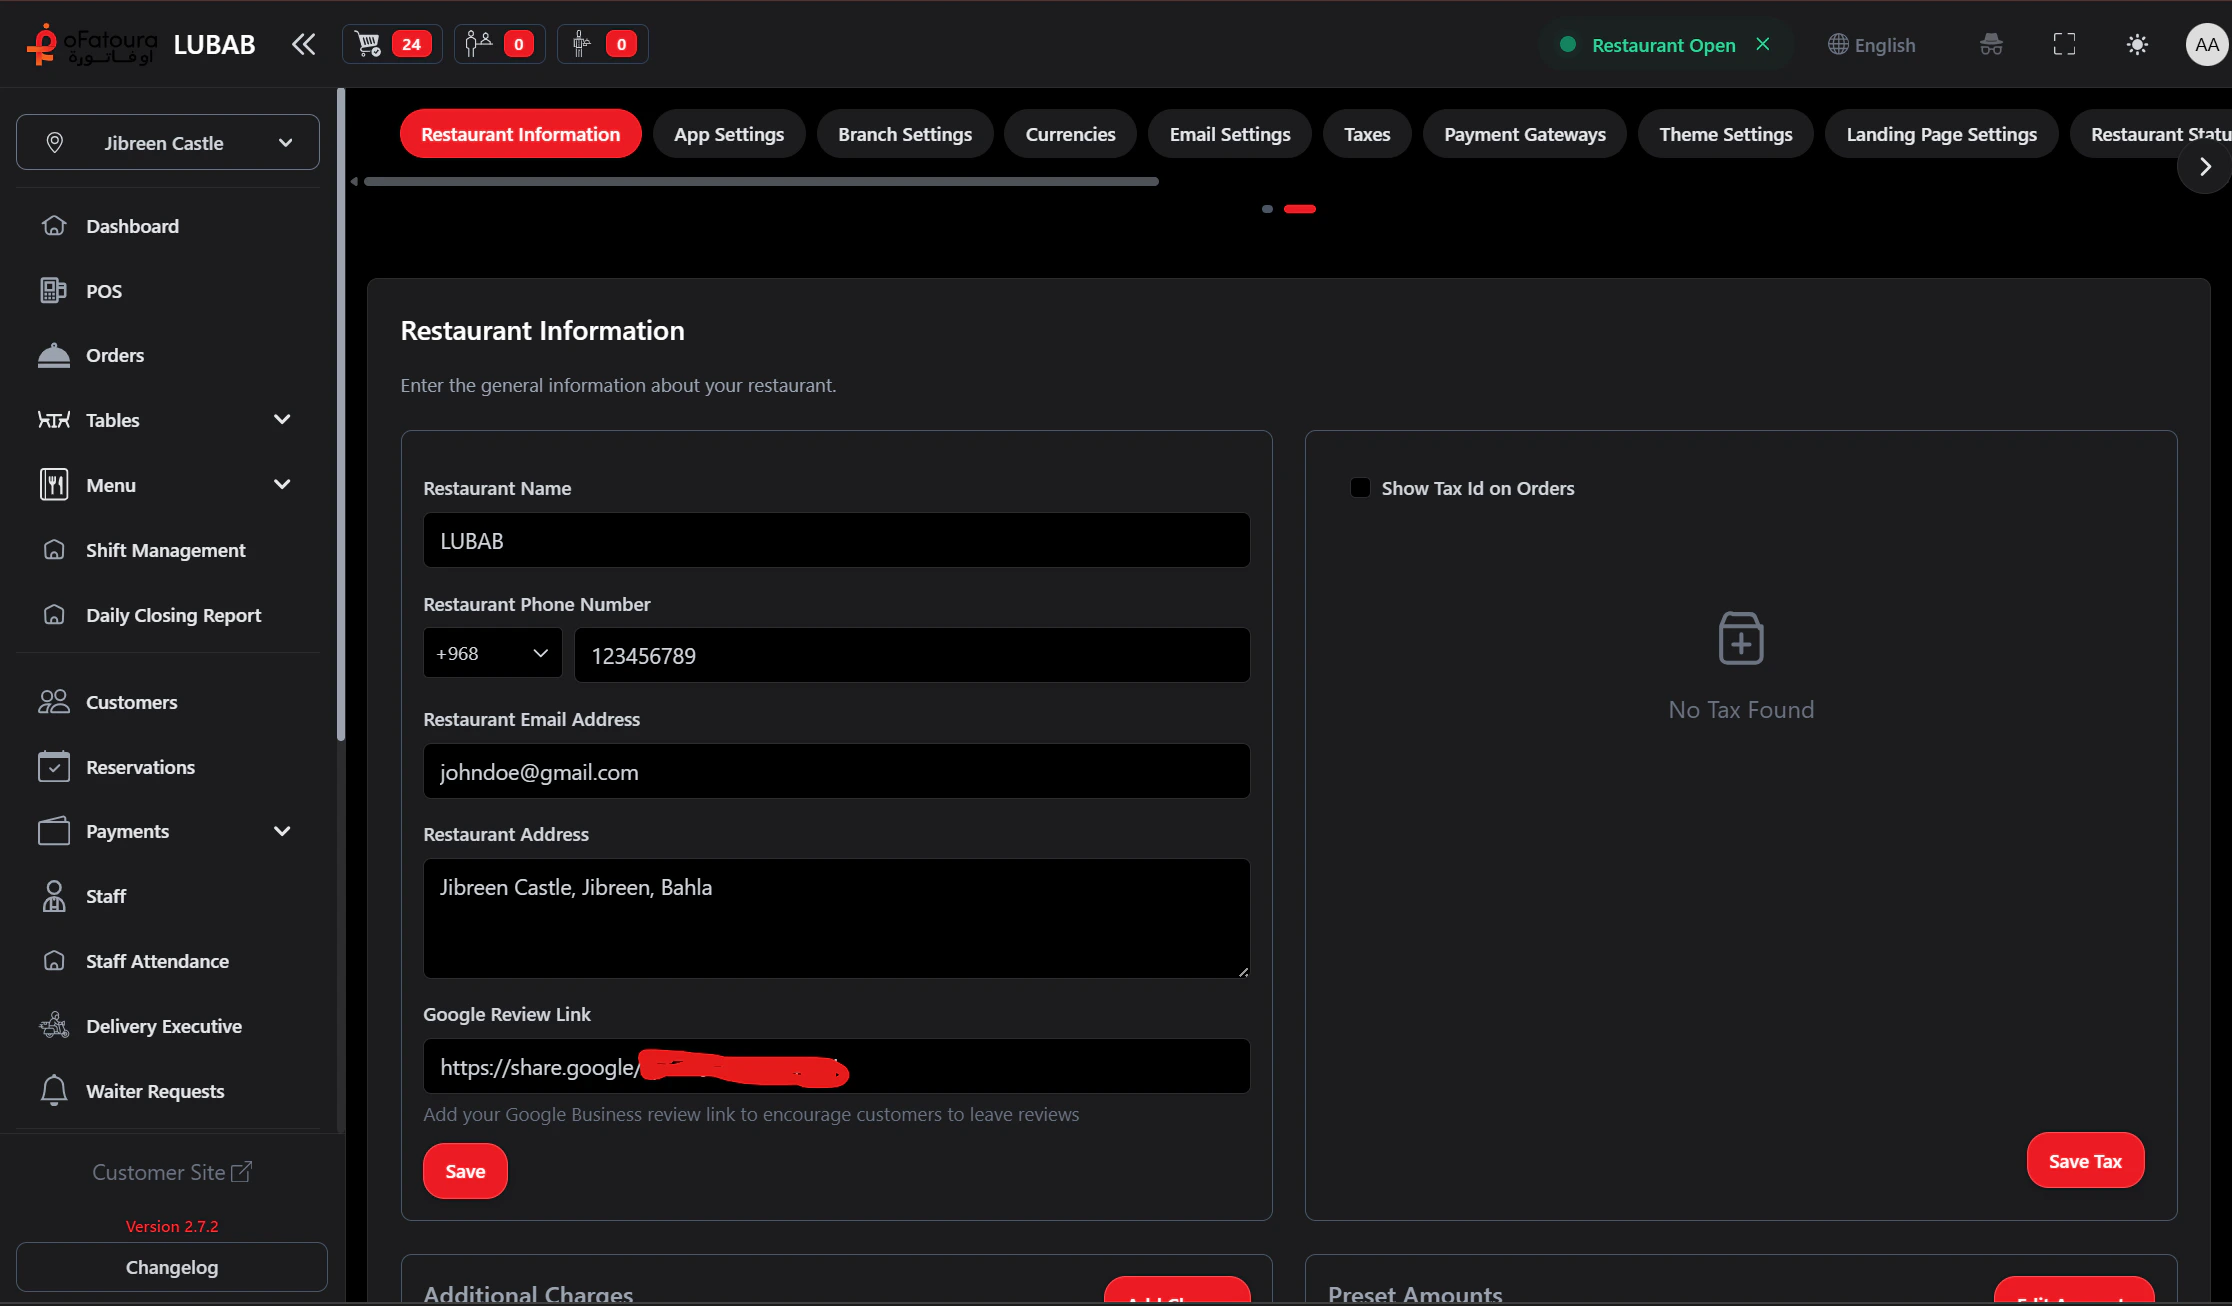
- Go to Settings in the left sidebar
- Open Restaurant or General
- Update:
- Restaurant name
- Address
- Phone number
- Currency
- Timezone (if available)
- Click Save
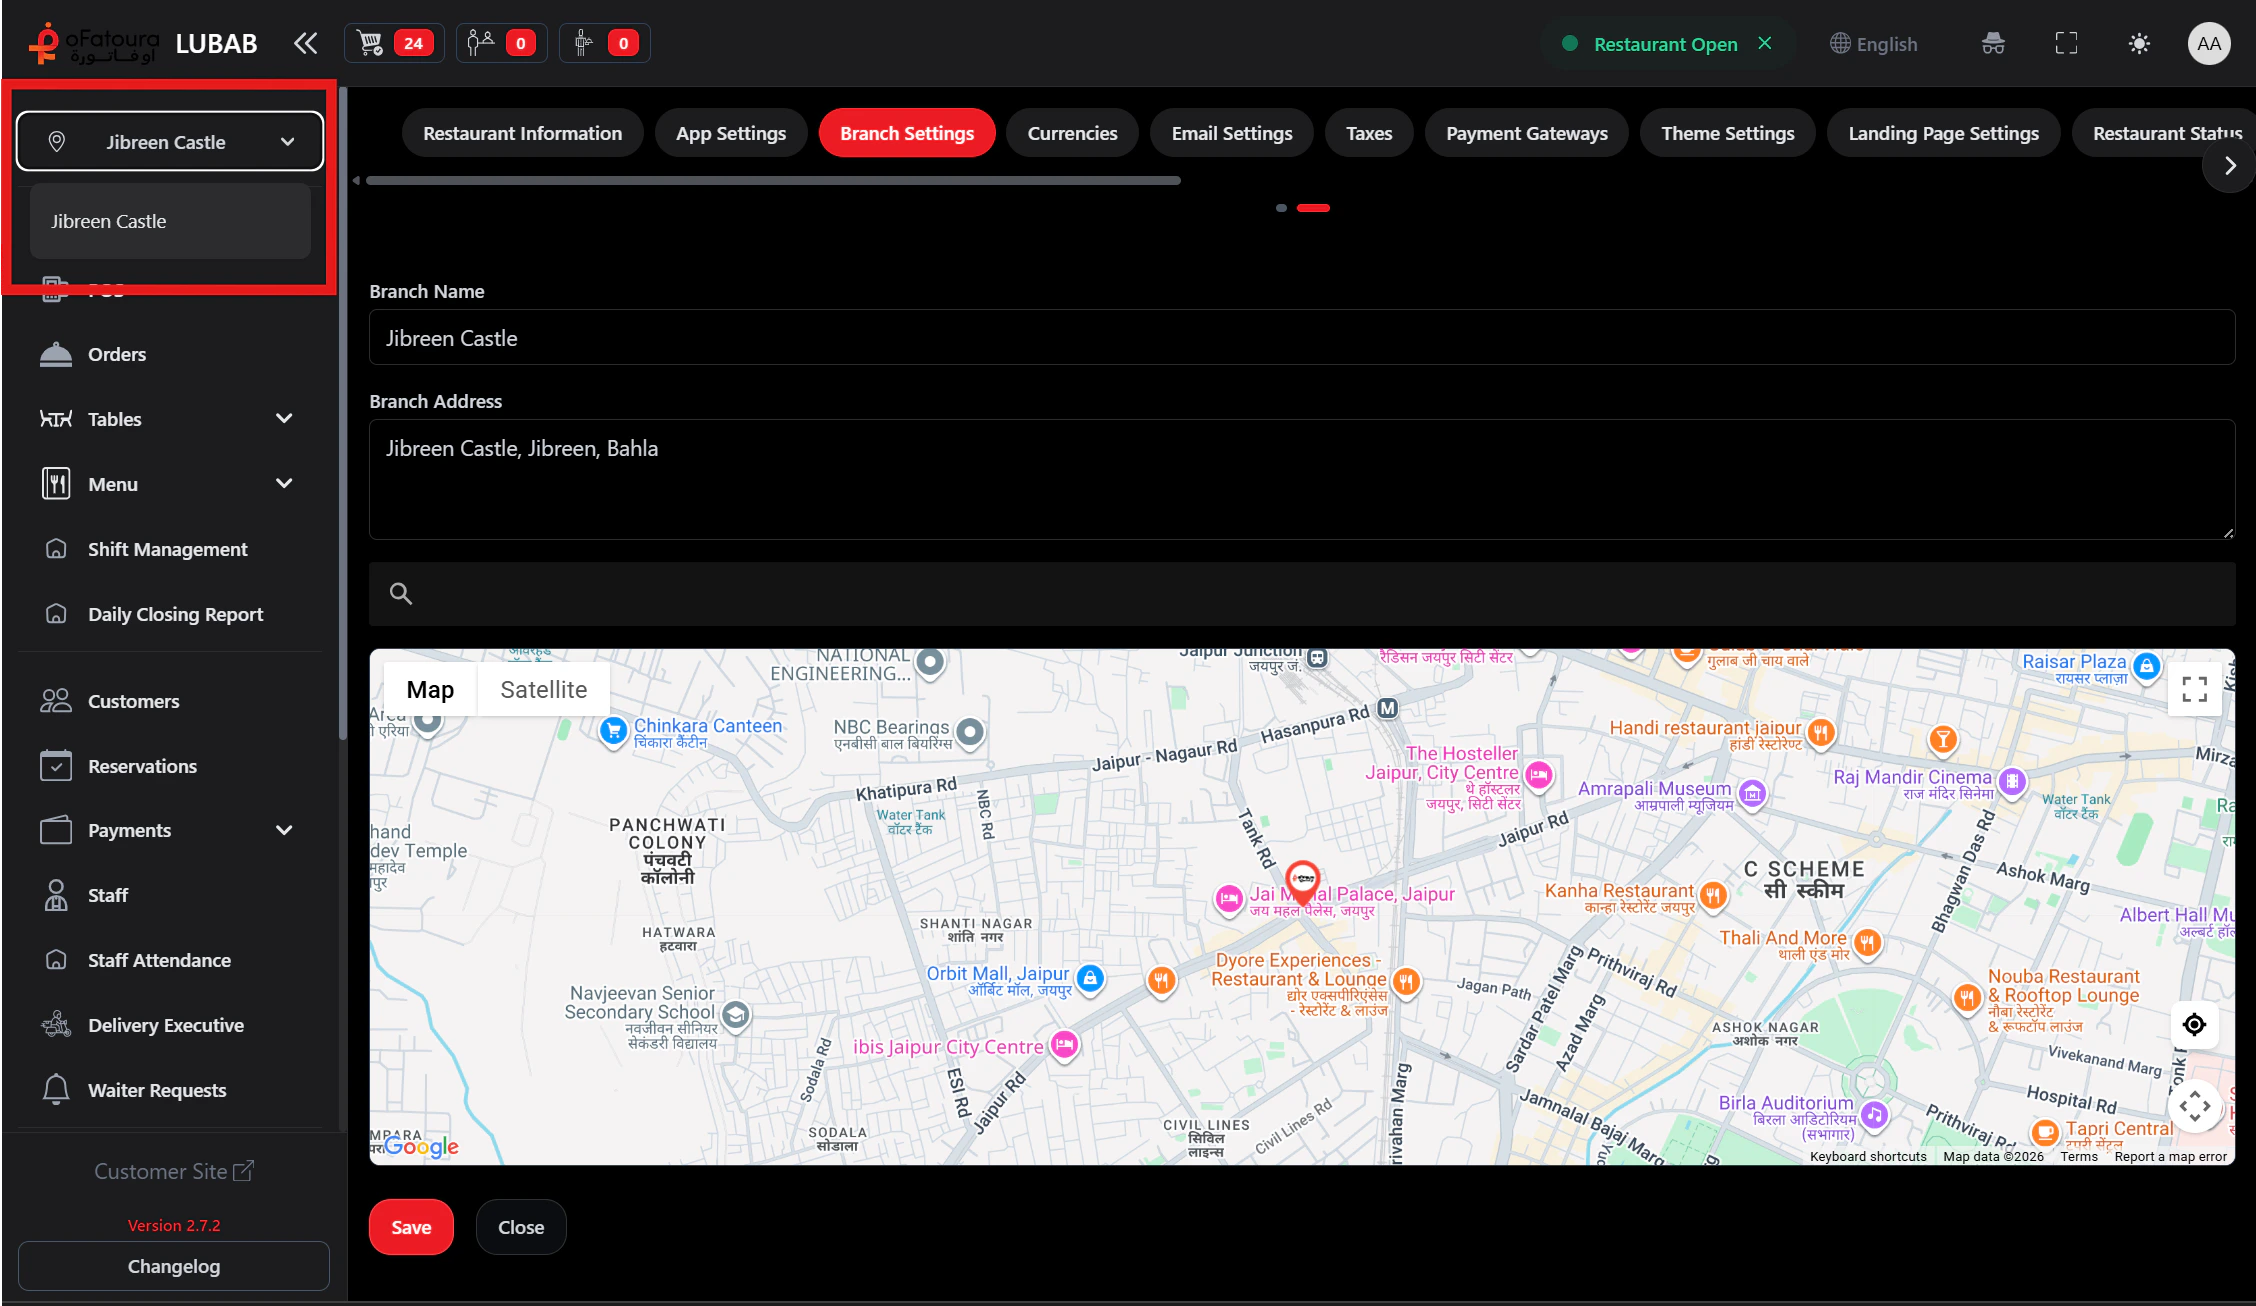
Add branches (if supported)
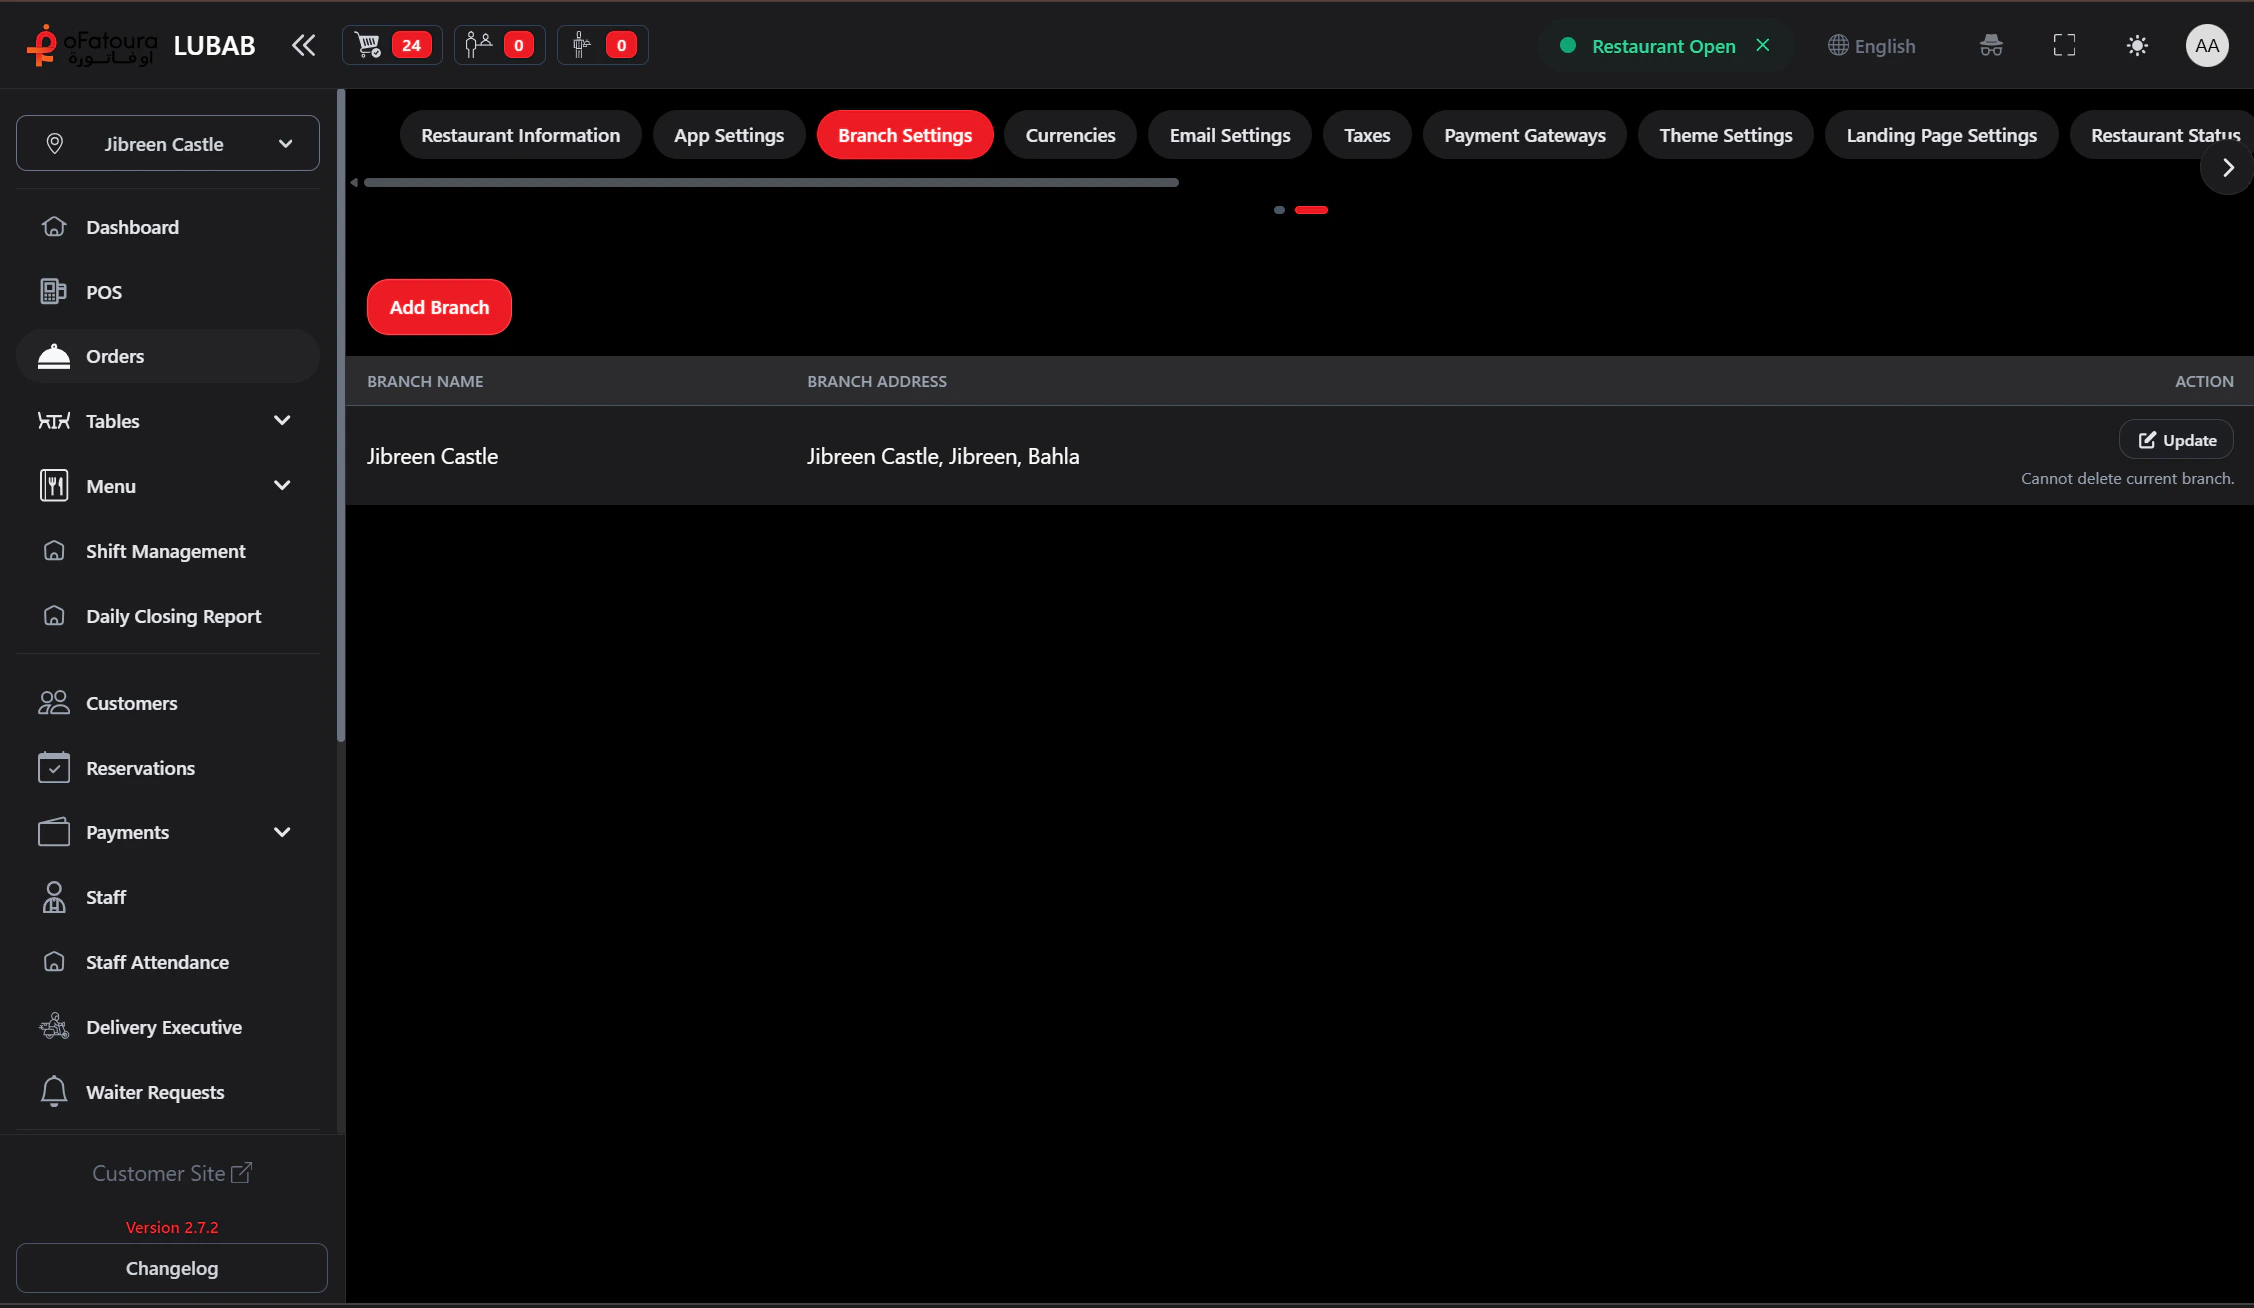
- In Settings, open Branches or Locations
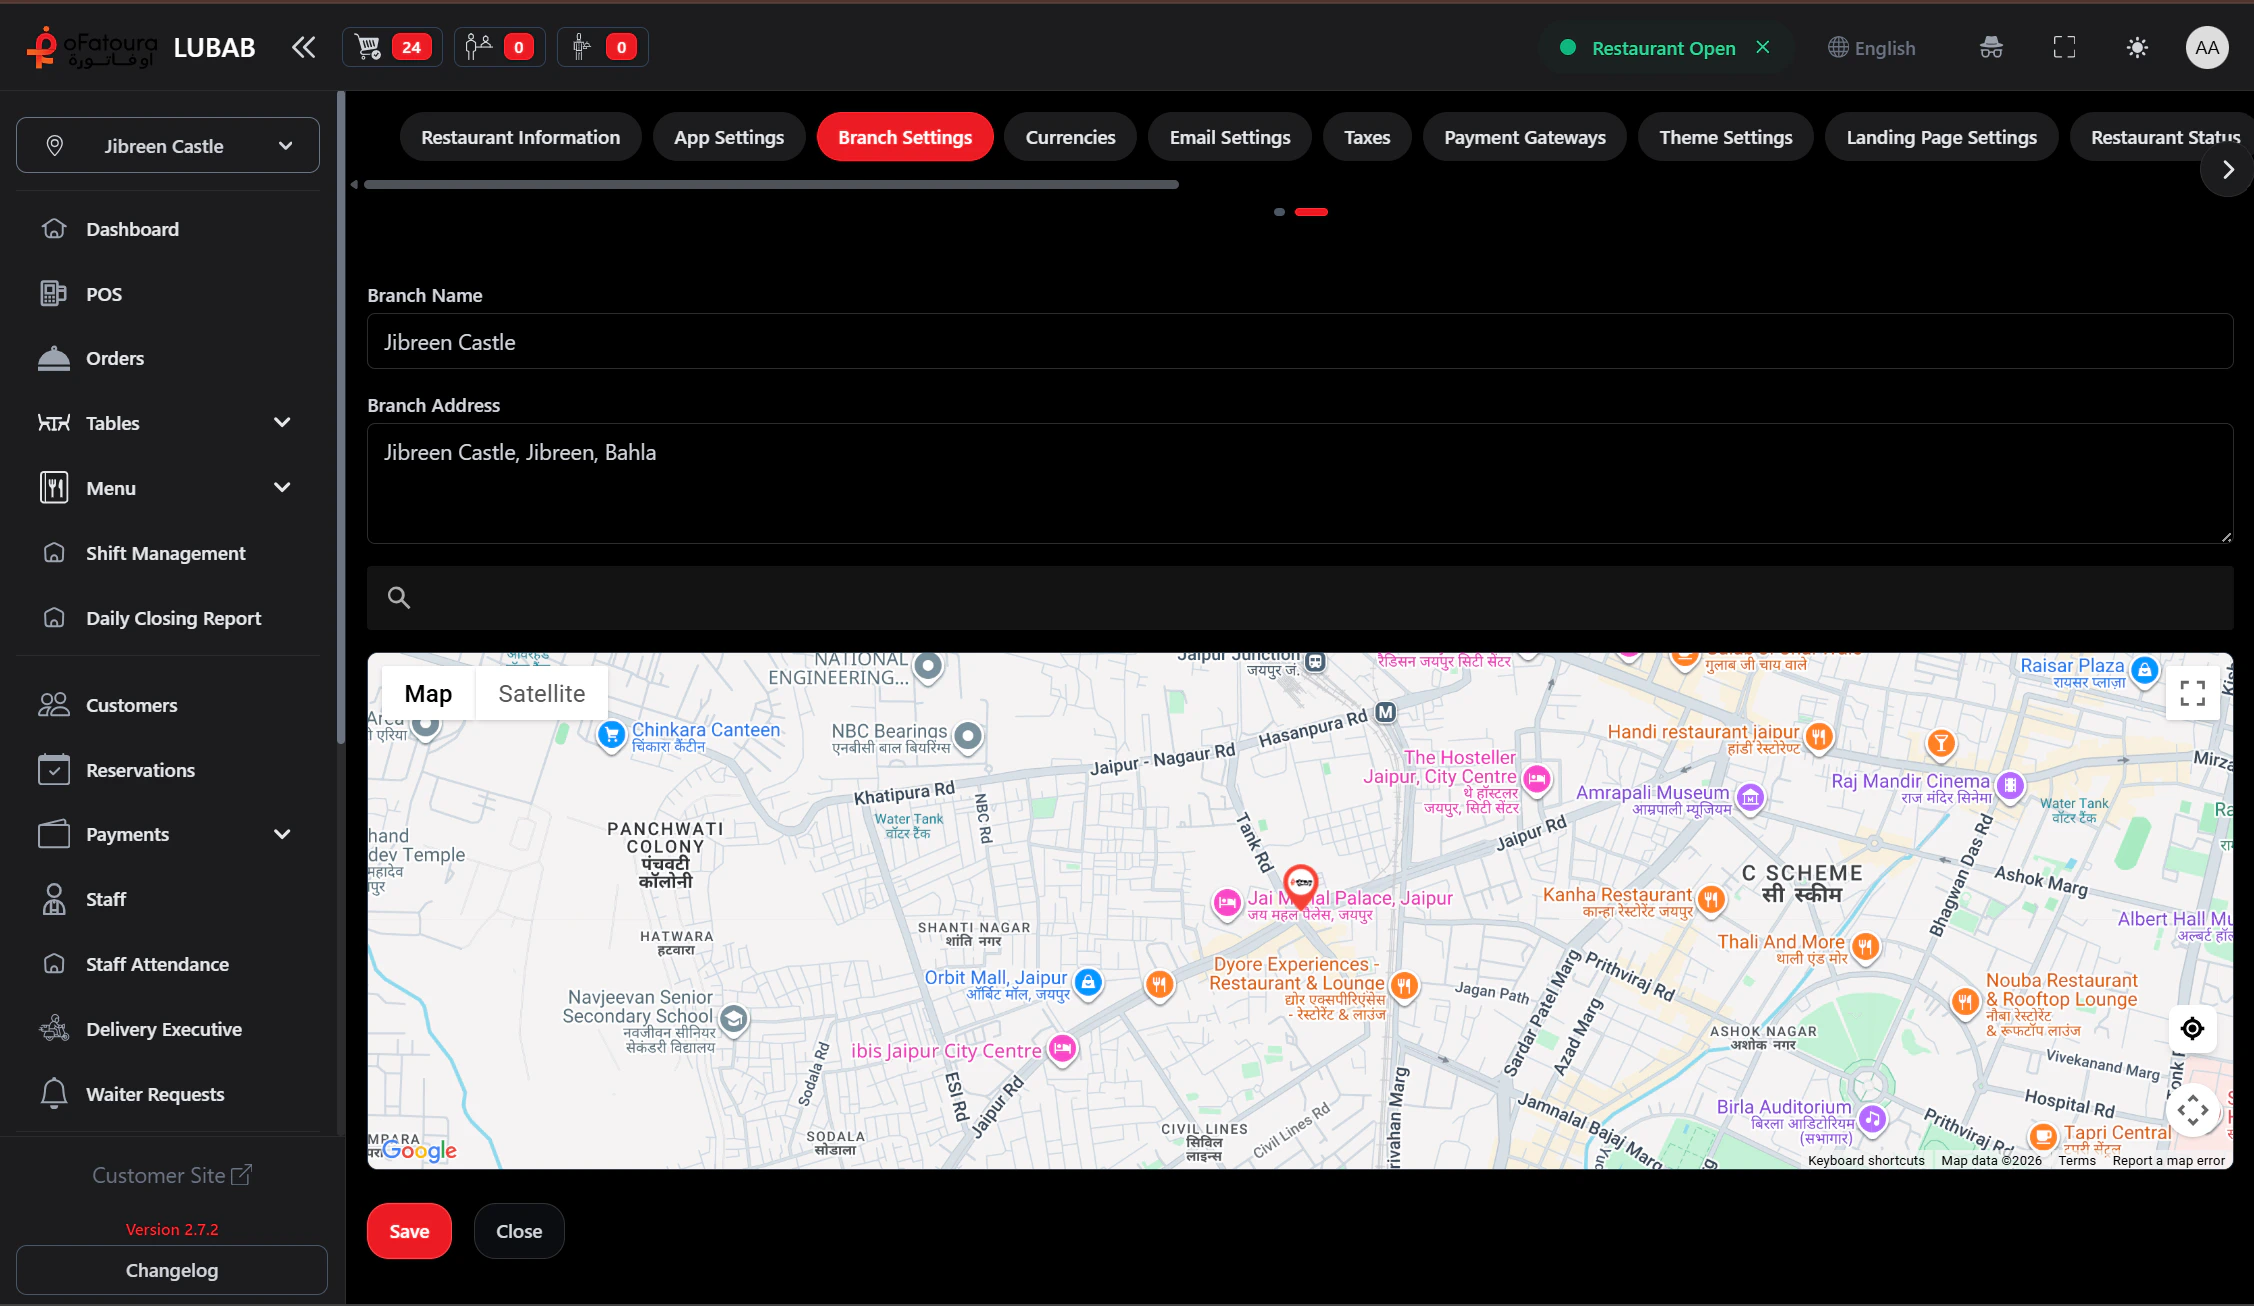
- Click Add branch
- Enter branch name, address, and contact
- Save
- Repeat for each location
Switch between branches
- Use the branch selector in the top header
- Choose the branch you’re working in
- Data (orders, reports, etc.) is filtered by the selected branch
Essential settings before orders
Before taking orders, configure:| Setting | Purpose |
|---|---|
| Printer settings | Receipt and KOT printers |
| Receipt settings | Receipt layout and content |
| Payment settings | Payment gateway and cash/QR/offline behavior |
Next steps
Dashboard overview
Understand the main screen and quick links.