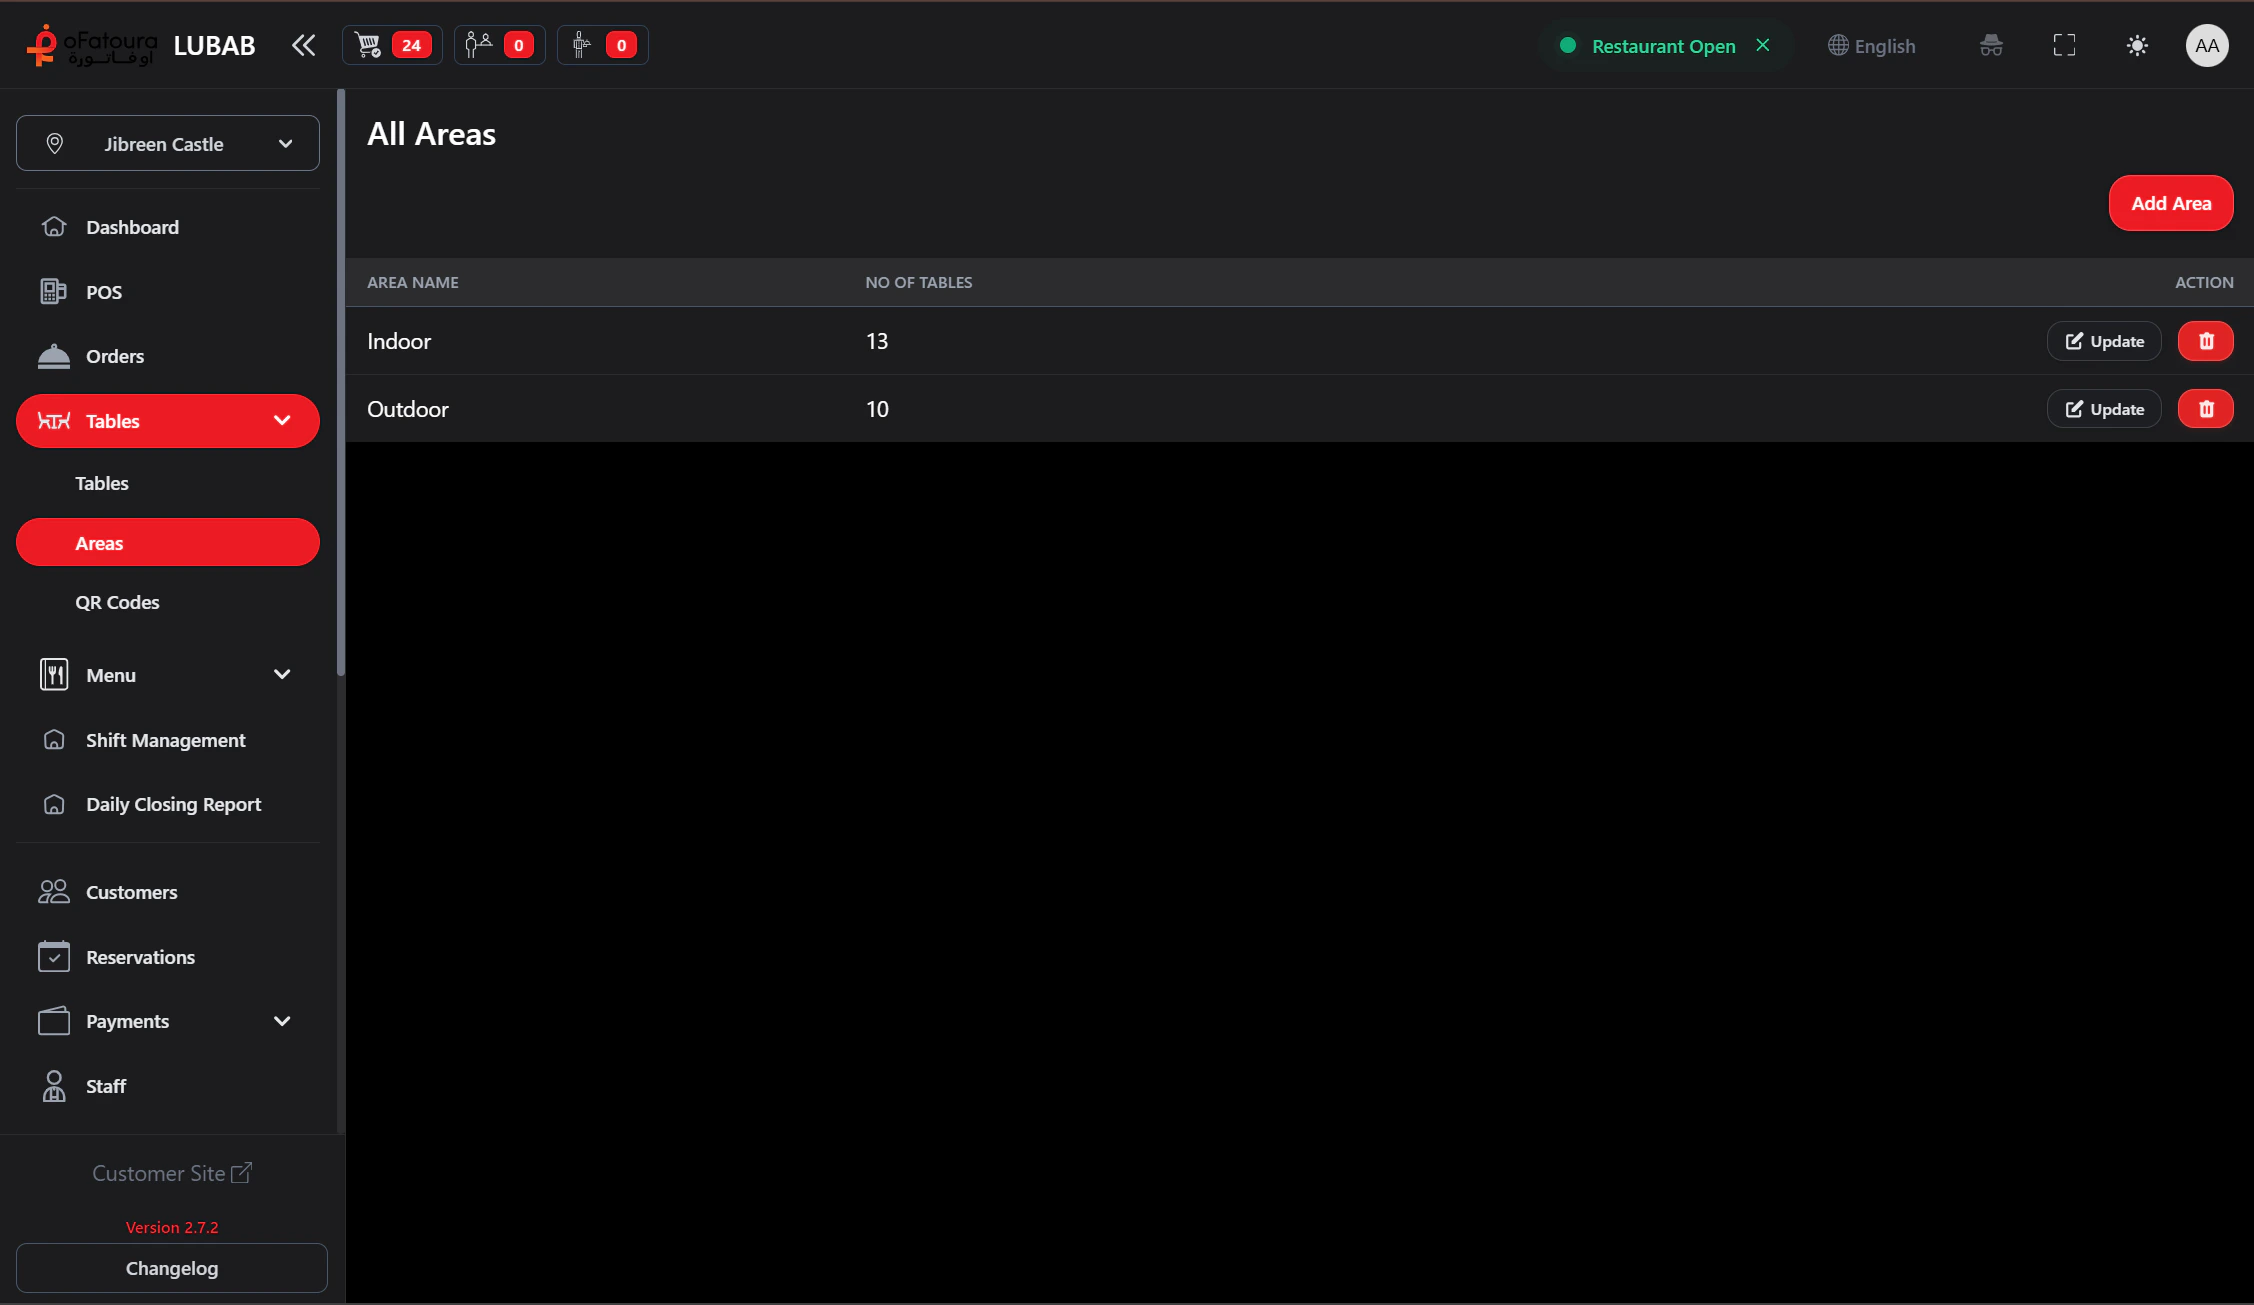
Areas are the sections used to organize tables (for example Main Hall, Terrace, VIP).Documentation Index
Fetch the complete documentation index at: https://docs.ofatoura.com/llms.txt
Use this file to discover all available pages before exploring further.
Why define Areas?
- Add and maintain area names.
- See table count per area.
- Group table view by area on the Tables page.
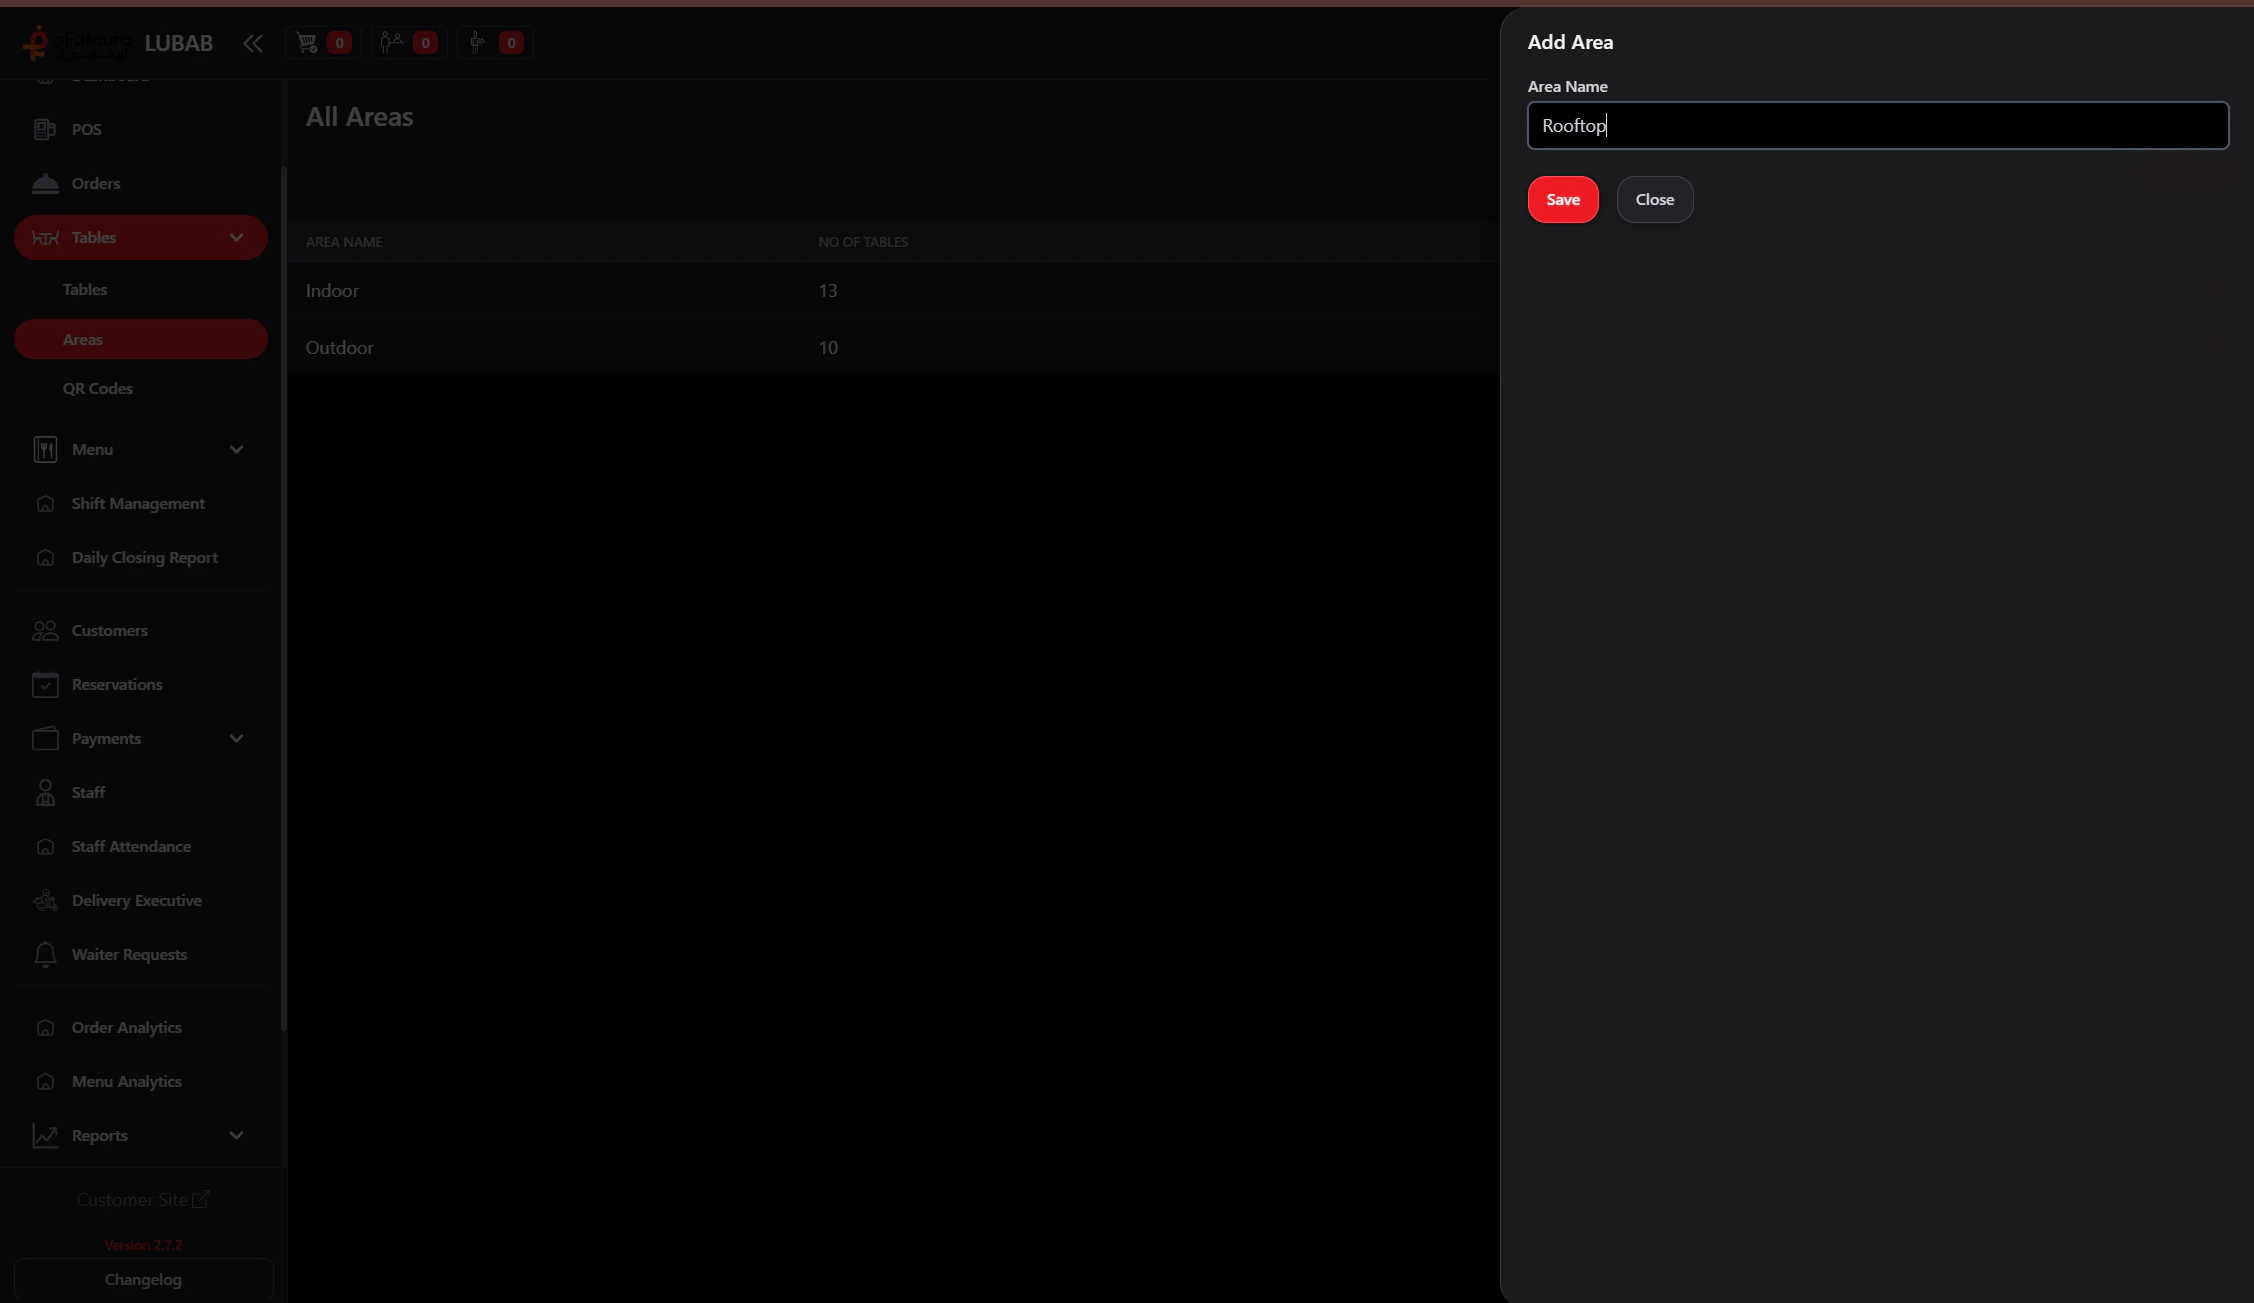
Setup Procedure
Use in Tables
Open Tables and assign tables to the new area.
Keep area names short and operational (for example Main Hall, Patio, Bar).
Tables
Add tables to your new area
Waiter Requests
Handle service calls by area