A menu is a named container for your menu items. You can create multiple menus (for example, Breakfast, Lunch, Dinner, or Seasonal menus) and manage items inside each one.Documentation Index
Fetch the complete documentation index at: https://docs.ofatoura.com/llms.txt
Use this file to discover all available pages before exploring further.
Use Cases
- Service windows: Create separate menus like Breakfast and Dinner.
- Seasonal updates: Keep a temporary menu without changing your core menu.
- Cleaner operations: Group items by business flow and manage them from one place.
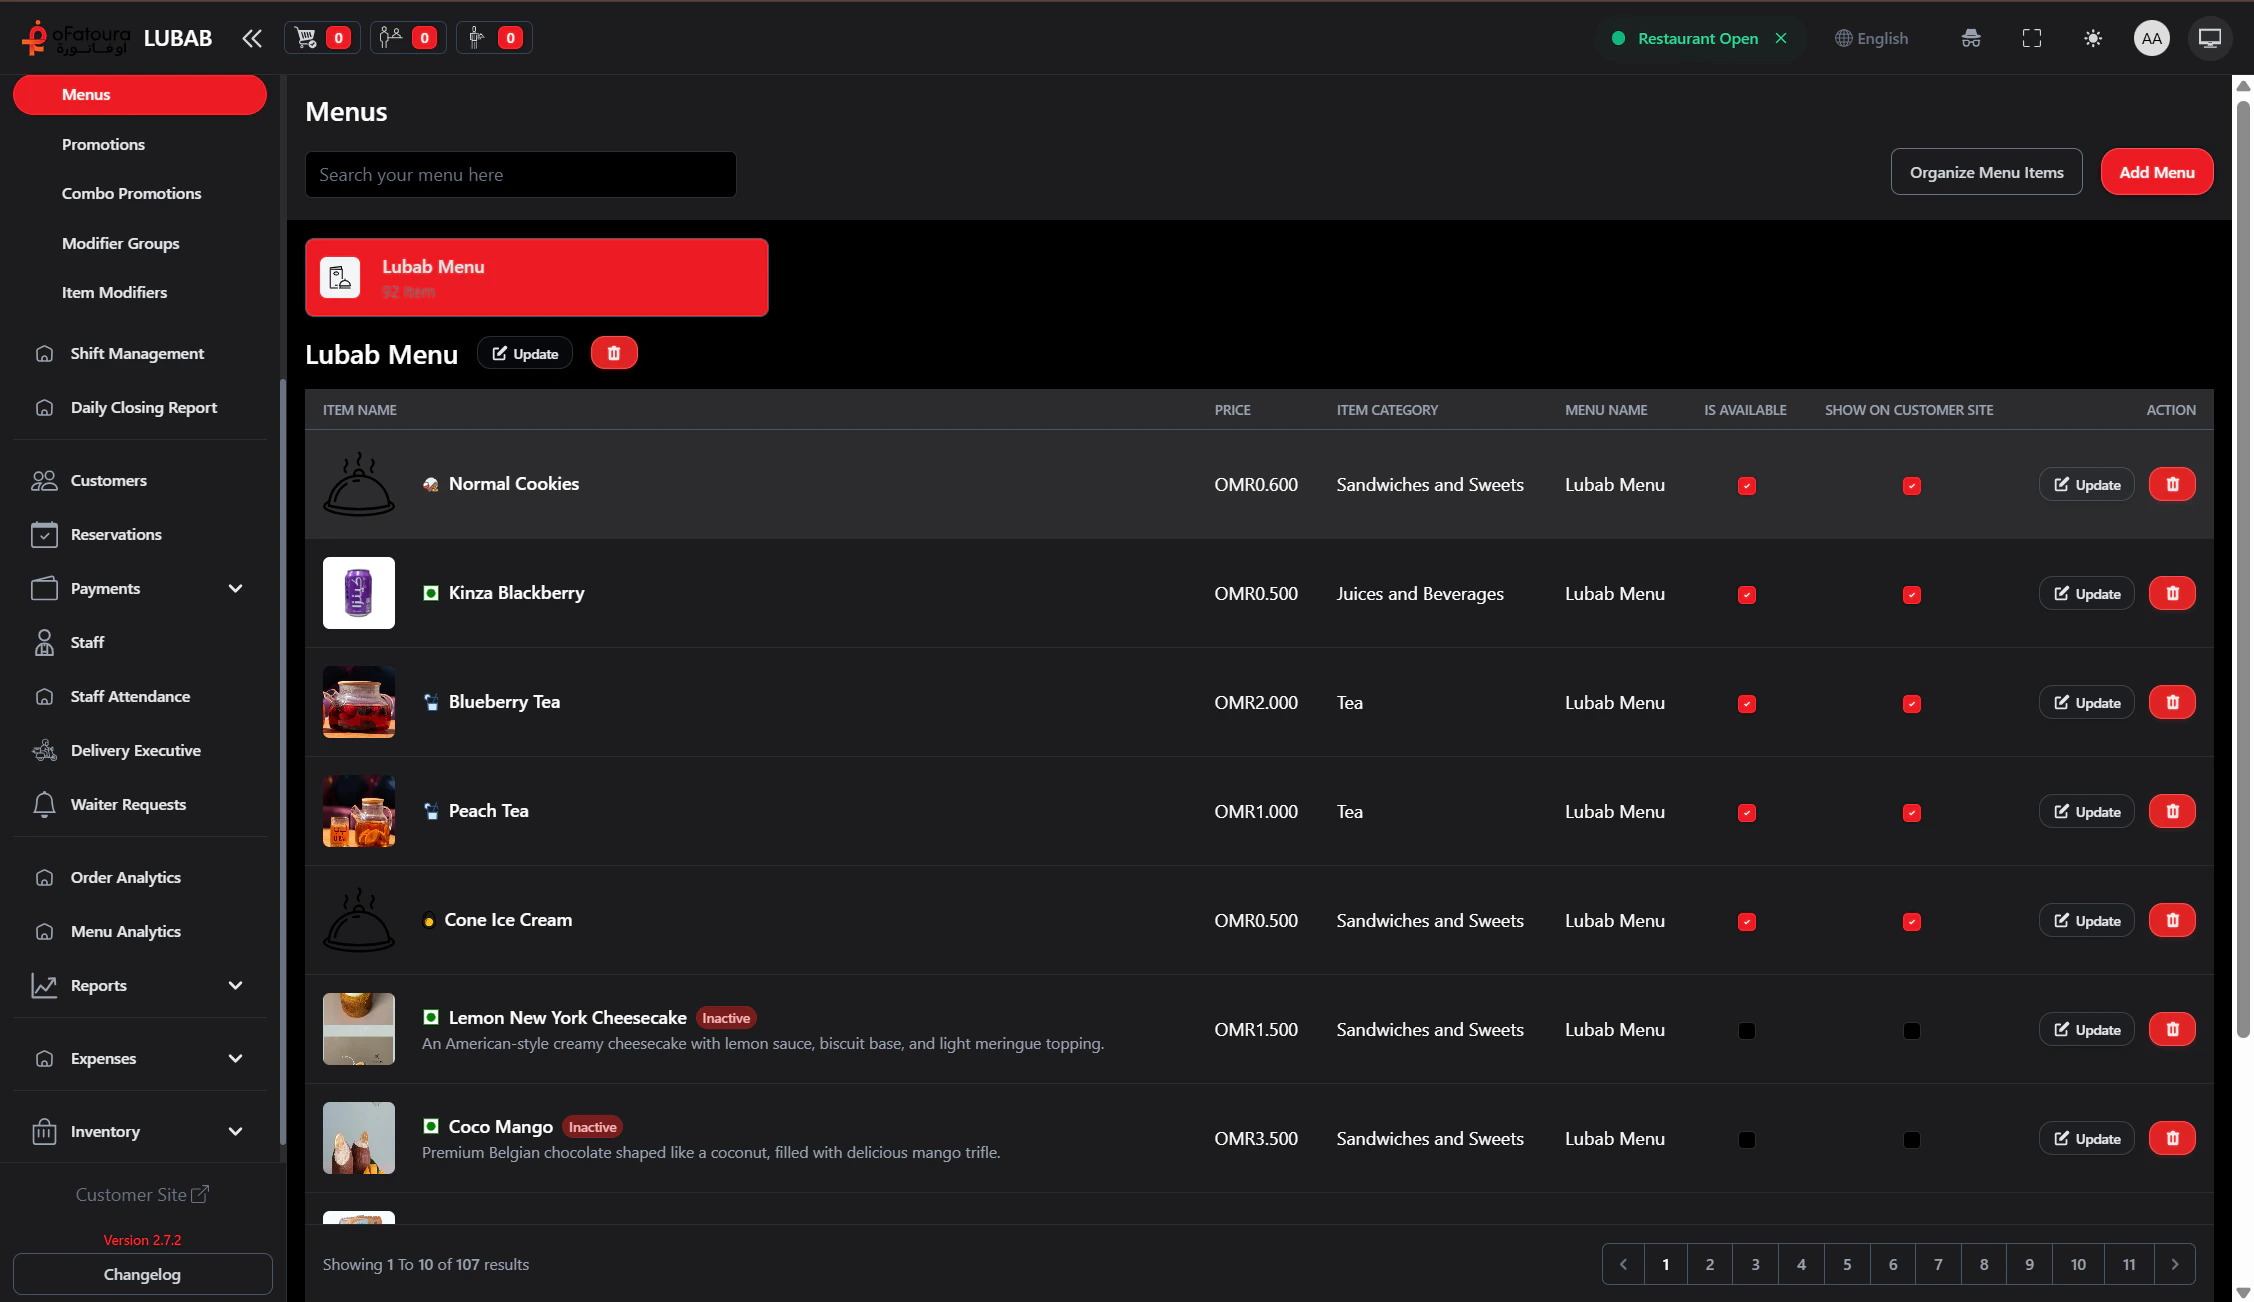
Creating a Menu

Add Translations (Optional)
If your system has multiple languages enabled, switch language and add translated menu names.
Open Menu Items for This Menu
Click the menu card to open its item list.You can then add, edit, and organize items under that selected menu.
Use Sort Menu Items to control display order for categories/items when needed.
Item Categories
The building blocks of a menu
Promotions
Apply deals to specific menu items