Printer Settings manages printer profiles, assignment, and print mode behavior.Documentation Index
Fetch the complete documentation index at: https://docs.ofatoura.com/llms.txt
Use this file to discover all available pages before exploring further.
Supported Printers
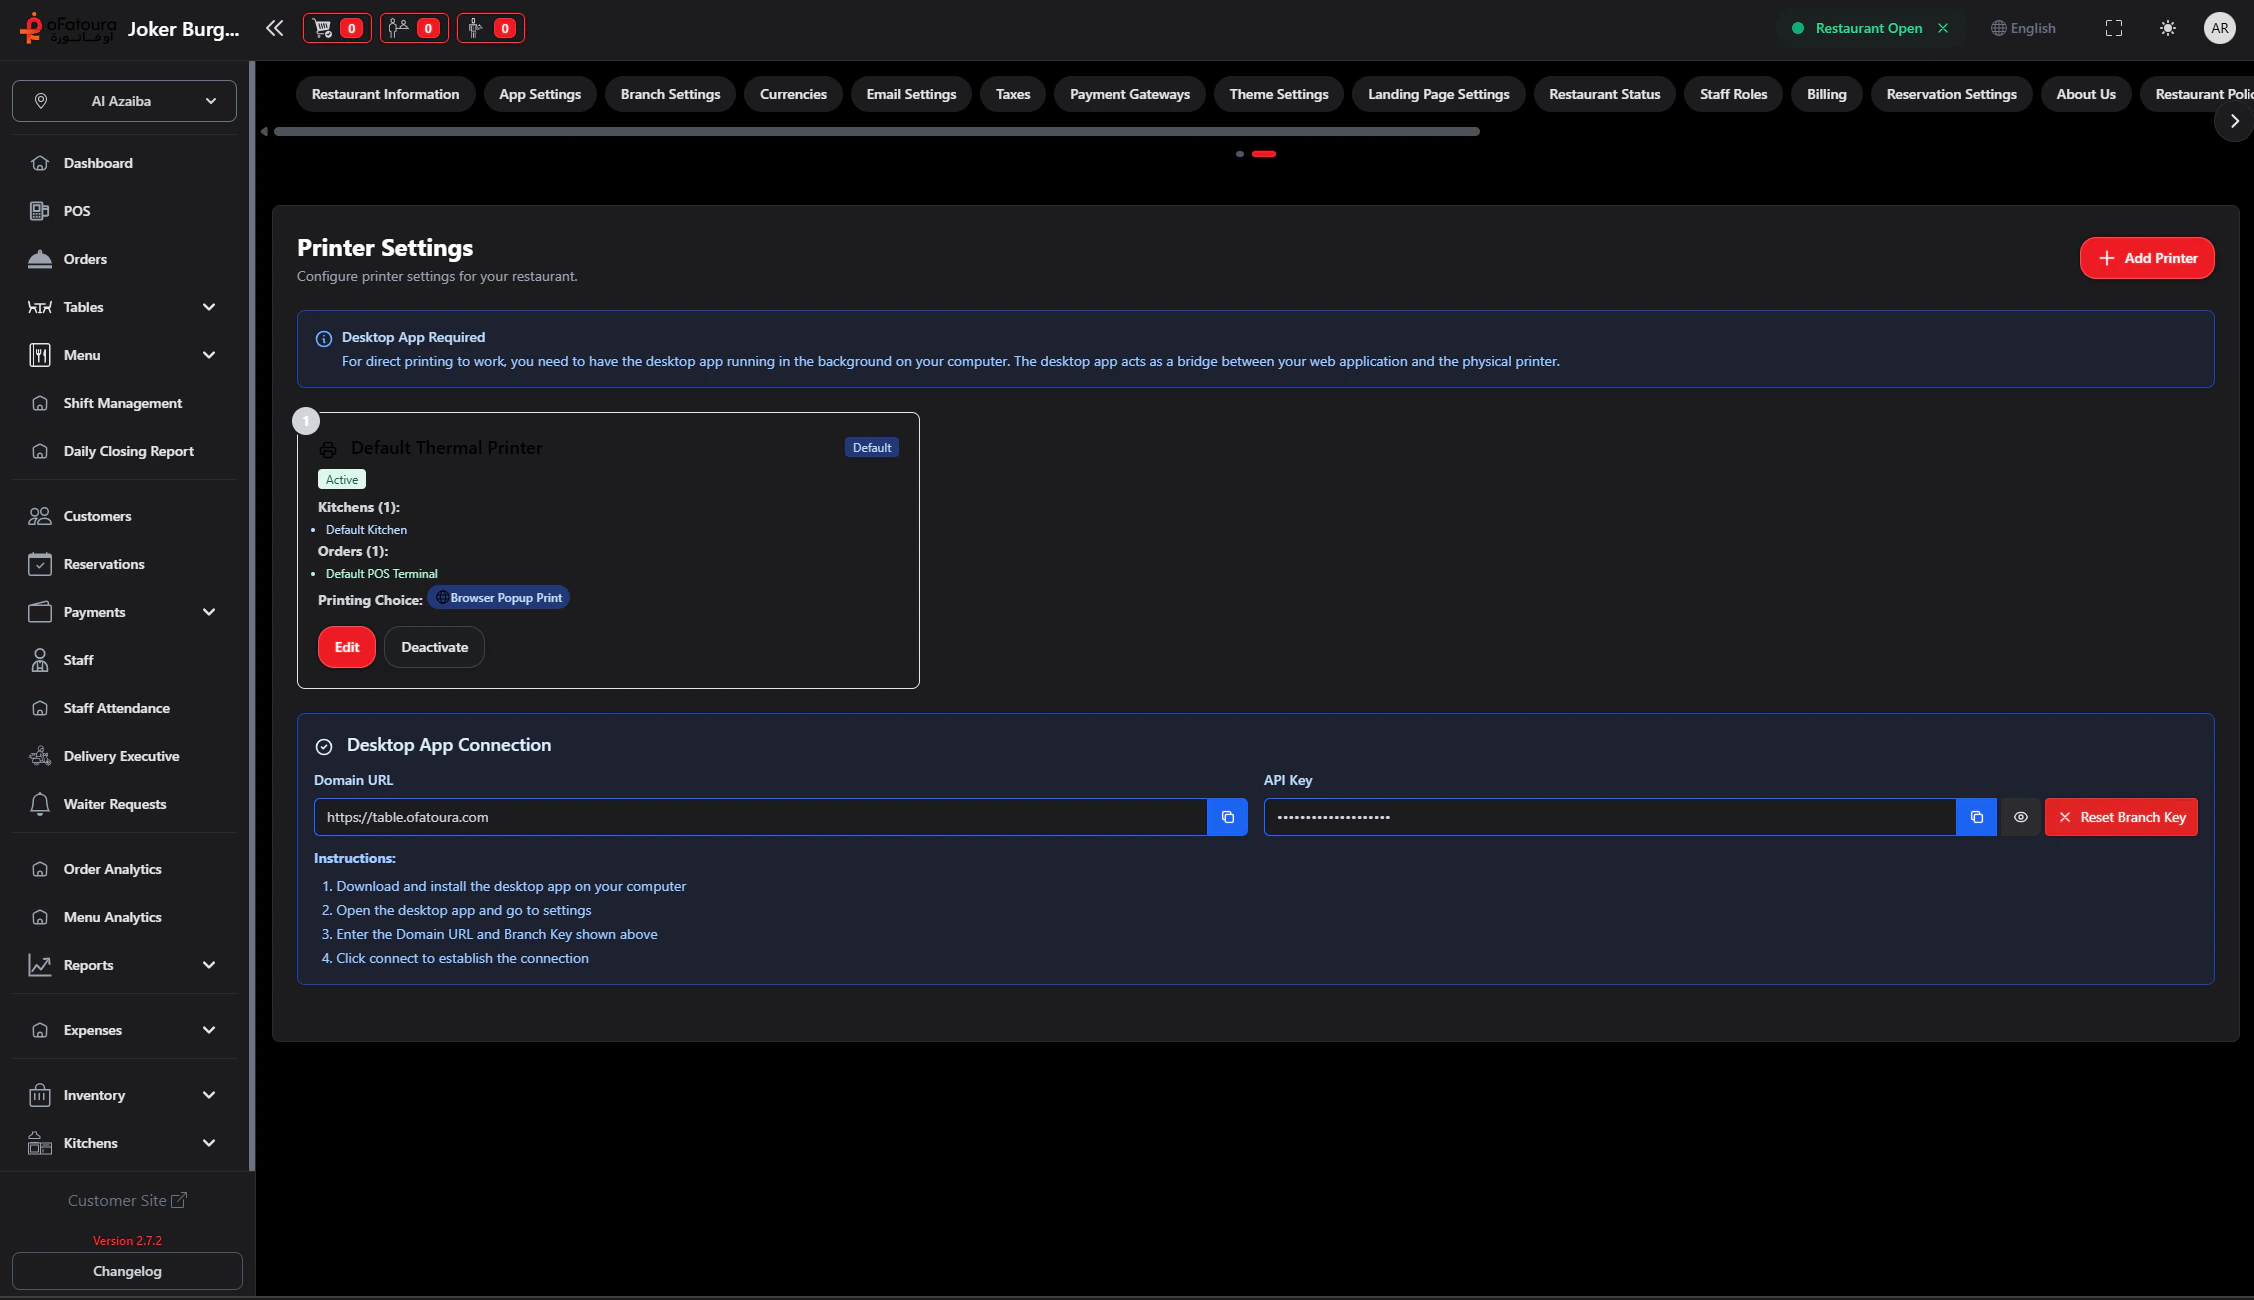
- Assignments: Link printers to kitchen places and POS terminals.
- Print Choice: Browser popup print or direct print.
- Print Format: Thermal formats for direct-print mode.
- Default/Active Controls: Mark default printer and toggle active status.
Setup Guide
Configure Profile
- Enter printer name.
- Assign one or more kitchens (KOT) and POS terminals.
- Optionally mark as Default.
Select Print Mode
- Browser Popup Print for browser-based print dialog.
- Direct Print for direct thermal printing (requires desktop print app).
- If direct print is used, select thermal format.
When desktop printing is enabled, the page also shows connection details (domain URL and branch key) for the desktop app.
KOT Settings
Route items to kitchen stations
Receipt Design
Customize the look of the bill