Manage how online and offline payments are accepted for your restaurant.Documentation Index
Fetch the complete documentation index at: https://docs.ofatoura.com/llms.txt
Use this file to discover all available pages before exploring further.
Payment Essentials
- Gateway Tabs: Configure credentials and status for enabled gateways.
- Offline/Cash/QR Tabs: Enable manual payments, cash, and QR collection.
- Service-Specific Rules: Require online payment for dine-in, delivery, or pickup.
- Webhook URLs: Copy webhook endpoints for gateway integrations.
Configuring Payments
Access Payment Settings
- Go to Settings > Payment Settings.
- Open the required tab (gateway, offline, QR, or service-specific).
Gateway Setup
- Enable gateway status.
- Set mode (live/sandbox/test where applicable).
- Enter required API keys/secrets.
- Save after validation.
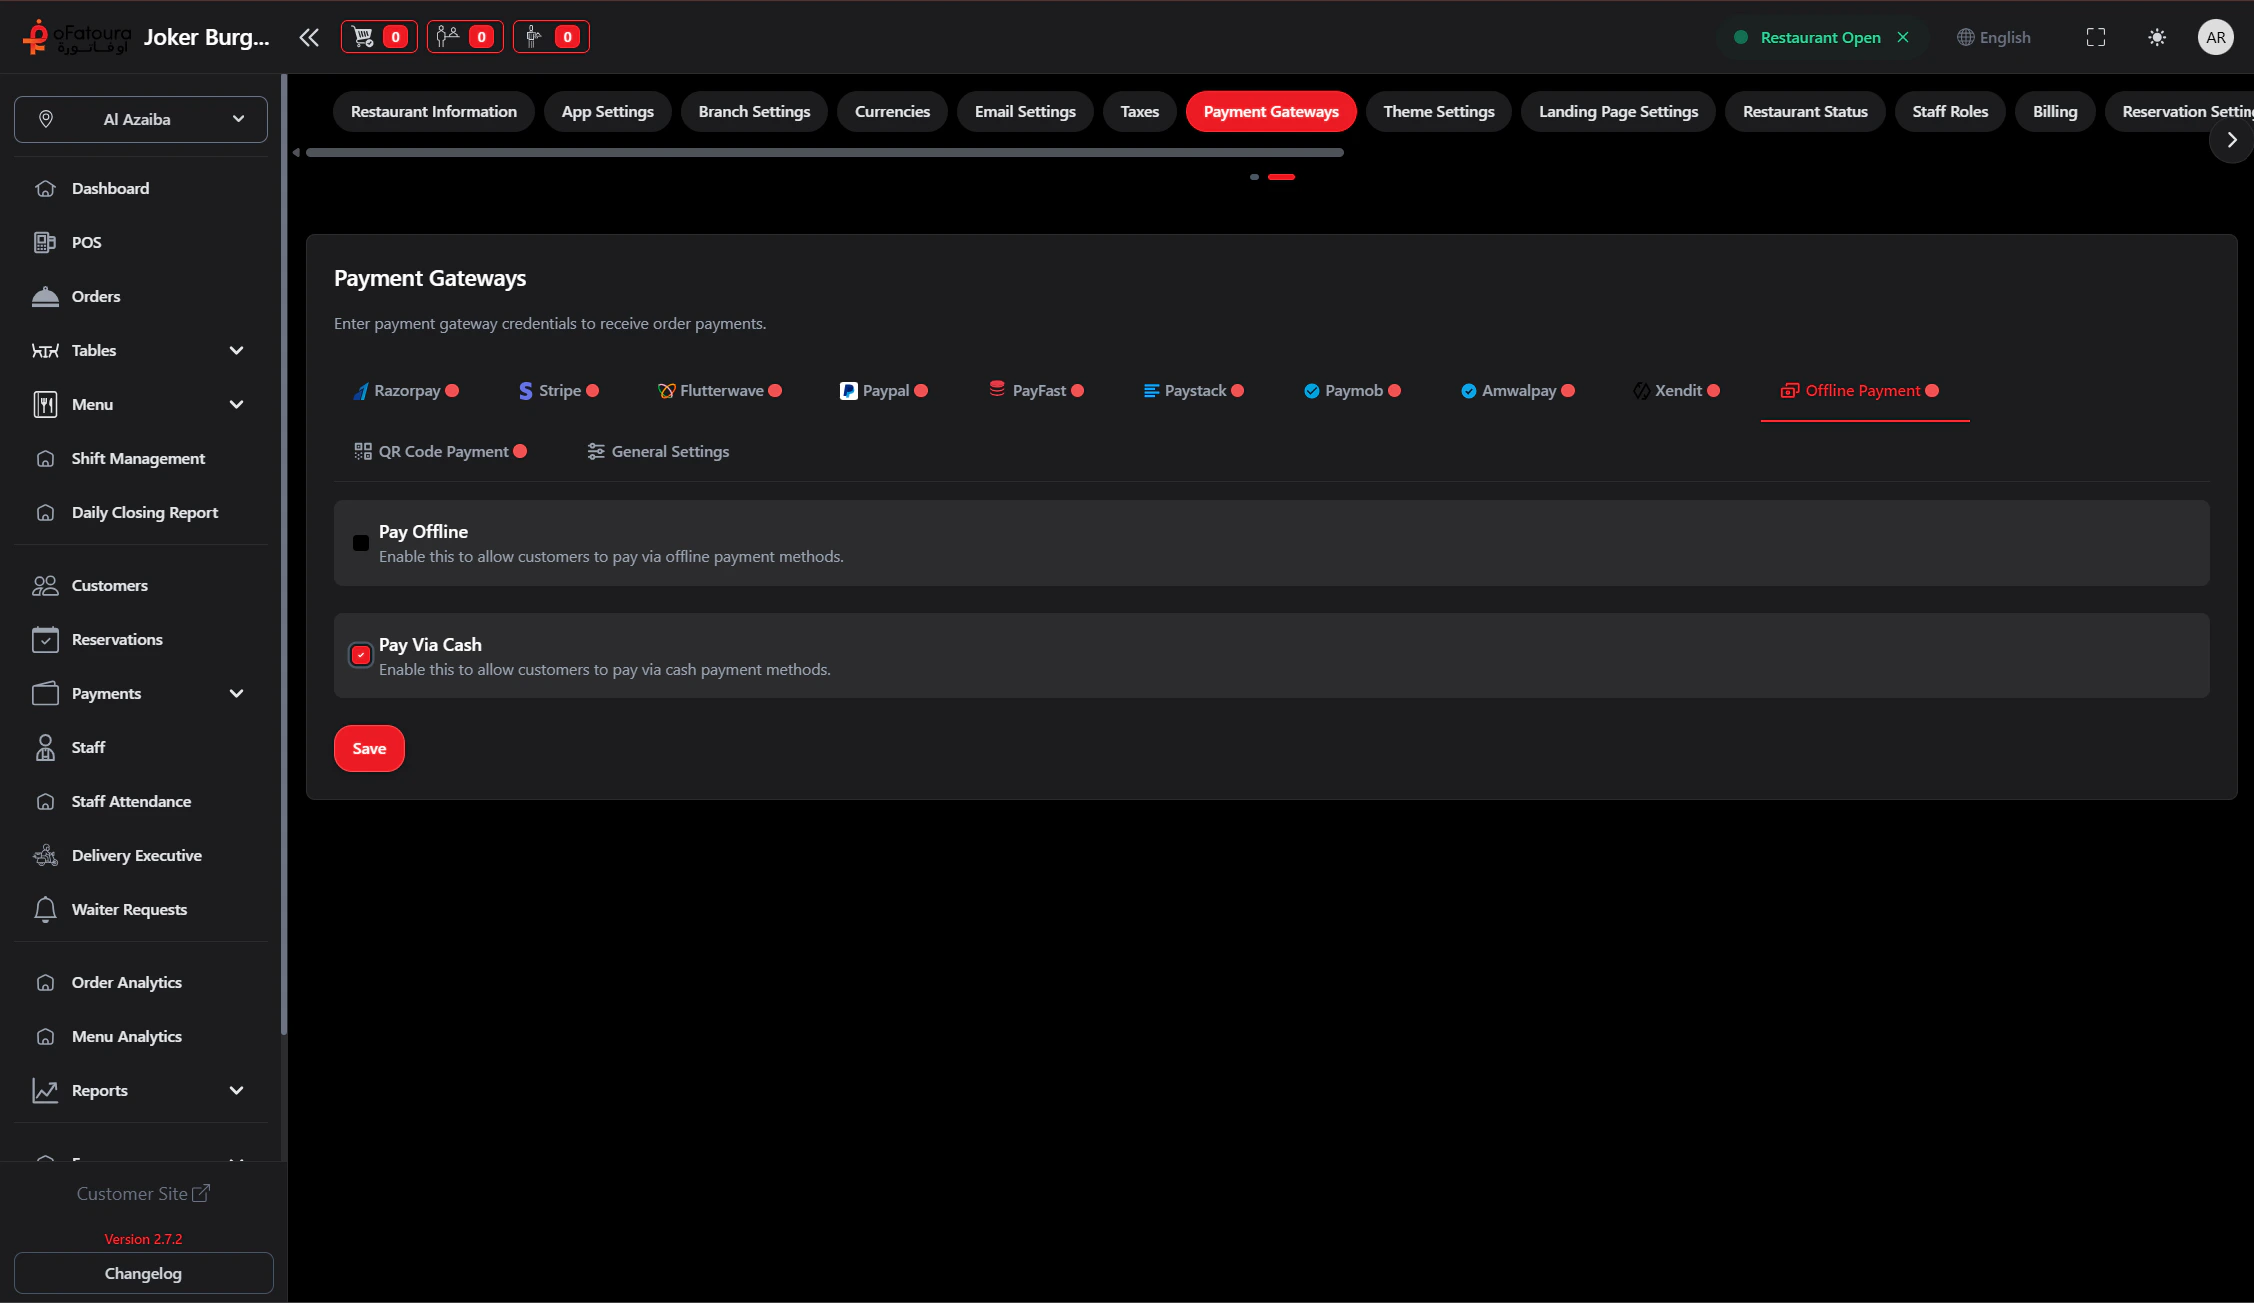
Offline, Cash, and QR
- Offline: Enable and provide payment instructions/details.
- Cash: Enable pay-via-cash.
- QR: Enable QR payments and upload QR image.
Tax setup is managed in Settings > Tax, not on this page.
Process Payments
How to take payments on POS
Sales Report
View revenue by payment method