The POS is the central hub for your waitstaff. Speed and accuracy here define the customer experience.Documentation Index
Fetch the complete documentation index at: https://docs.ofatoura.com/llms.txt
Use this file to discover all available pages before exploring further.
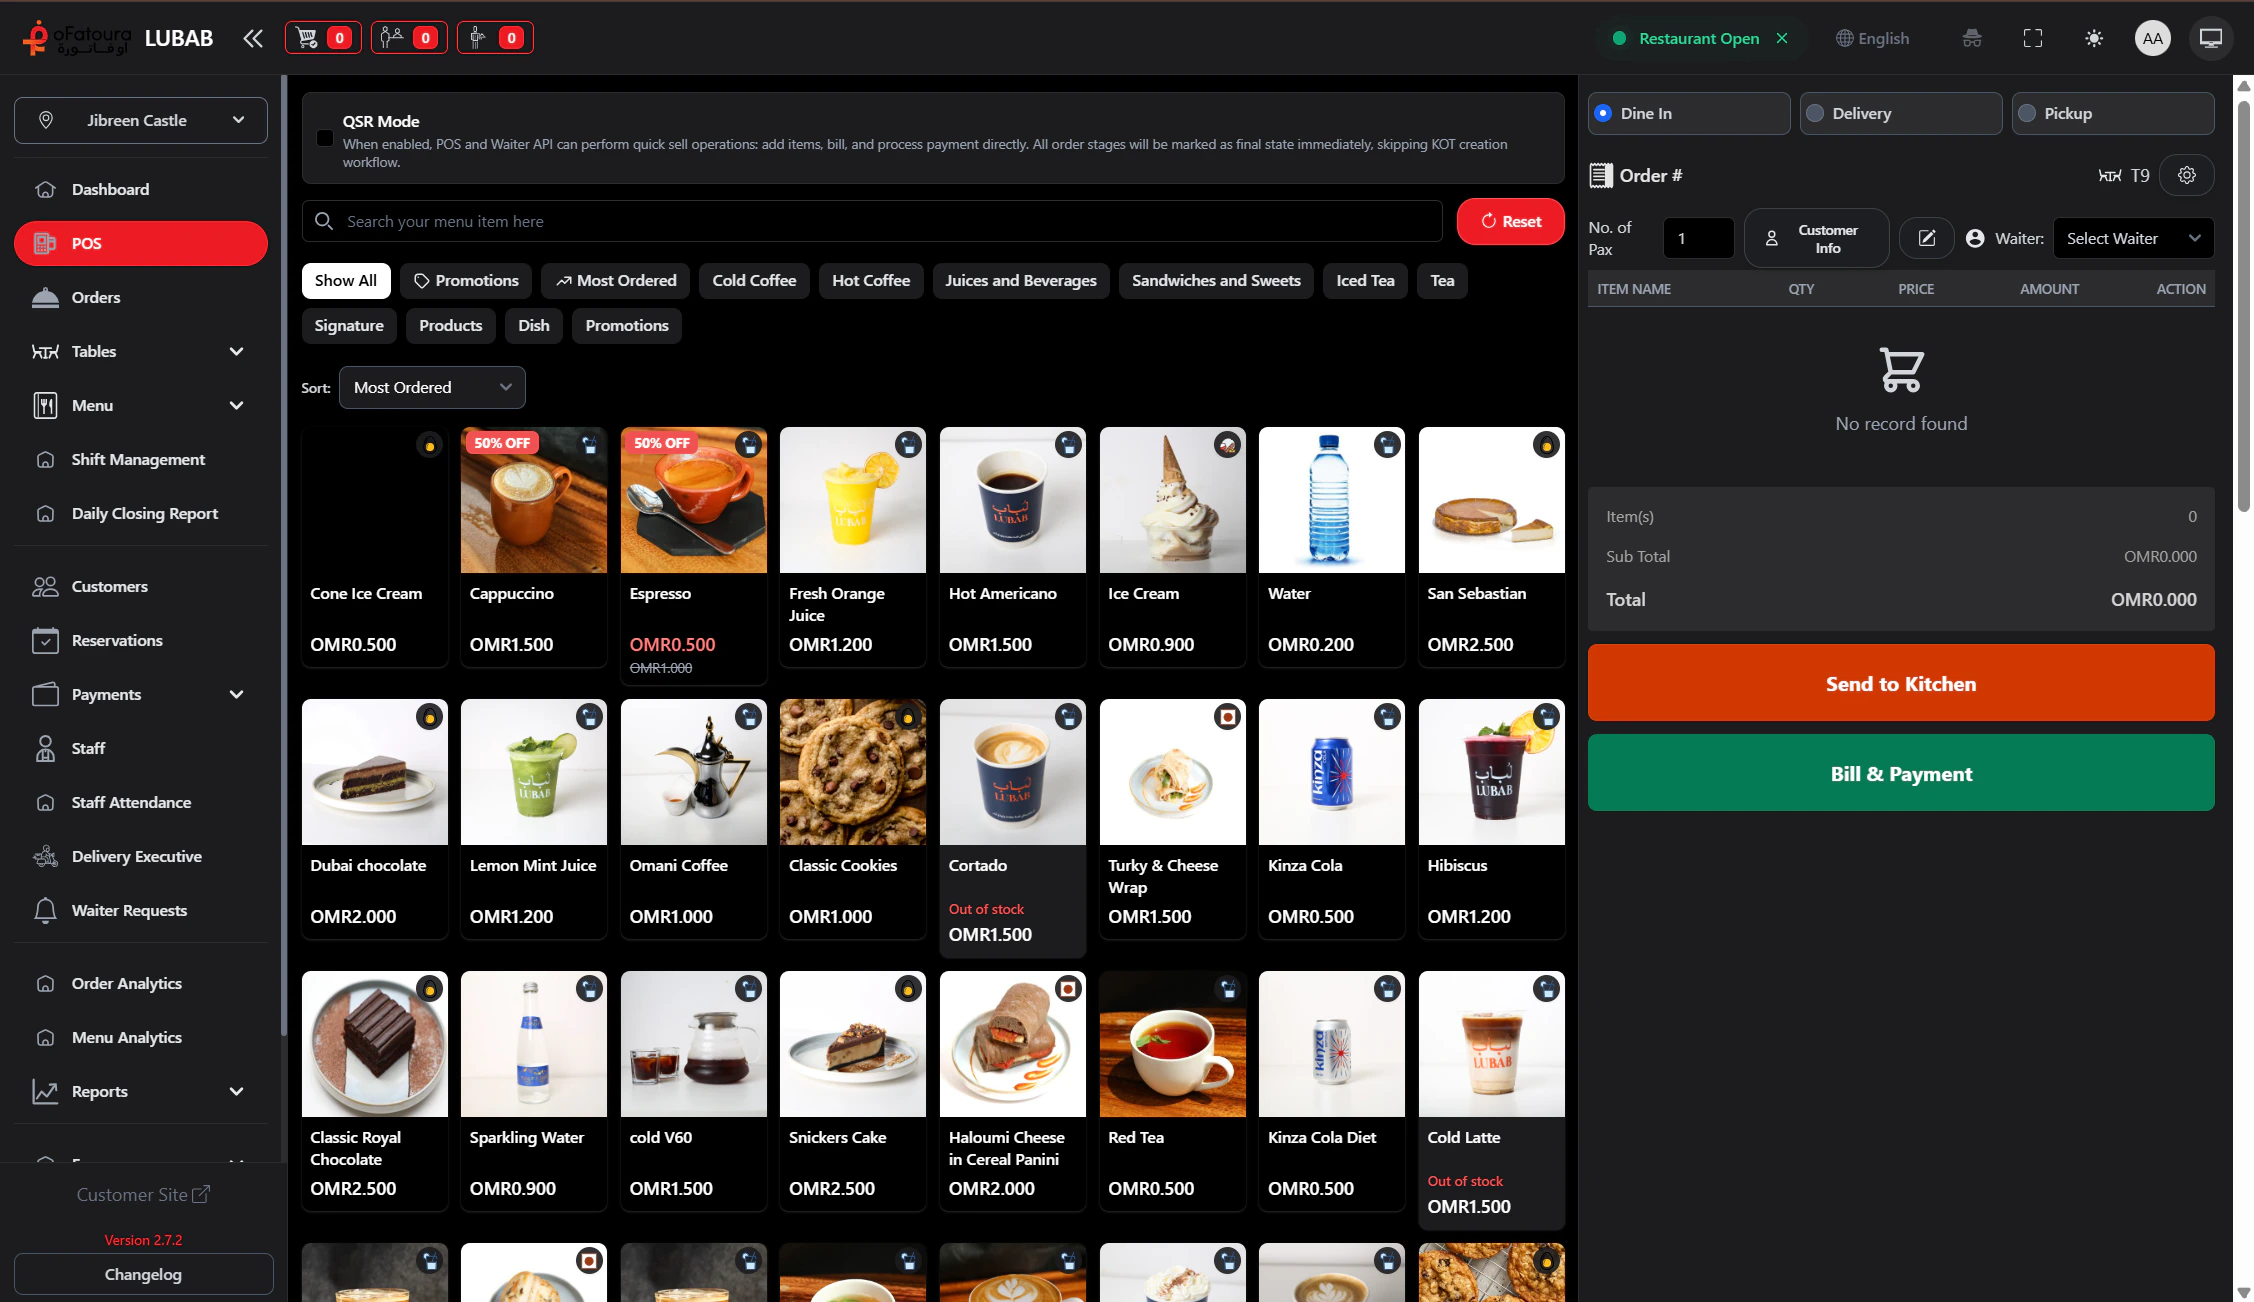
The Interface
- Menu Area: Categories and items on the left/center.
- Order Ticket: Current order on the right.
- Action Buttons: Save, KOT/Bill actions, payment, discounts, and notes.
- Order Context: Order type, table, waiter, and customer details.
Workflow Fundamentals
Start Order
- Choose order type (dine-in, pickup, or delivery).
- For dine-in, select a Table and set guest count.
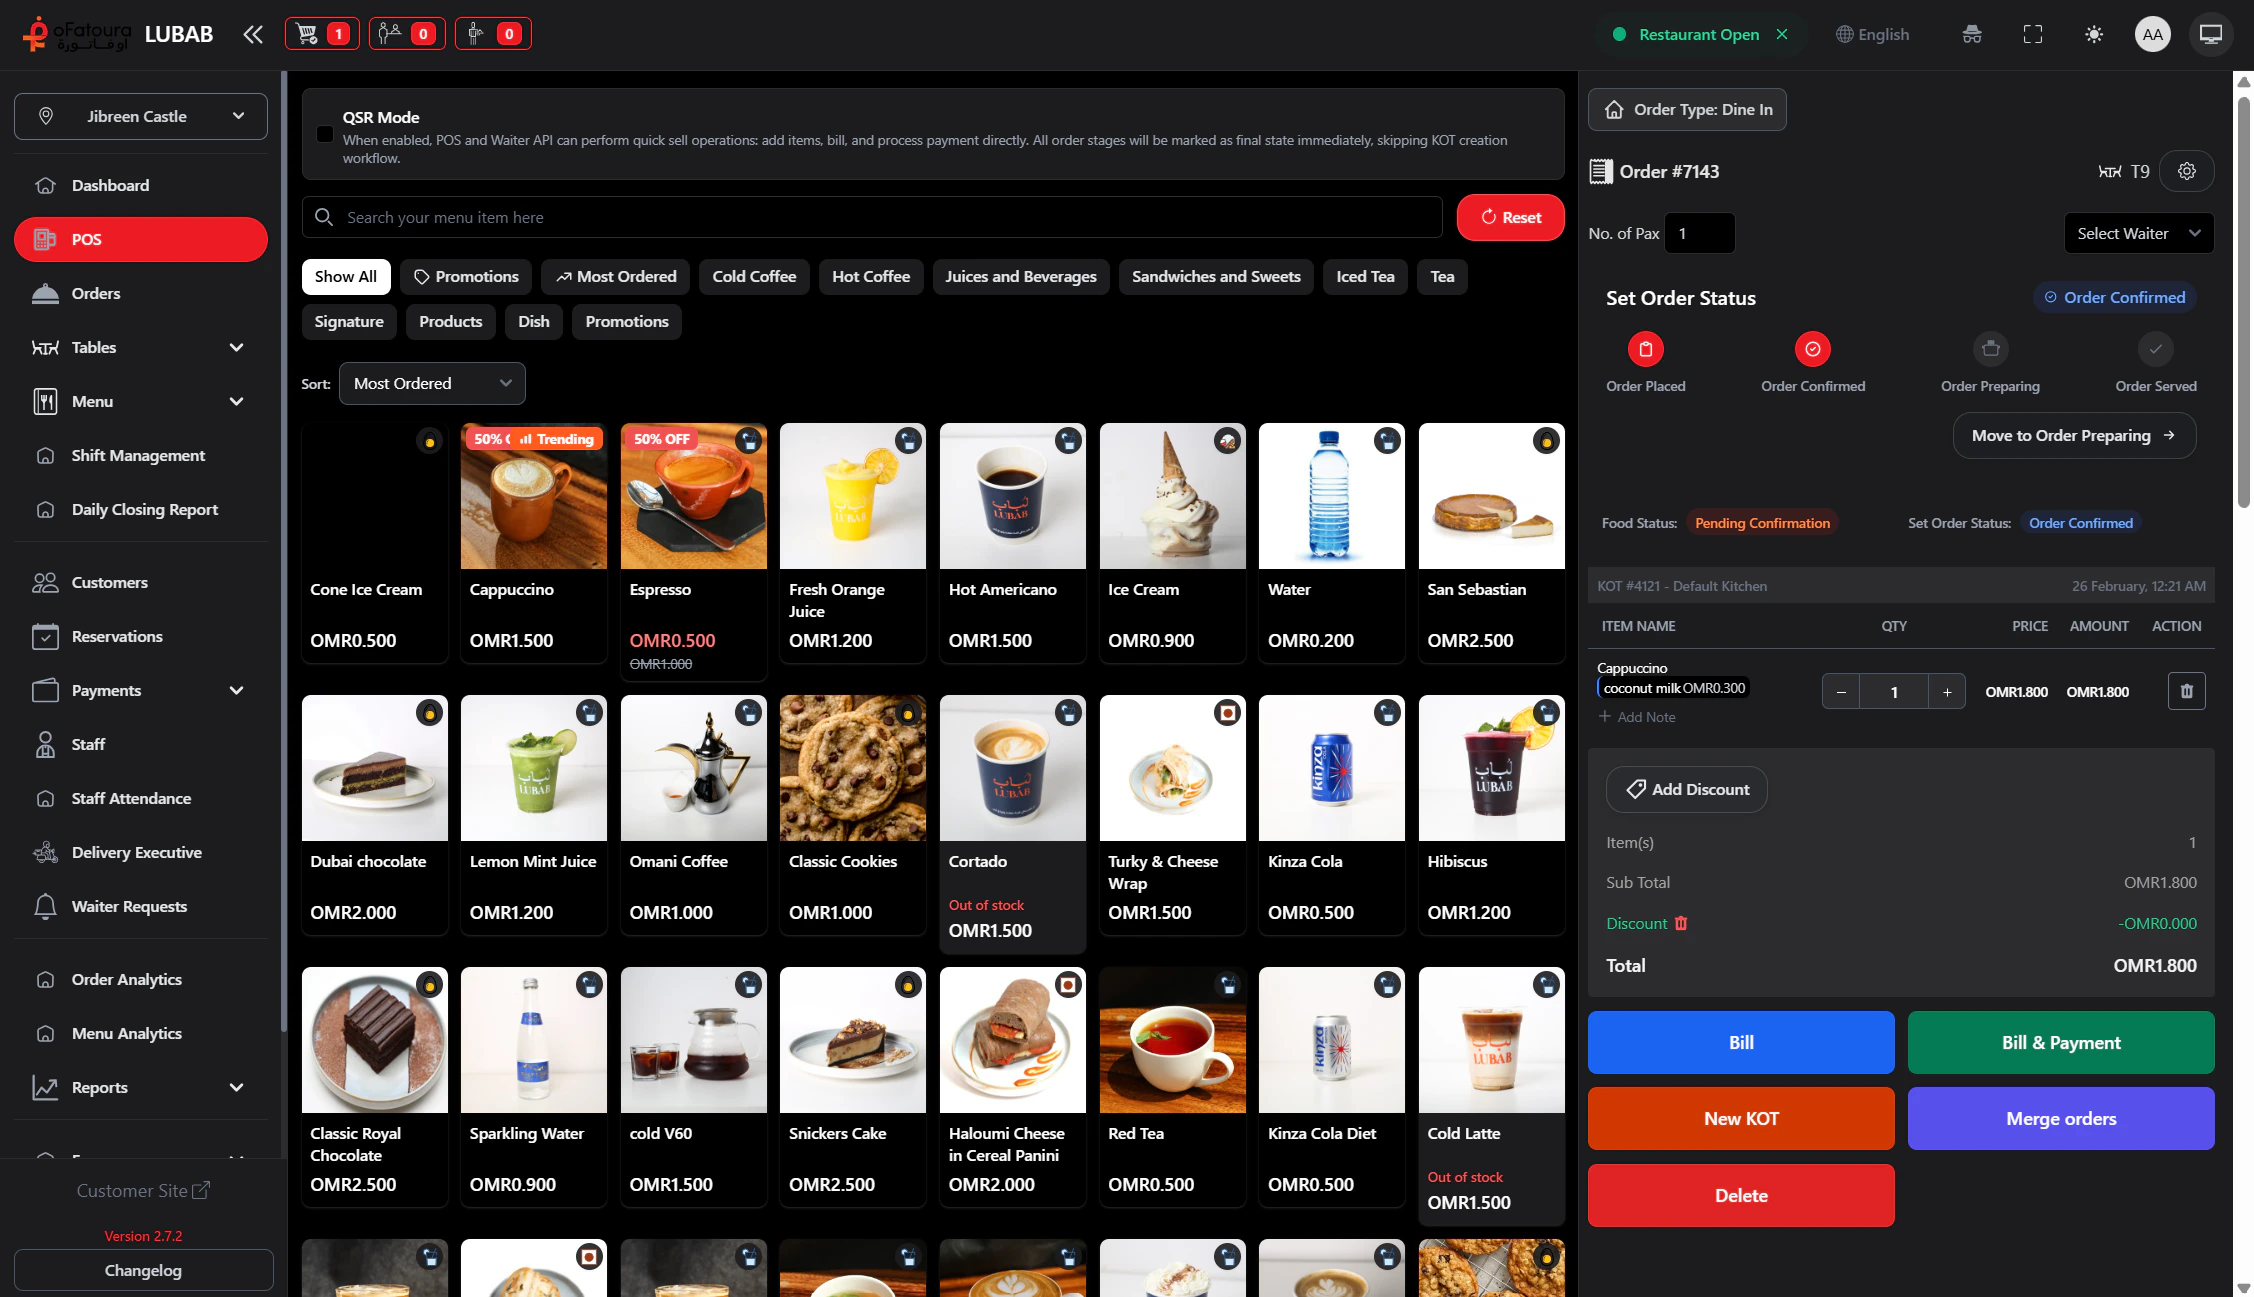
Add Items
- Click an item to add quantity.
- Increase/decrease quantities from the order panel.
-
Select Modifiers when available.
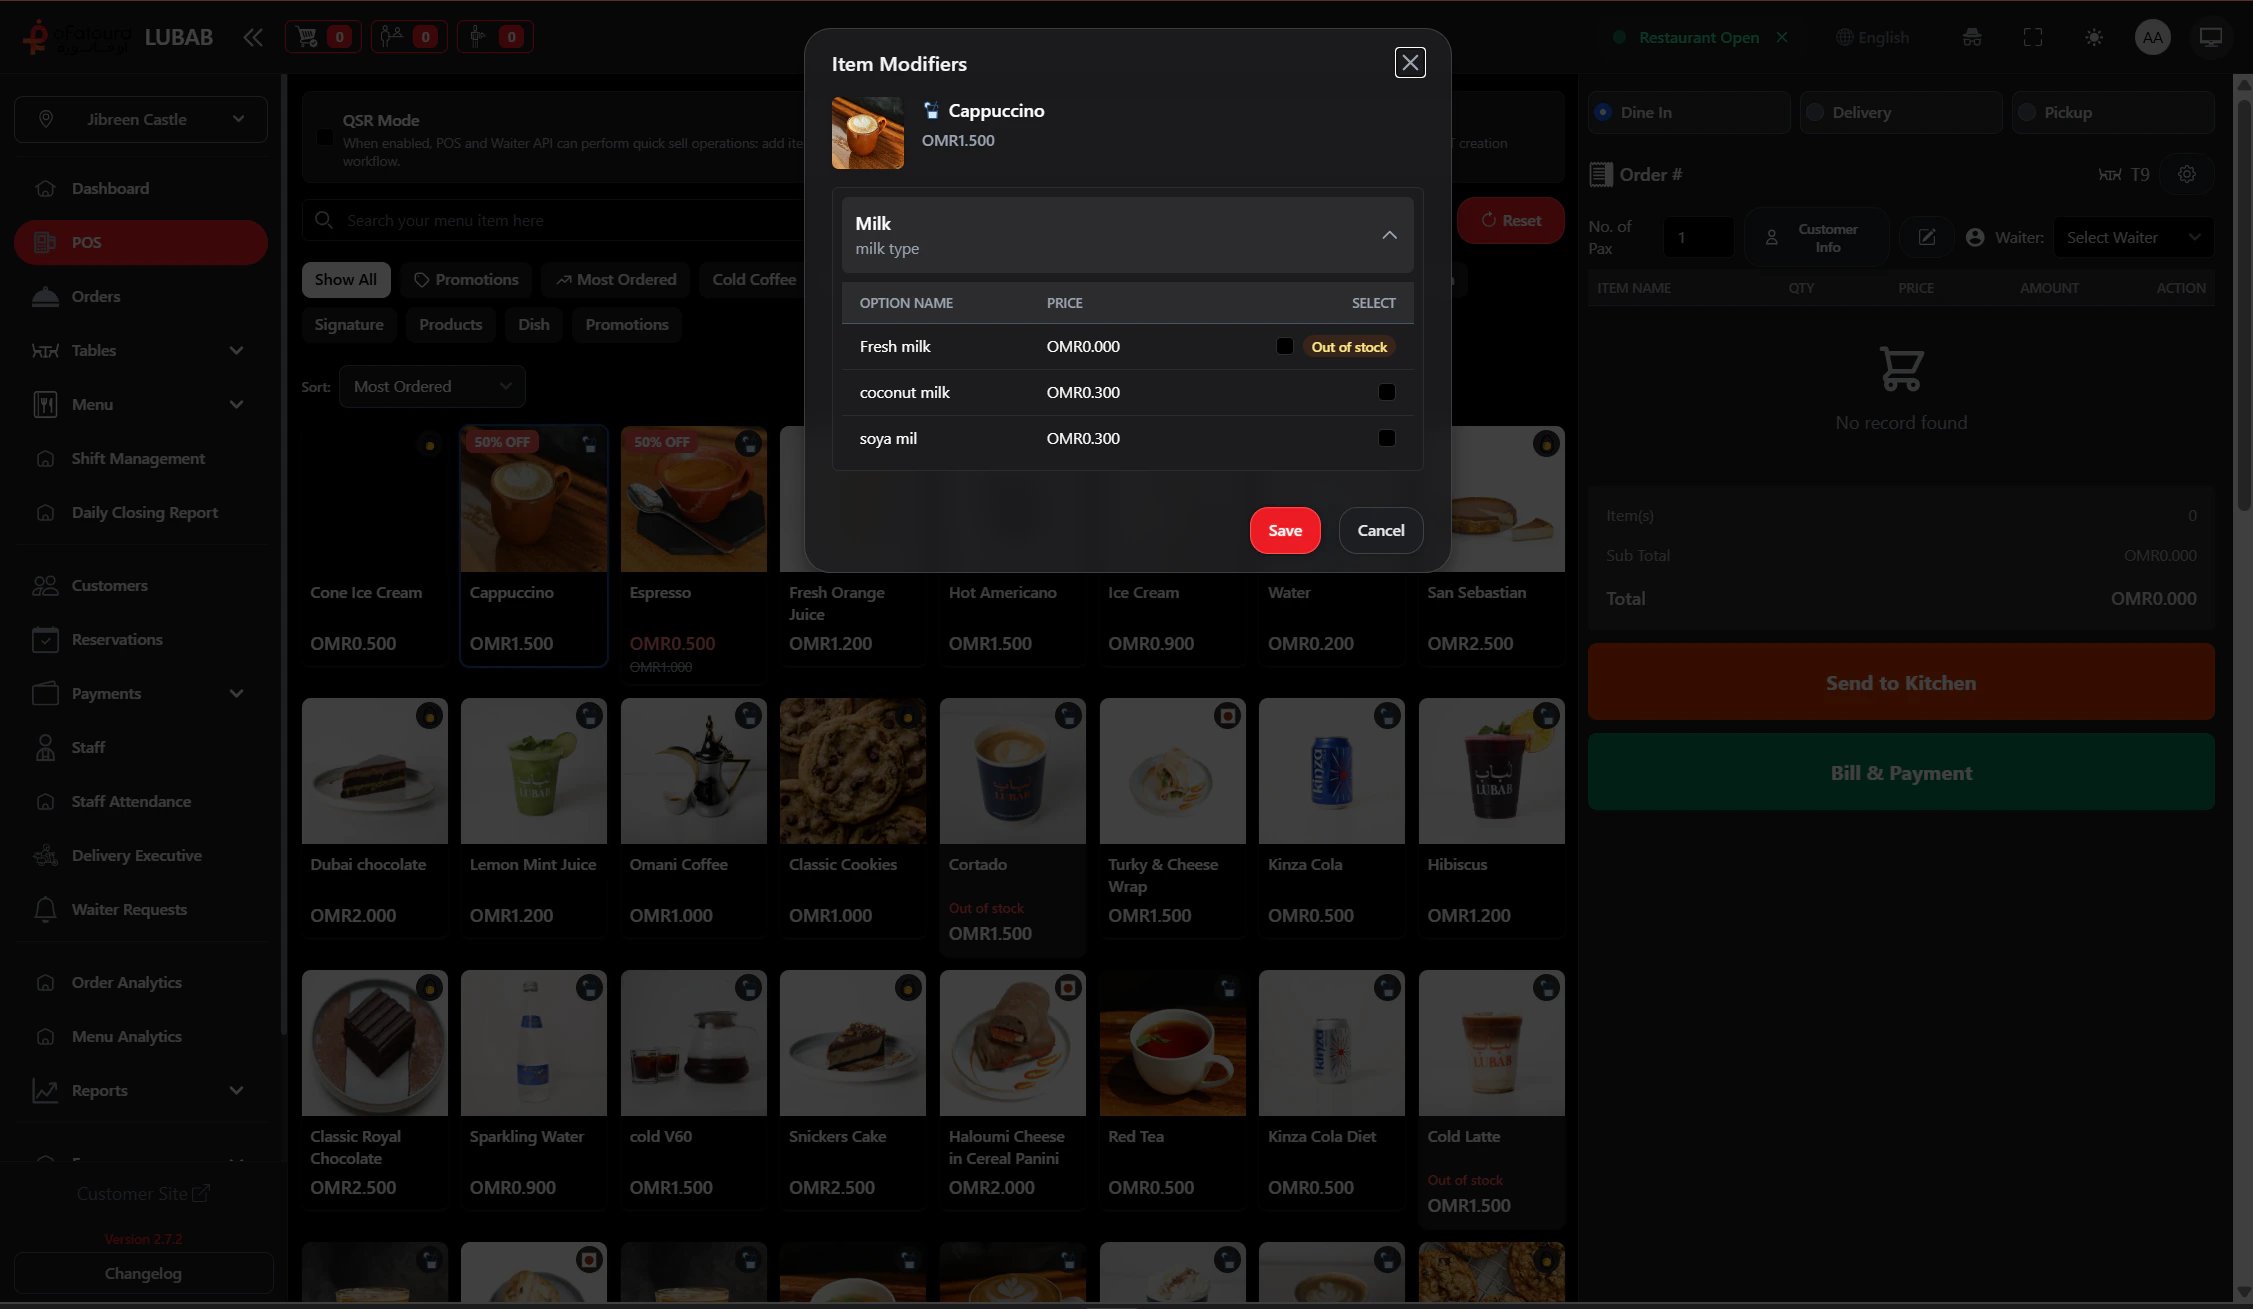
Customize
- Notes: Add special requests (for example, allergy notes).
- Discounts: Apply fixed or percentage discounts when needed.
Pro Tip: Use the search bar to find items quickly instead of scrolling categories during rush periods.
Orders Page
Track and manage active orders
Payments
Record and manage payments