Purchase Orders (POs) are used to order ingredients from suppliers and receive stock.Documentation Index
Fetch the complete documentation index at: https://docs.ofatoura.com/llms.txt
Use this file to discover all available pages before exploring further.
Order Lifecycle
- Create PO and add supplier/items.
- Move through PO status flow.
- Receive quantities and update stock.
- Record payment and export/print documents.
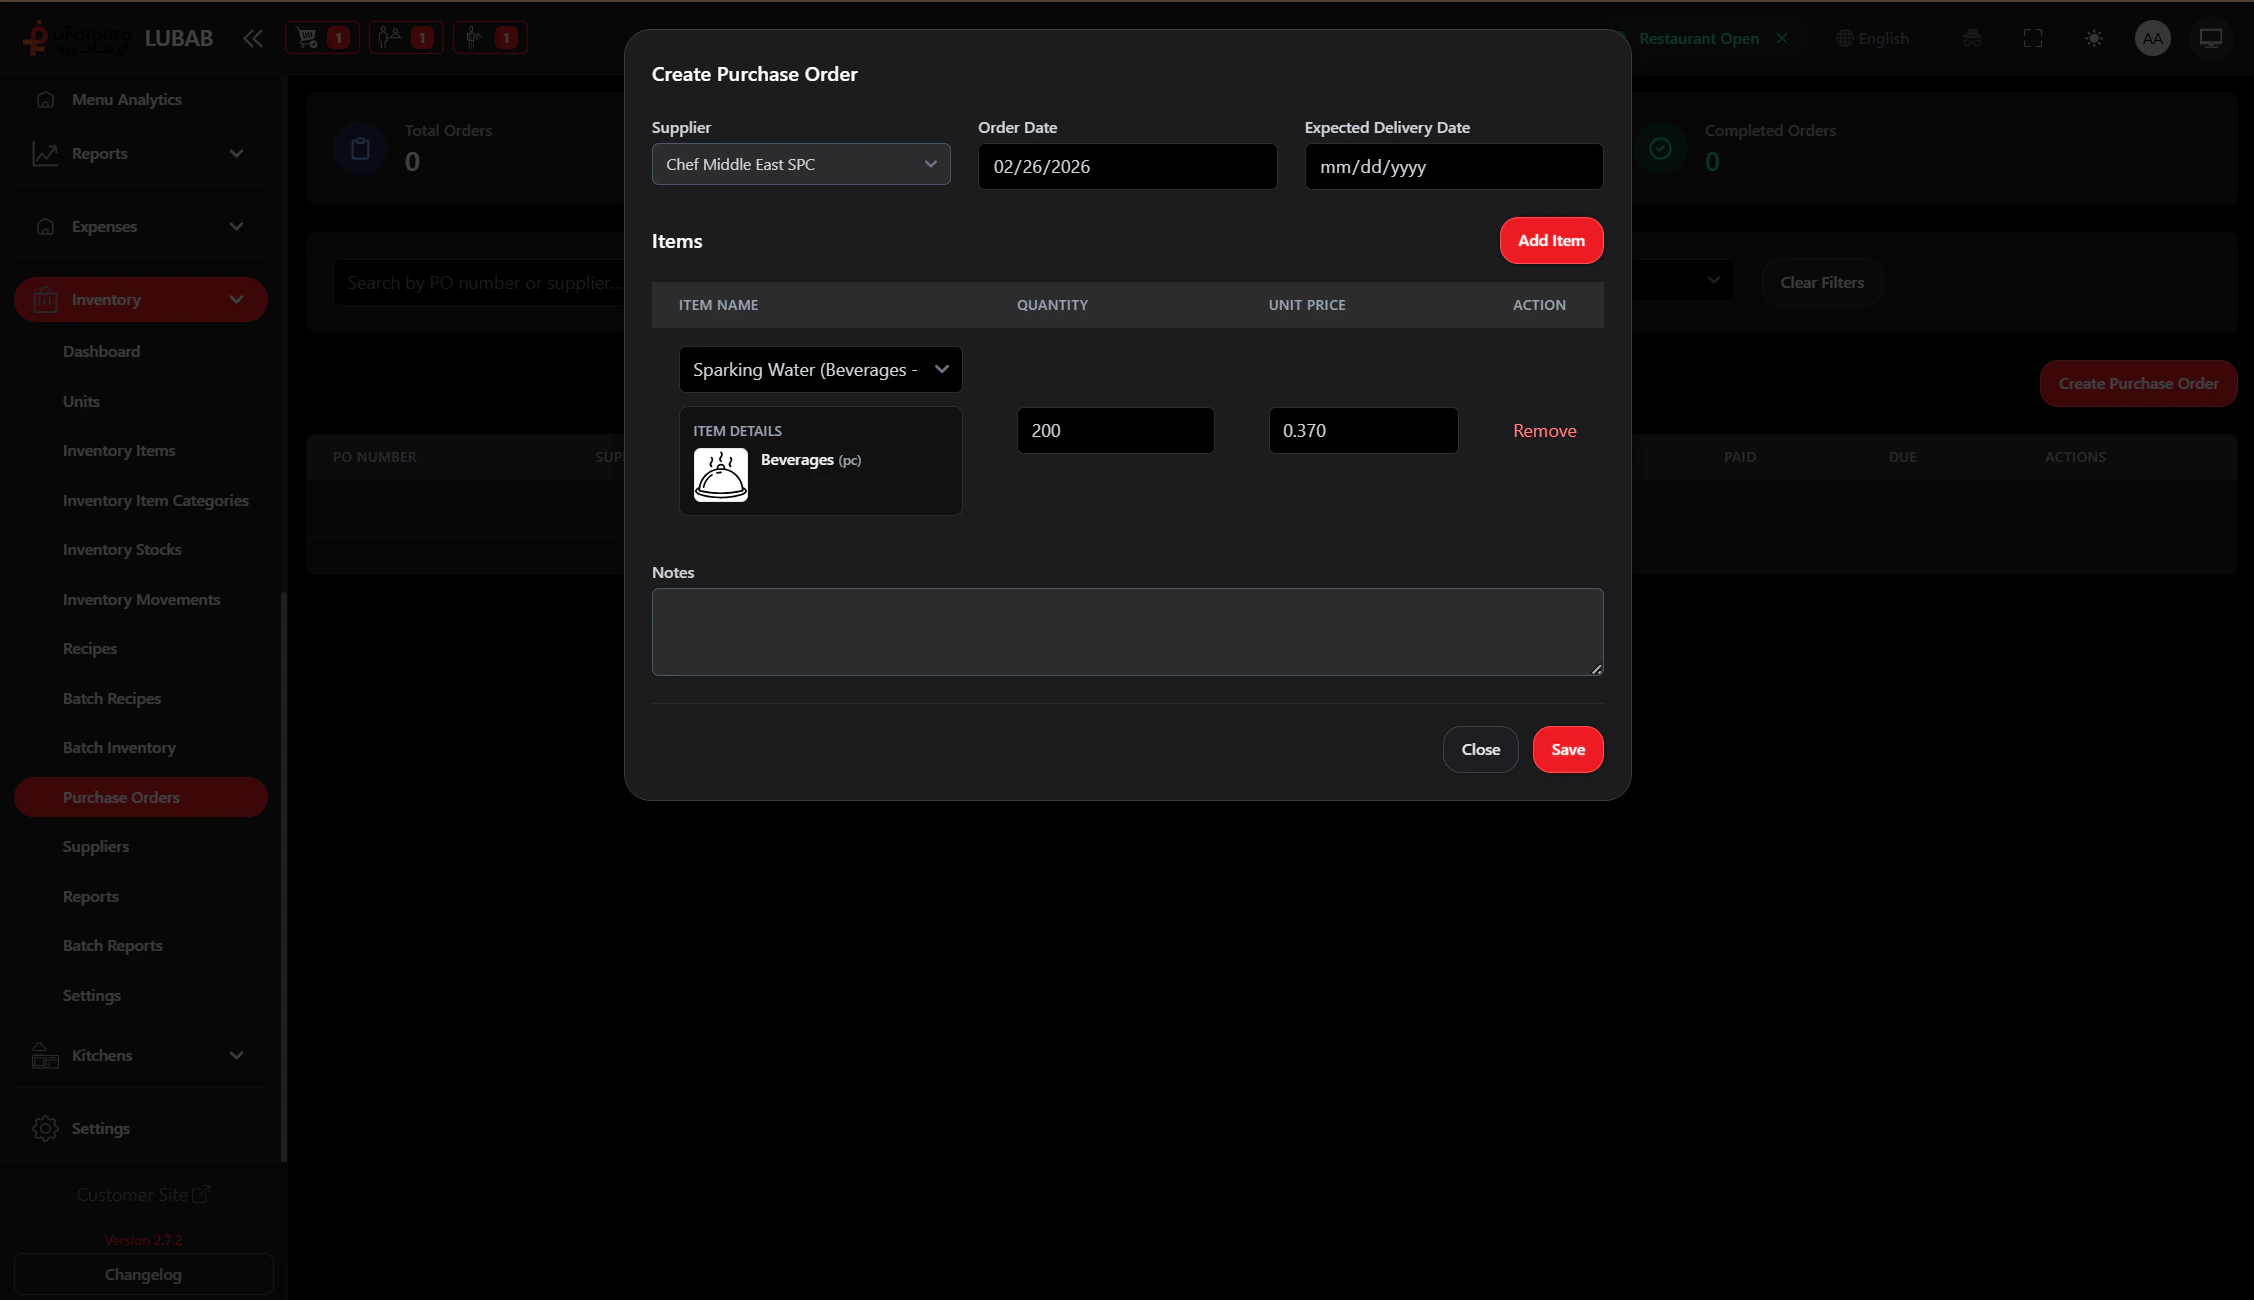
Creating an Order

Create New PO
- Click Add / Create Purchase Order.
- Select supplier.
- Add item rows and quantities.
- Add optional delivery date/notes.
- Save.
Send and Receive
Open a PO and send/submit it when ready.When delivery arrives, use receive action and enter received quantities (including partial receipts).
Common status flow: Draft -> Sent -> Partially Received -> Received -> Paid.
Suppliers
Manage vendor info
Inventory Dashboard
See restocked levels