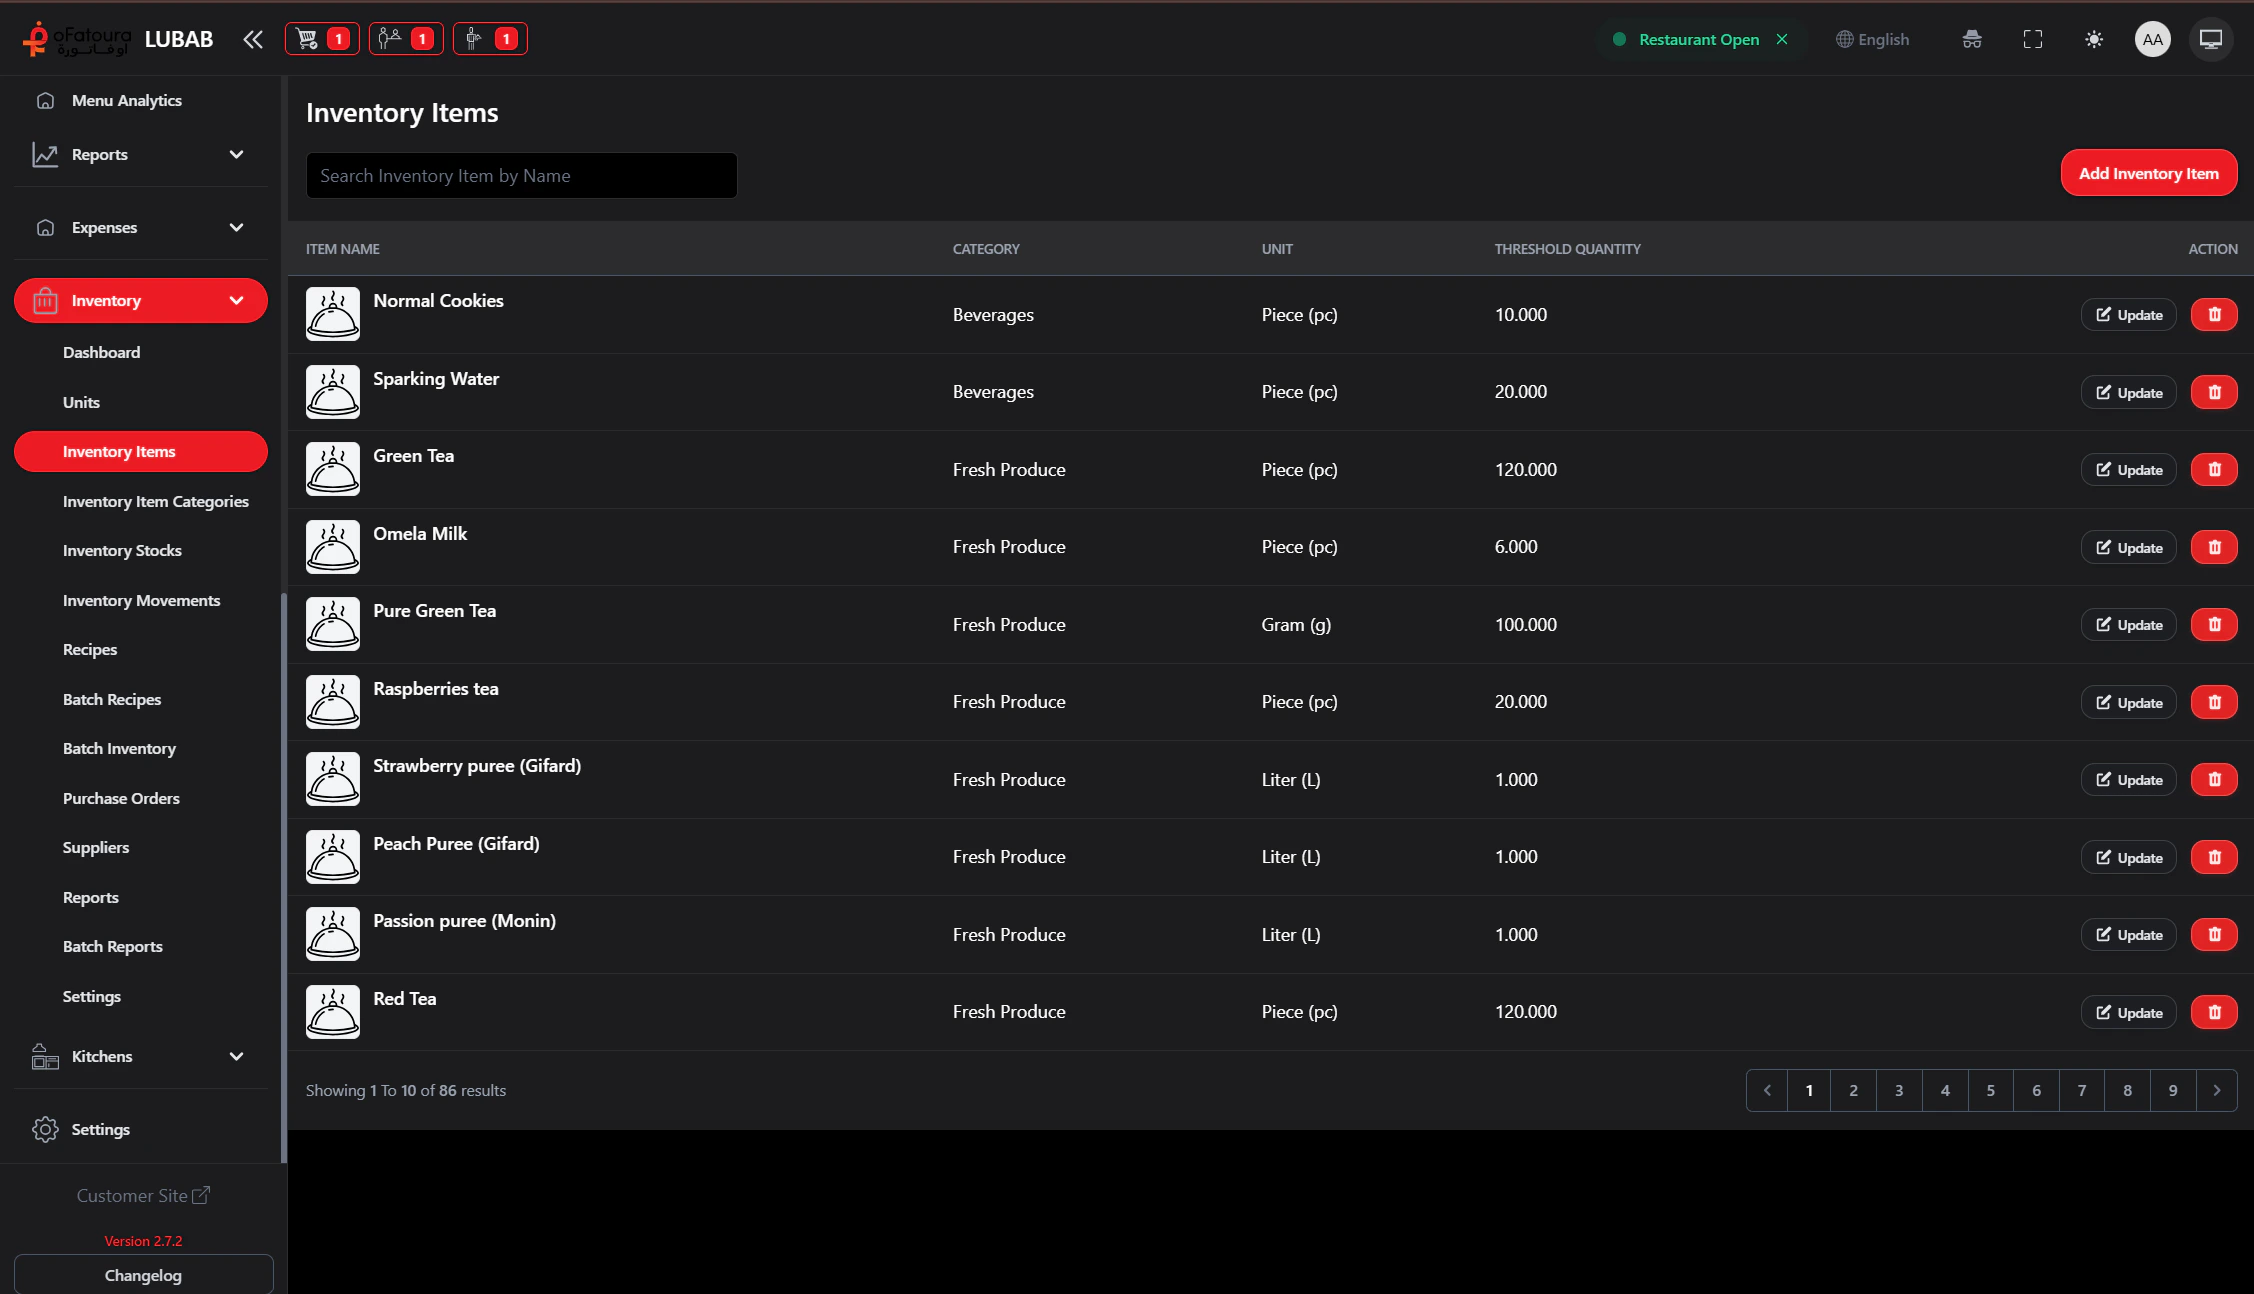
Inventory Items are the ingredients/supplies tracked by stock, recipes, and purchasing.Documentation Index
Fetch the complete documentation index at: https://docs.ofatoura.com/llms.txt
Use this file to discover all available pages before exploring further.
Item Details
- Core: Name, category, unit.
- Control: Threshold (low-stock trigger).
- Optional: Description, preferred supplier, auto reorder quantity, photo.
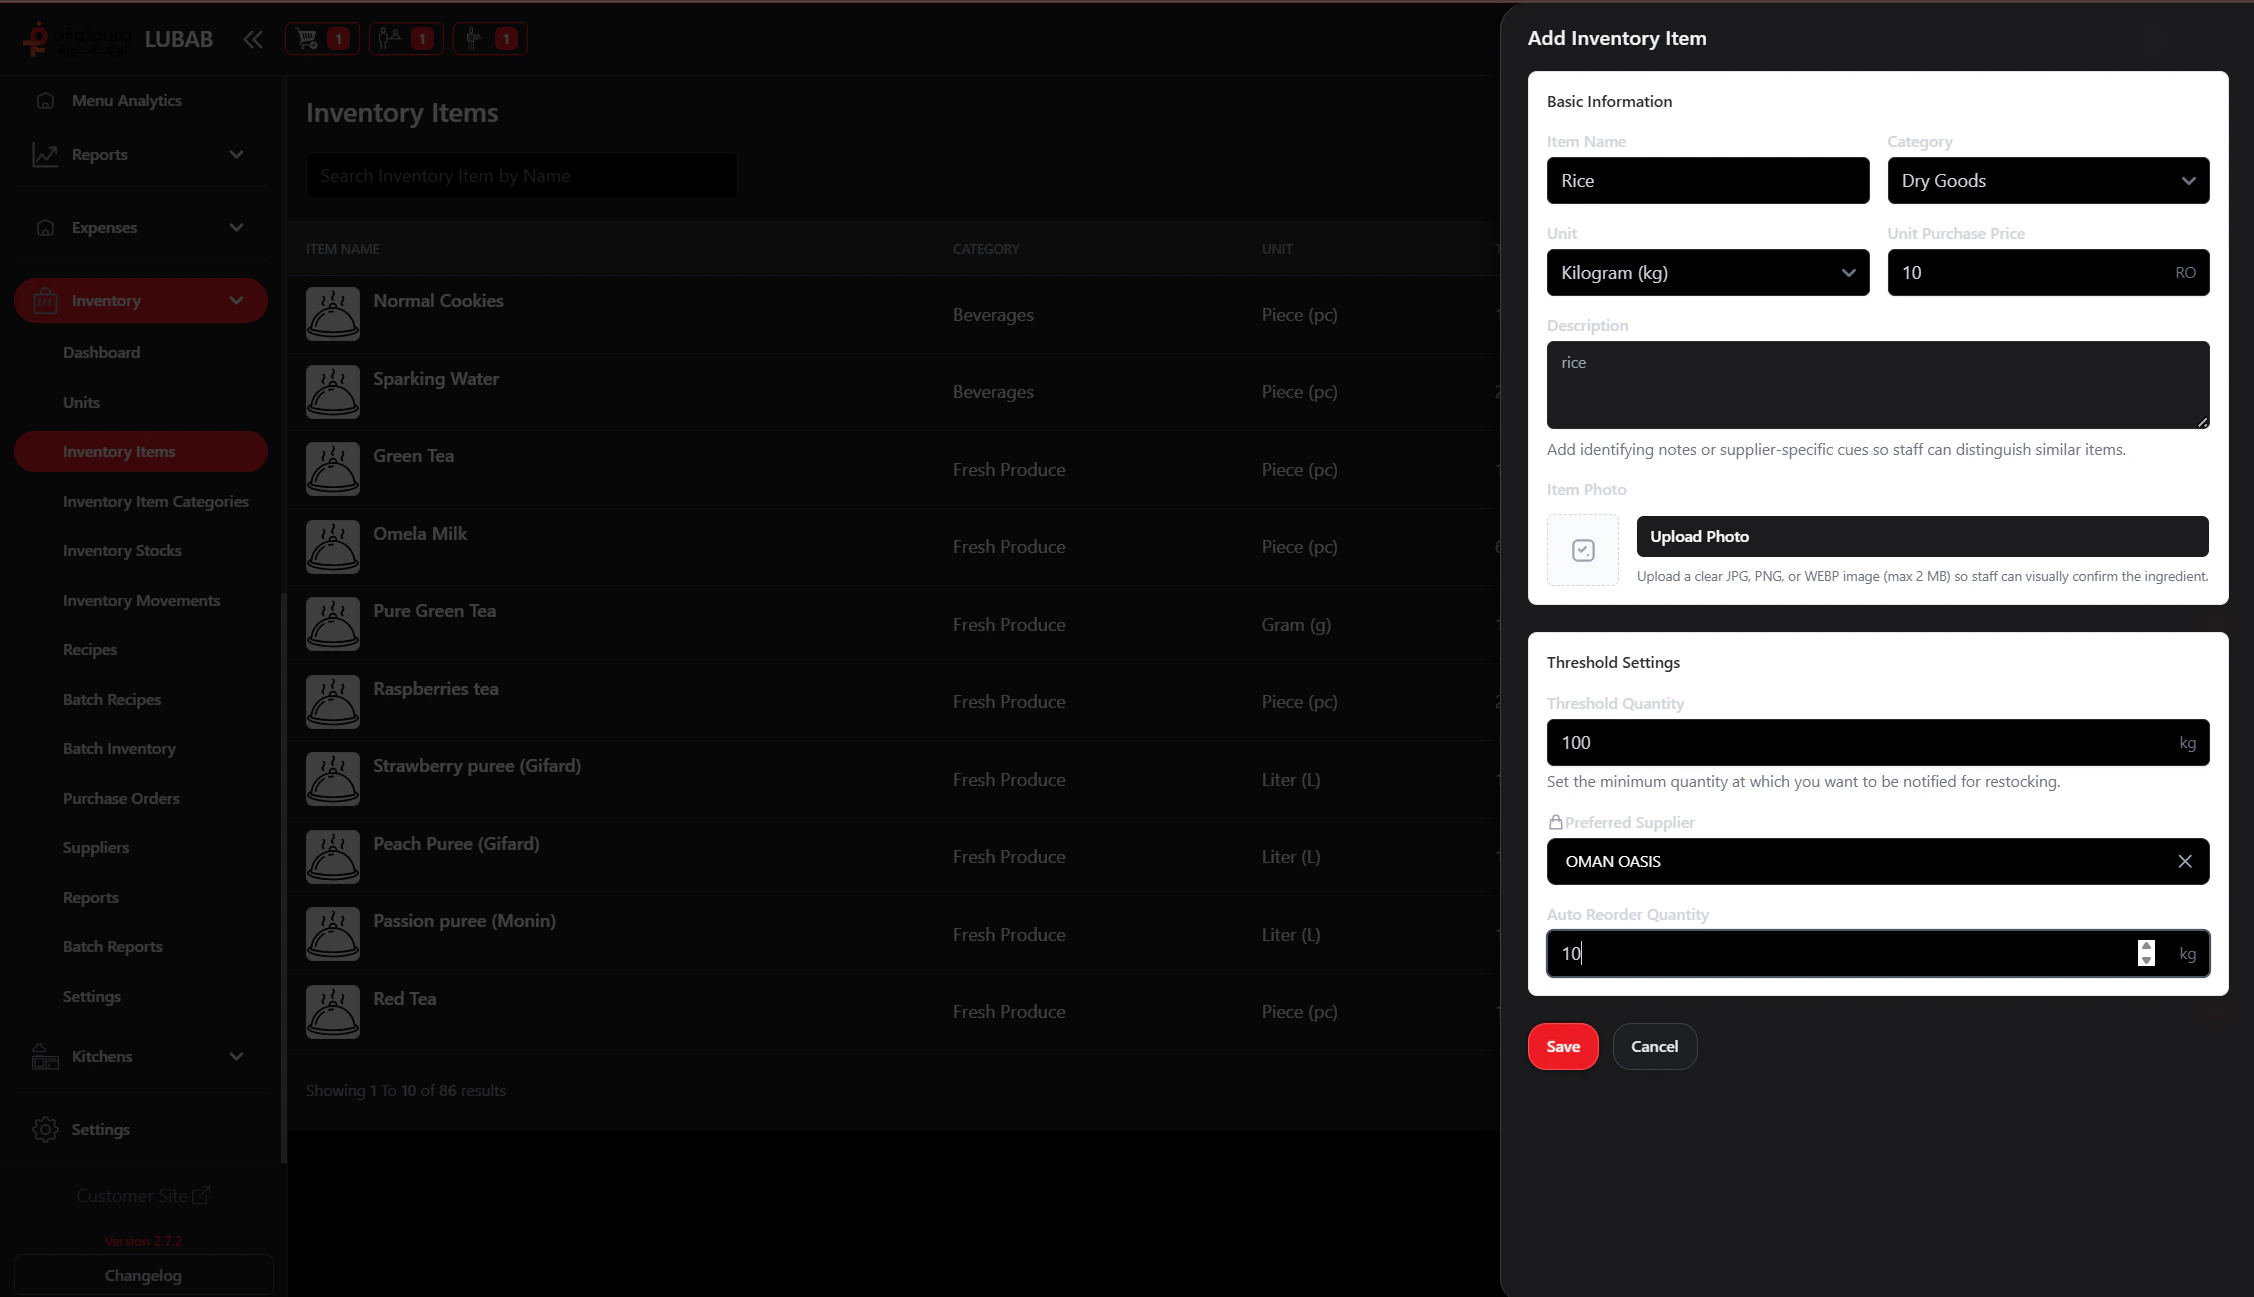
Creating Items
Add New Item
- Click Add Item.
- Fill required fields:
- Name
- Category
- Unit
- Set optional fields:
- Threshold quantity
- Description
- Preferred supplier
- Auto reorder quantity
- Photo
- Save.
Unit accuracy is critical. A wrong unit causes stock and recipe deductions to drift.
Recipes
Use items in dishes
Stock Adjustments
Update quantities later